


Step 3: Treehouse Ideas & Initial Design
How professionals plan: from the idea to the finished treehouse!
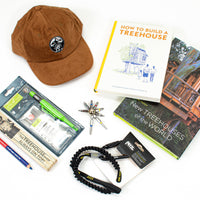
✔ Free instructions and tips from the Treehouse Pro
✔ With 11 checklists and 77 questions
✔ Directly to the perfect treehouse plan
✔ Saves you time, money and stress
✔ Dream house guaranteed!
Your treehouse dream starts here!
Before you lay the first beam, you need a plan – and that's exactly where we can help you.
Whether you're building a wild playhouse for kids or a luxurious retreat for adults, good planning will save you time, money and a lot of stress. With our 11 checklists full of questions and ideas, we'll guide you step by step to your goal.
So grab a pen and paper – let's get started!
1. The ideal place for a treehouse
You're standing in your garden, looking at your trees, and you know: ‘This is where my treehouse should go!’ Great!
Depending on its size, shape and orientation, it will be a permanent addition to your garden – an eye-catcher that you'll probably see every day, so it's important to plan it carefully.
Let's start with the most important questions!
Checklist I – The ideal location
✔ Am I allowed to build a treehouse here? (Step 1: Building permit)
✔ Is the tree suitable for Treehouse Fastening? (Step 5: The right tree for a treehouse)
✔ Will my neighbours be disturbed (view, noise, shade)?
✔ Should the house be dominant or hidden?
✔ Where is the best view, where does the sun stand?
✔ Do I want to be able to see the treehouse from my house (children playing?)
✔ How can I get to the treehouse in which season?
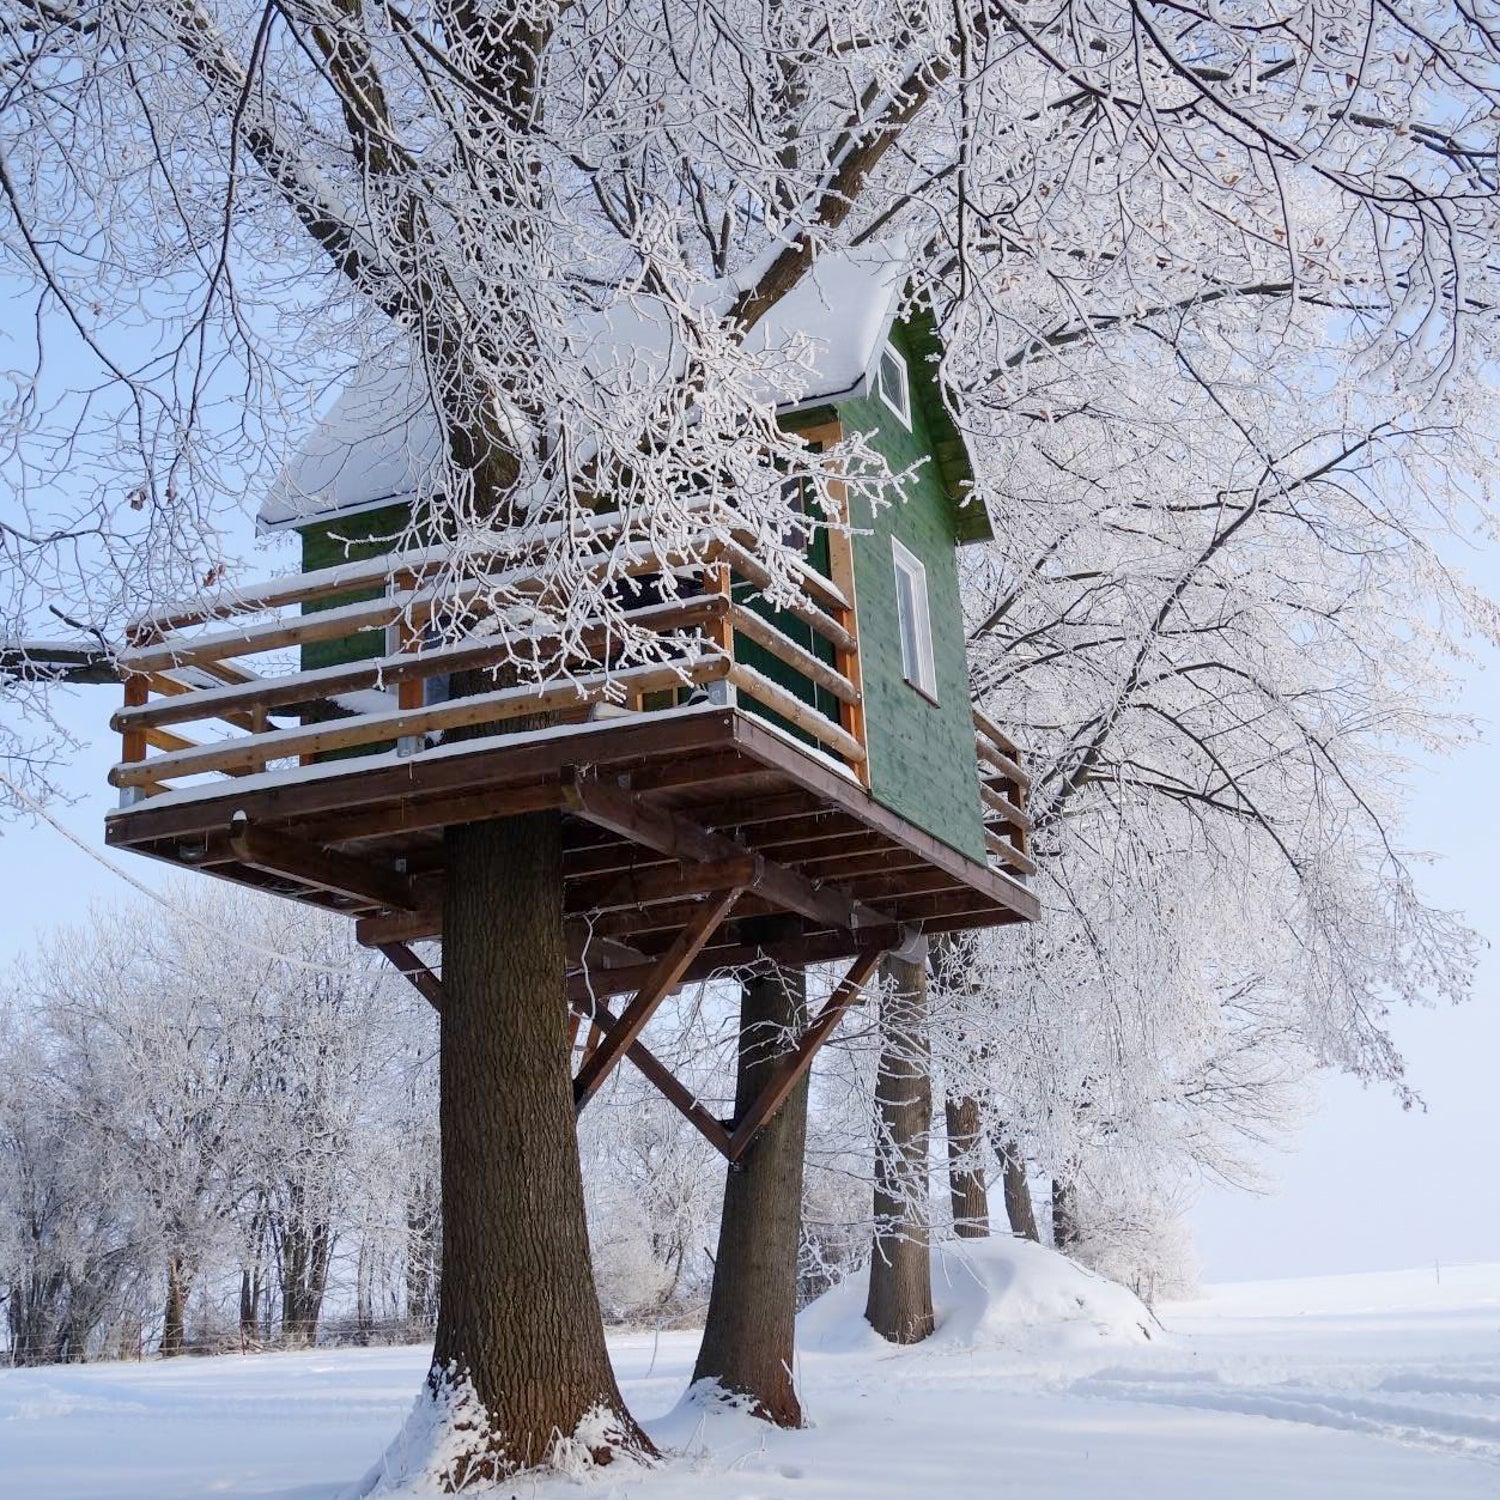
Hui ... leaves gone: In winter, deciduous trees lose their leaves and the well-hidden treehouse suddenly becomes visible. Does this change your design?
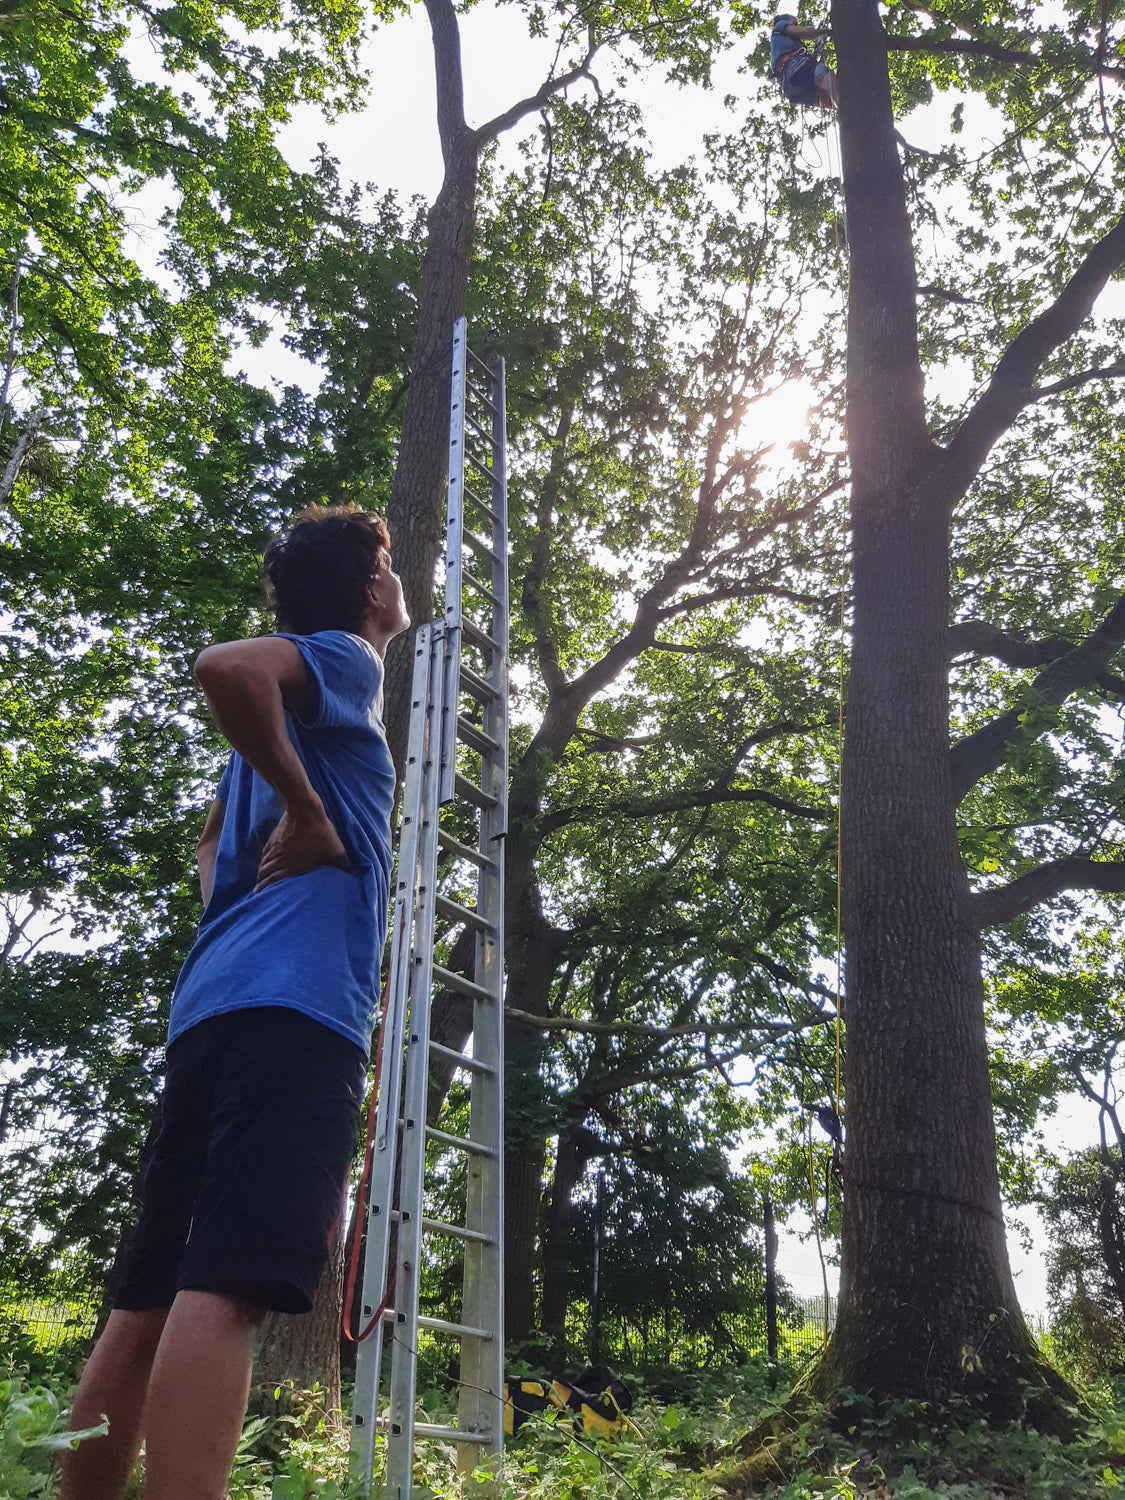
Checklist II – Inspiration on site!
✔ Climb up a ladder into the tree – this will give you a good feel for the height, the view and the sun's path.
✔ Which direction should the treehouse and terrace face?
✔ Where are thick branches > 15 cm (5.9 in) and what should I do with them?
✔ Are the trees healthy (step 5)?
✔ Which trees have a trunk diameter > 30 cm at the height of the platform?
✔ Are the trees suitable for fastening with tree bolts (step 8)?
Buy tree bolts here!If you have a favourite spot in your garden, think carefully about whether you want to build a treehouse there. Sometimes it's better to keep that spot and build in the second best place.
2. Use and future of the treehouse
First, you should ask yourself what purpose your treehouse should serve. Is it just a temporary playhouse for the kids, or do you want to build something that will last for years to come? Perhaps you or your children would like to rent it out later on – making it an investment in the future and a first small business for your children!
One thing is certain: the longer you want to use it, the more thought you should put into the planning and the higher the quality of the materials should be! This quality is naturally reflected in the construction costs (step 2), as an insulated house naturally requires denser, double-glazed windows, etc.
Checklist III – How will the treehouse be used?
✔ Focus on children and play: swing, slide, climbing elements, mud area
✔ Platform to enjoy the view, invite friends, spend summer nights
✔ Small oasis for relaxation and meditation
✔ Heated office and creative space with electricity (summer and winter)
✔ Overnight accommodation for friends or guests
✔ Occasional rental (AirBnB, Booking.com, etc.)
✔ Or special features such as a treehouse sauna, tree restaurant, etc.
Checklist IV – Who will mainly use the treehouse?
✔ Just a temporary and inexpensive playhouse for children
✔ Or space for adults and ‘big’ kids ⇒ at least 2,1 m (6,9 ft) wall height for headroom!
✔ How many people should be able to use it at the same time?
✔ Will friends or other children come to play?
✔ Will the children run around, climb and play? Or will this disturb the neighbours?
✔ Do I need a ramp for dogs or wheelchair users?
Checklist V – When will the treehouse be used?
✔ Will I only use the treehouse in summer or also during the cold season?
✔ Should it be insulated and heatable? Wood-burning stove or electric heating?
✔ Do I need a power connection and lighting?
✔ How can the treehouse be accessed in rain and snow?
Take your time and think it through! The clearer your idea of the treehouse and its purpose, the more enjoyment you will get from it later on.
If your budget is too small at the beginning, just build a stable, large platform on which you can continue dreaming... Platform tents are pure romance, and you can always build your little house on top of them later.
3. Adult children need space!
‘A bed in a cornfield, that's beautiful...’ – thanks Jürgen, but a bed in a treehouse is even better ;)
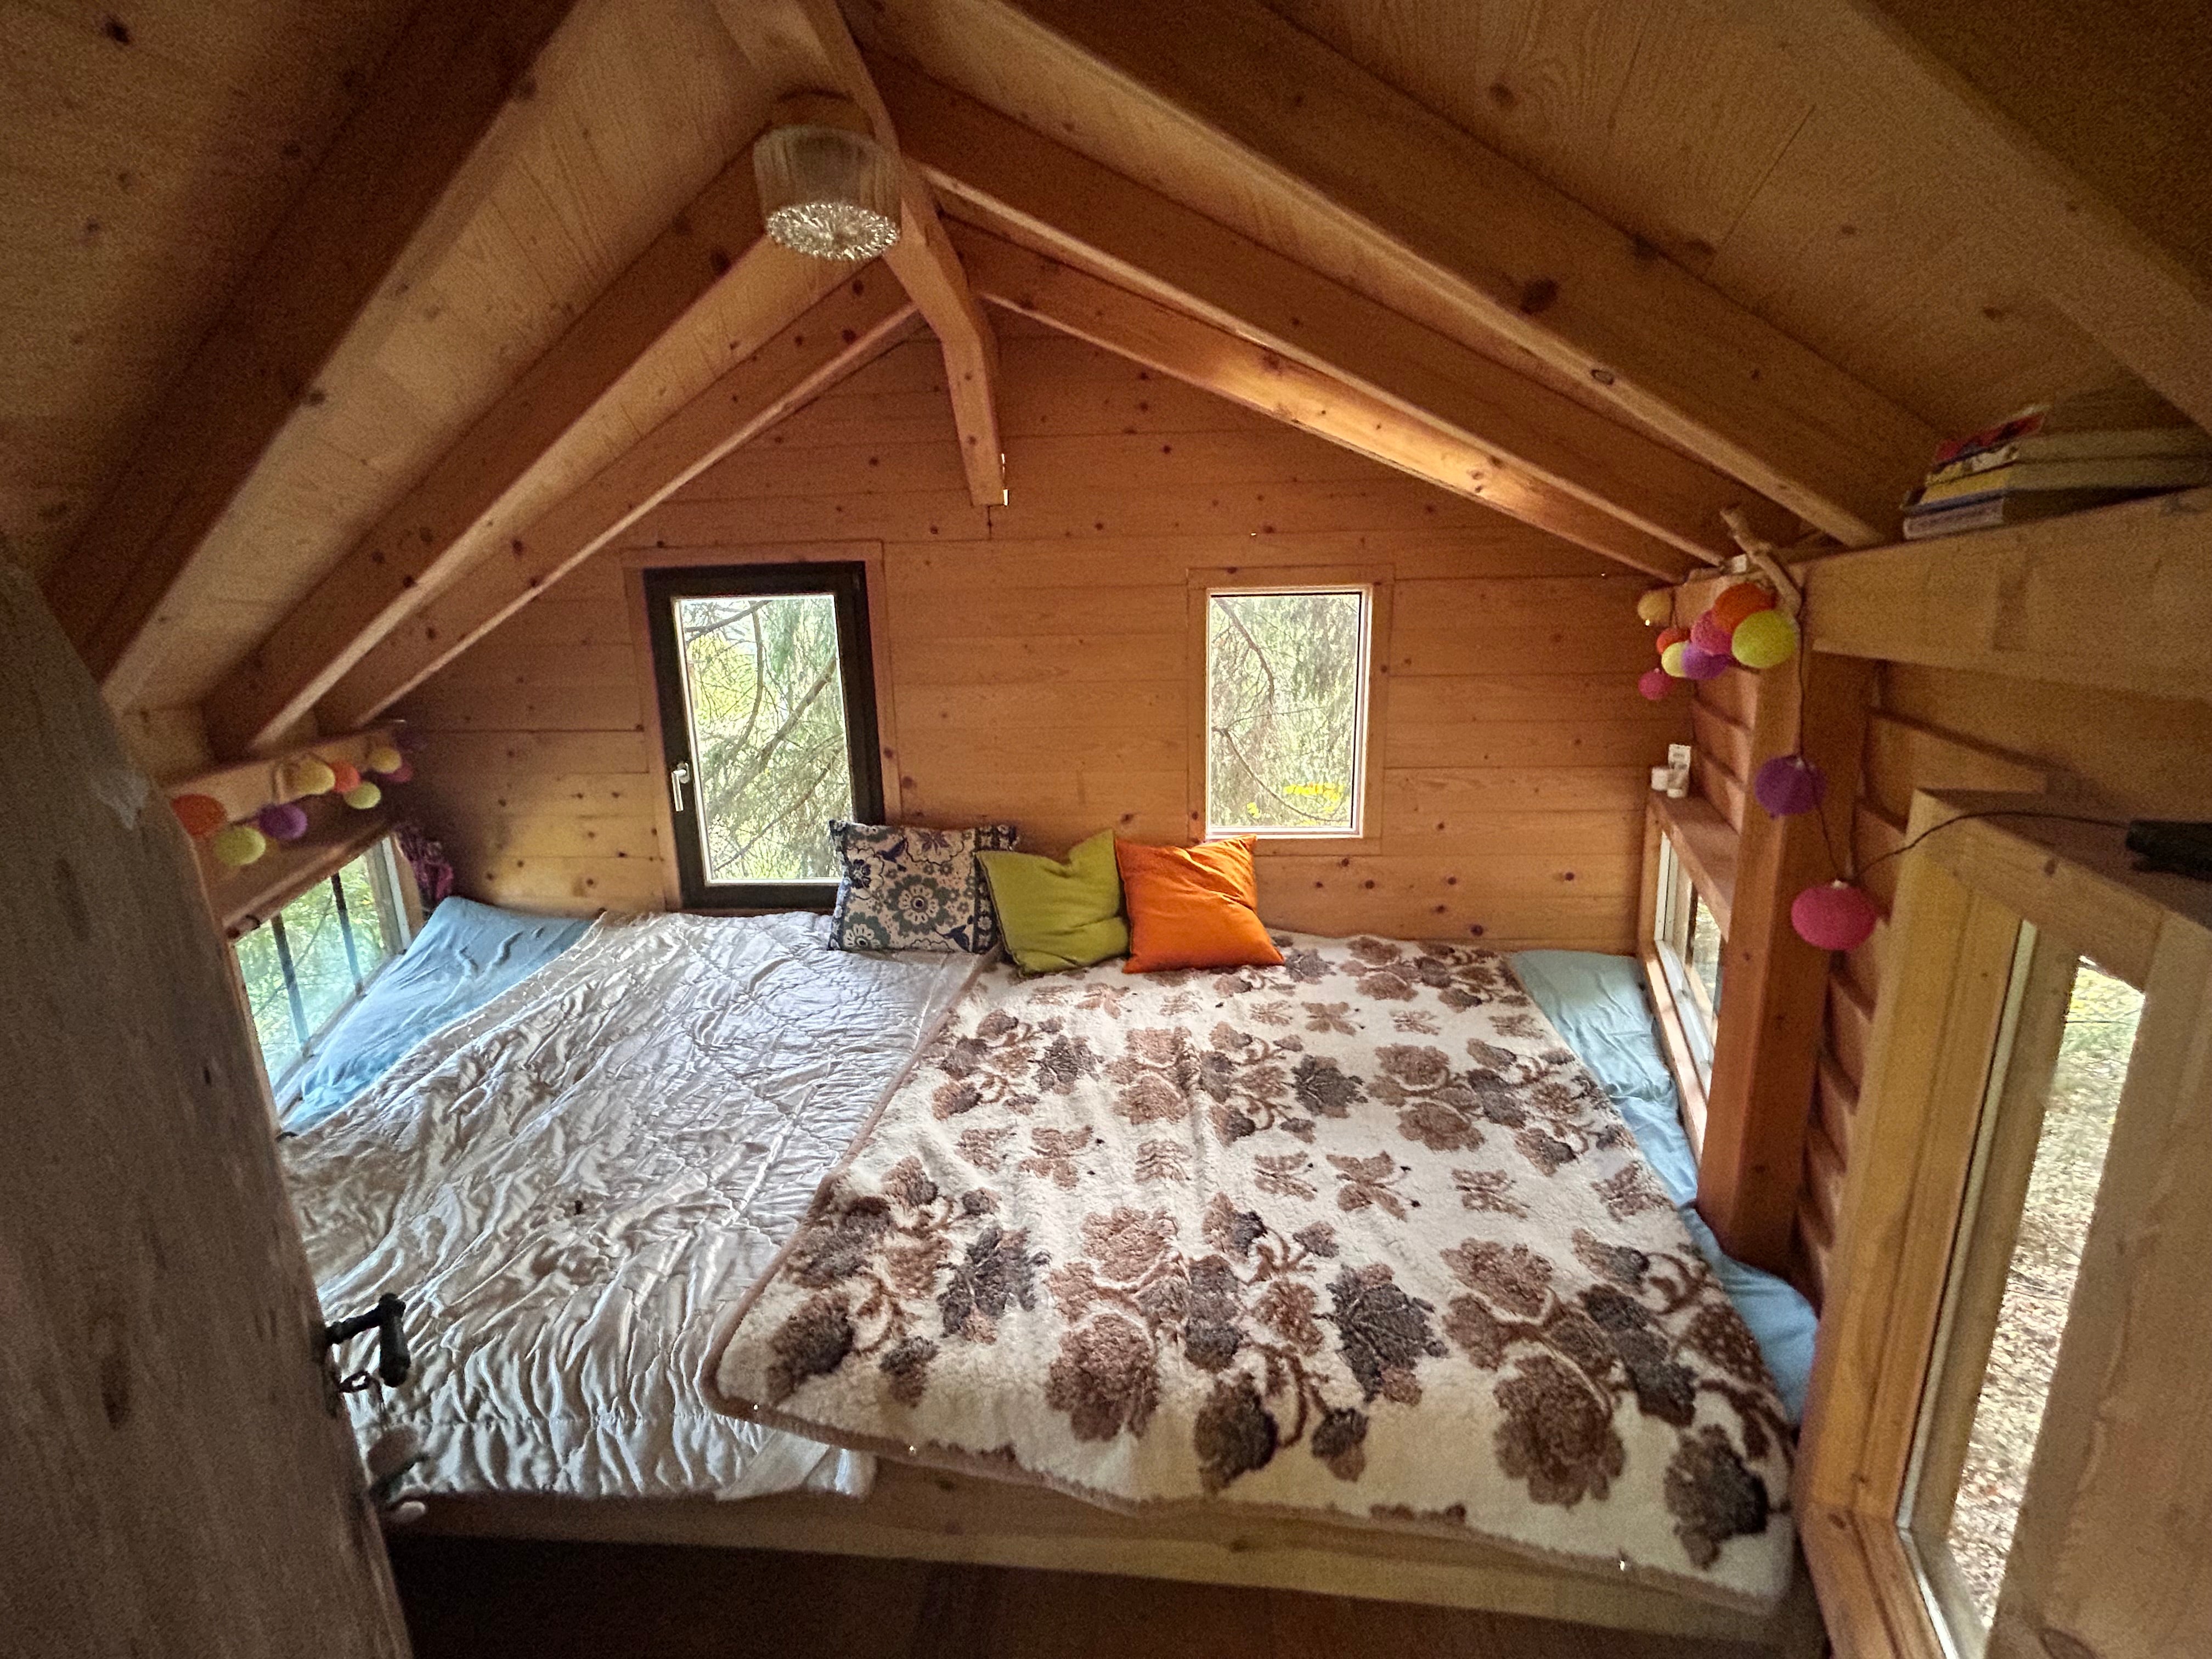
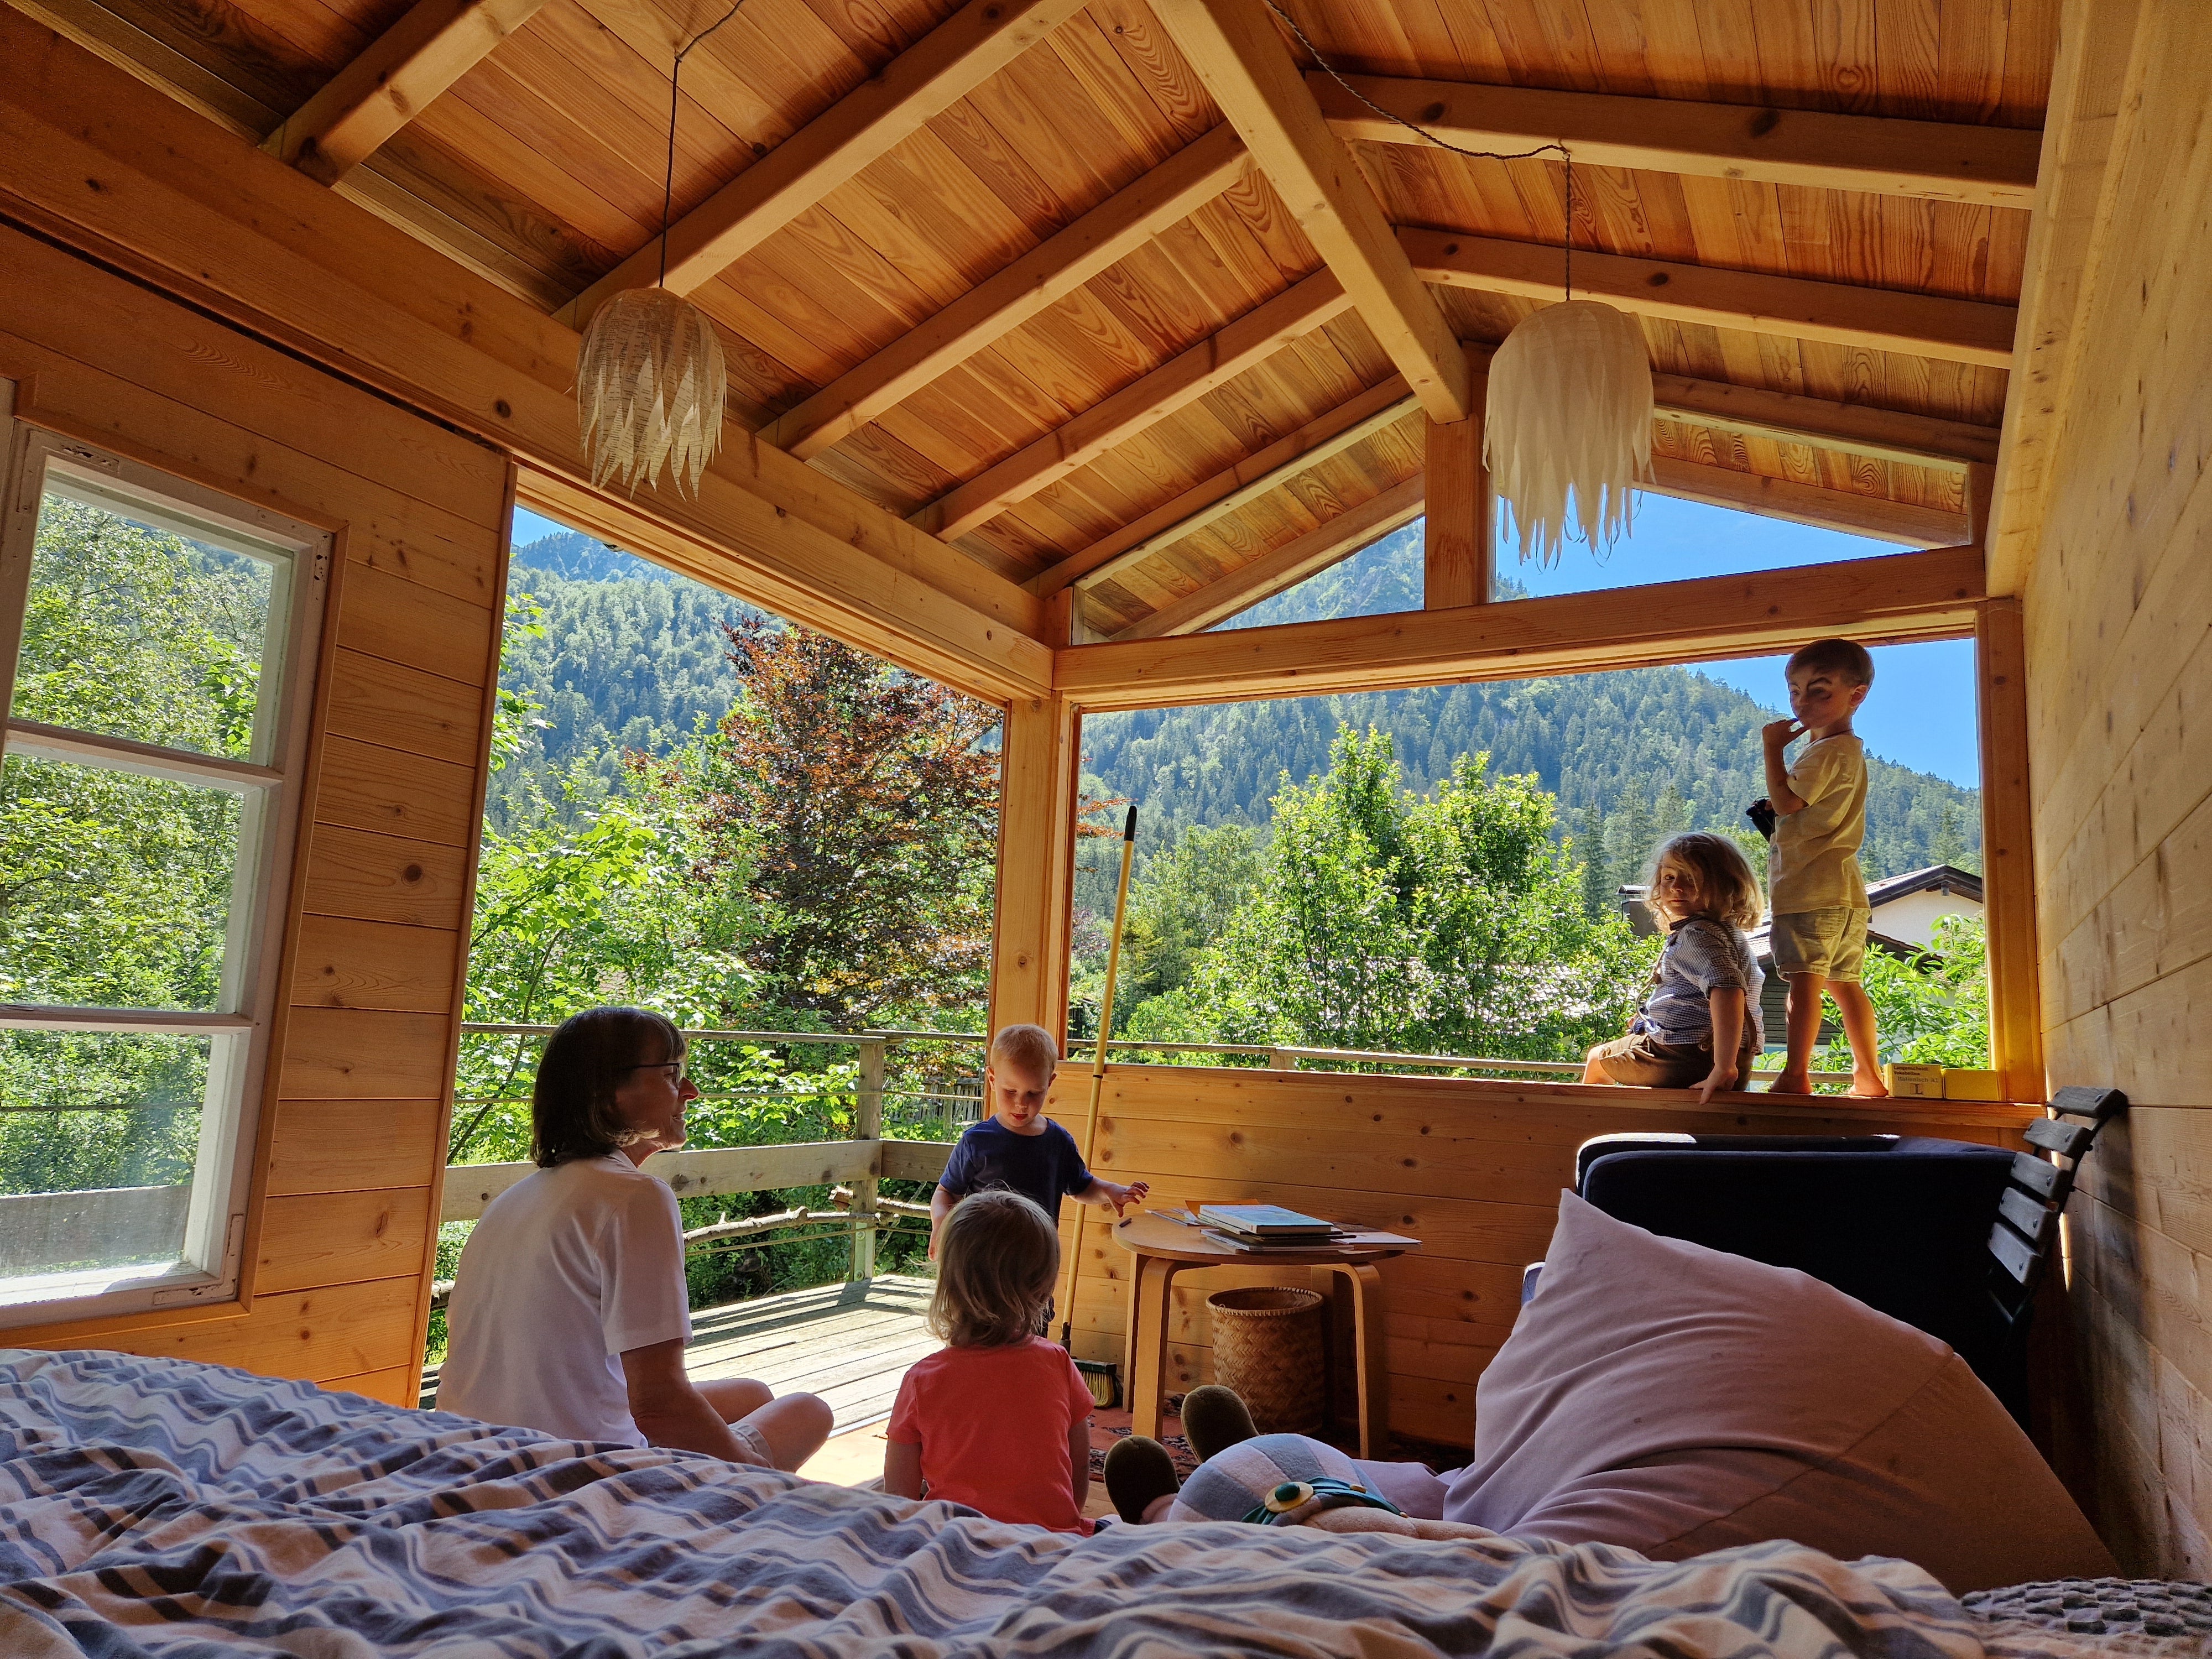
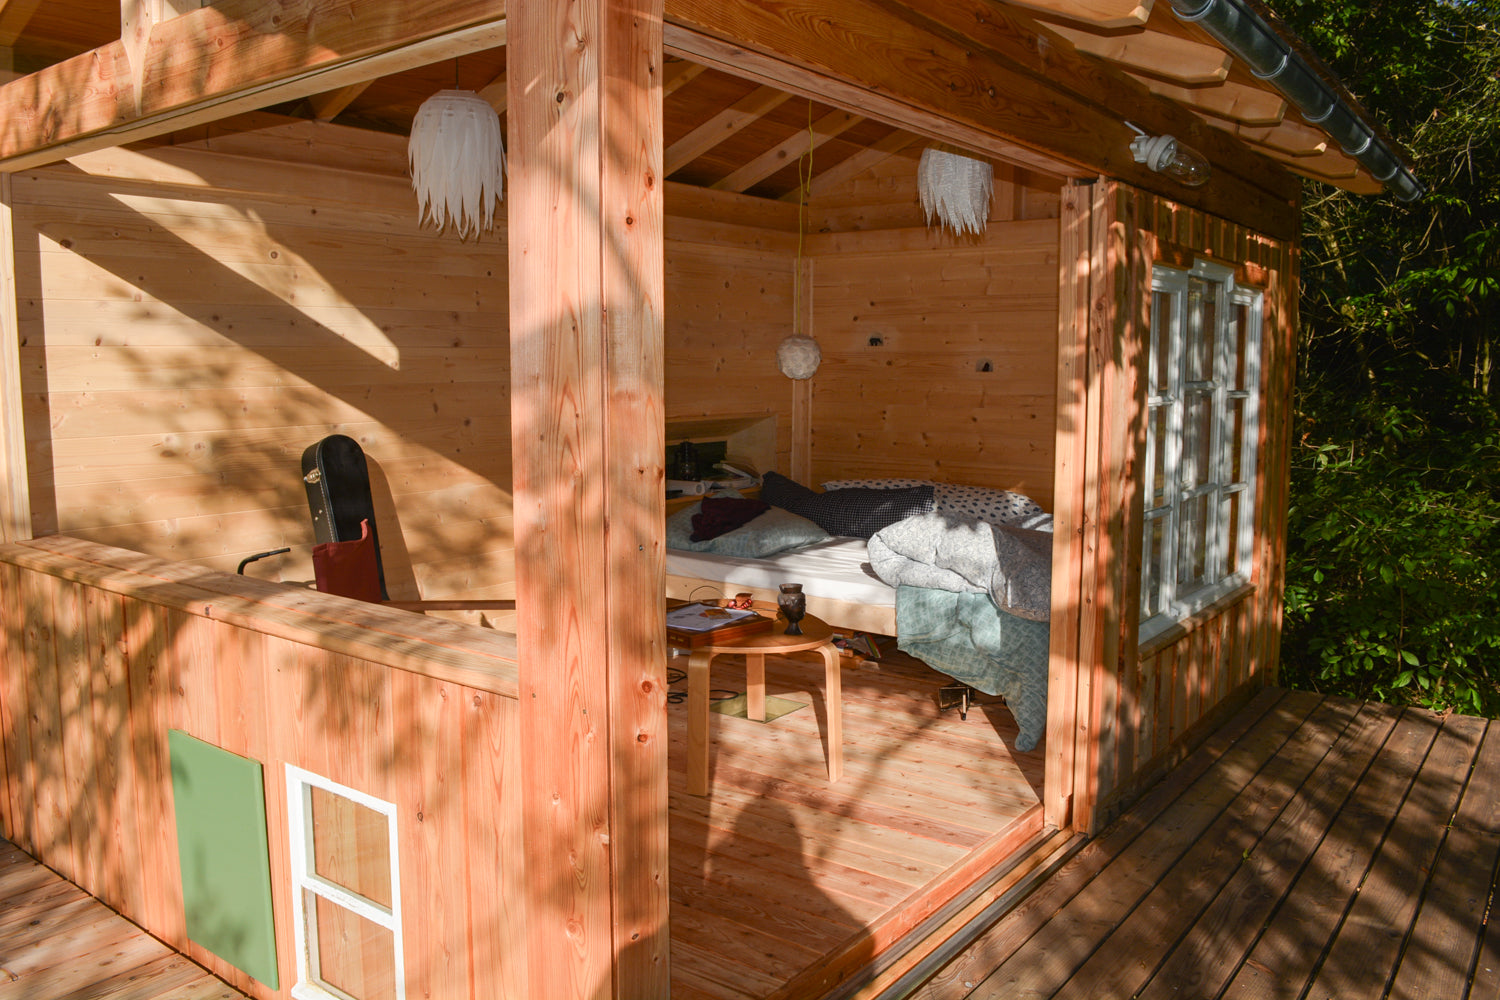
For me, a large bed (at least 140x200cm (4.6x6.6 ft) or a bunk bed) is always the central starting point for interior design, because it's a place where you can just hang out and relax, no matter how old you are. And believe me: there's nothing better than sleeping in a treehouse with the windows open in summer!
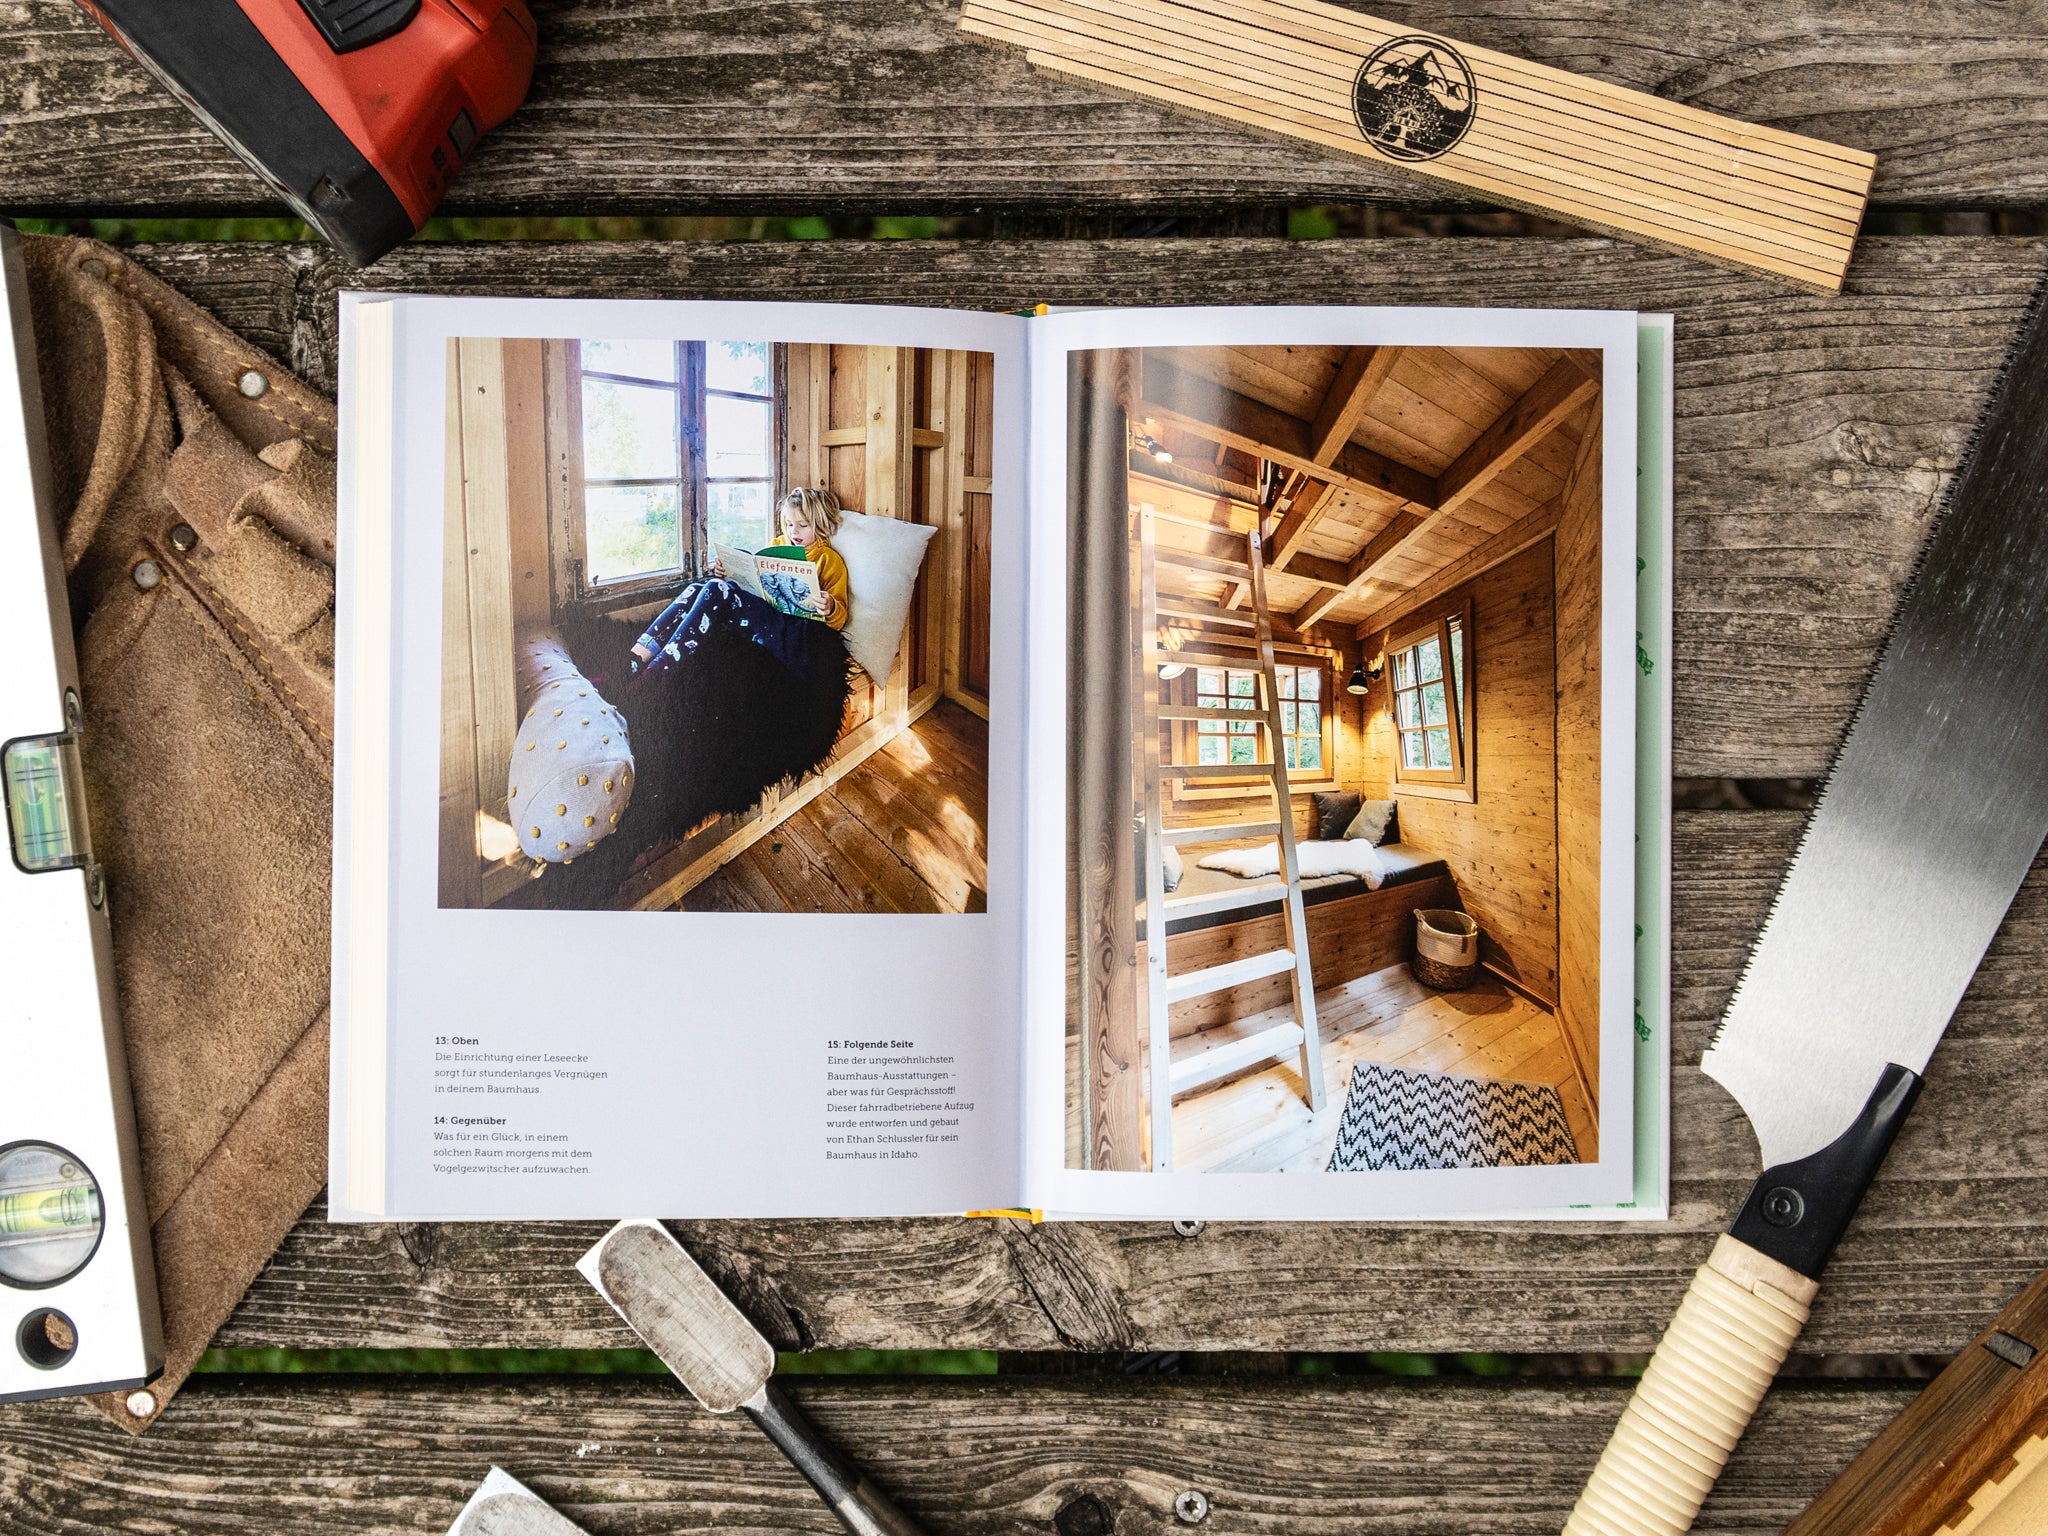
Here are a few basic thoughts on room layout – with example pictures from my first treehouse.
The children are growing up – what comes next?
If you are building the treehouse ‘just’ for your children, you should remember that children grow up quickly! It would be a shame if you put so much work and heart and soul into a children's playhouse that is then abandoned after a few years because the rooms were too small.
So here's my tip: ‘Always build the treehouse and the rooms from an adult's perspective! A treehouse is the perfect retreat for teenagers and stressed adults alike to recharge their batteries!’
A large bed, a small table and two stools – that's all you need to be happy.
It is important to plan the traffic routes and movement spaces around the furniture sensibly – they are often larger than expected, as there are often several people in the house and you may be carrying or putting something down (shoes, clothes, backpack, etc.). In addition, there are windows and doors that should not stick in your face when open.
Tip: ‘Plan all main routes so that two adults can comfortably pass each other.’
Checklist VI – Space requirements for adult children
✔ Floor space of at least 2,5 × 3,5 m (8,2×11,5 ft)
✔ Room height at least 2,1 m (6,9 ft) (with low ceilings, you automatically crouch down!)
✔ Large door and window openings to the terrace / sun to capture heat.
✔ Large terrace at least 130 cm (4.3 ft) wide, for a mattress or two wide yoga mats for sleeping under the tree canopy!
✔ Main paths at least 100 cm wide
✔ Electricity connection + 3 sockets (light, heating, guitar amp, coffee machine, vacuum cleaner, etc.)
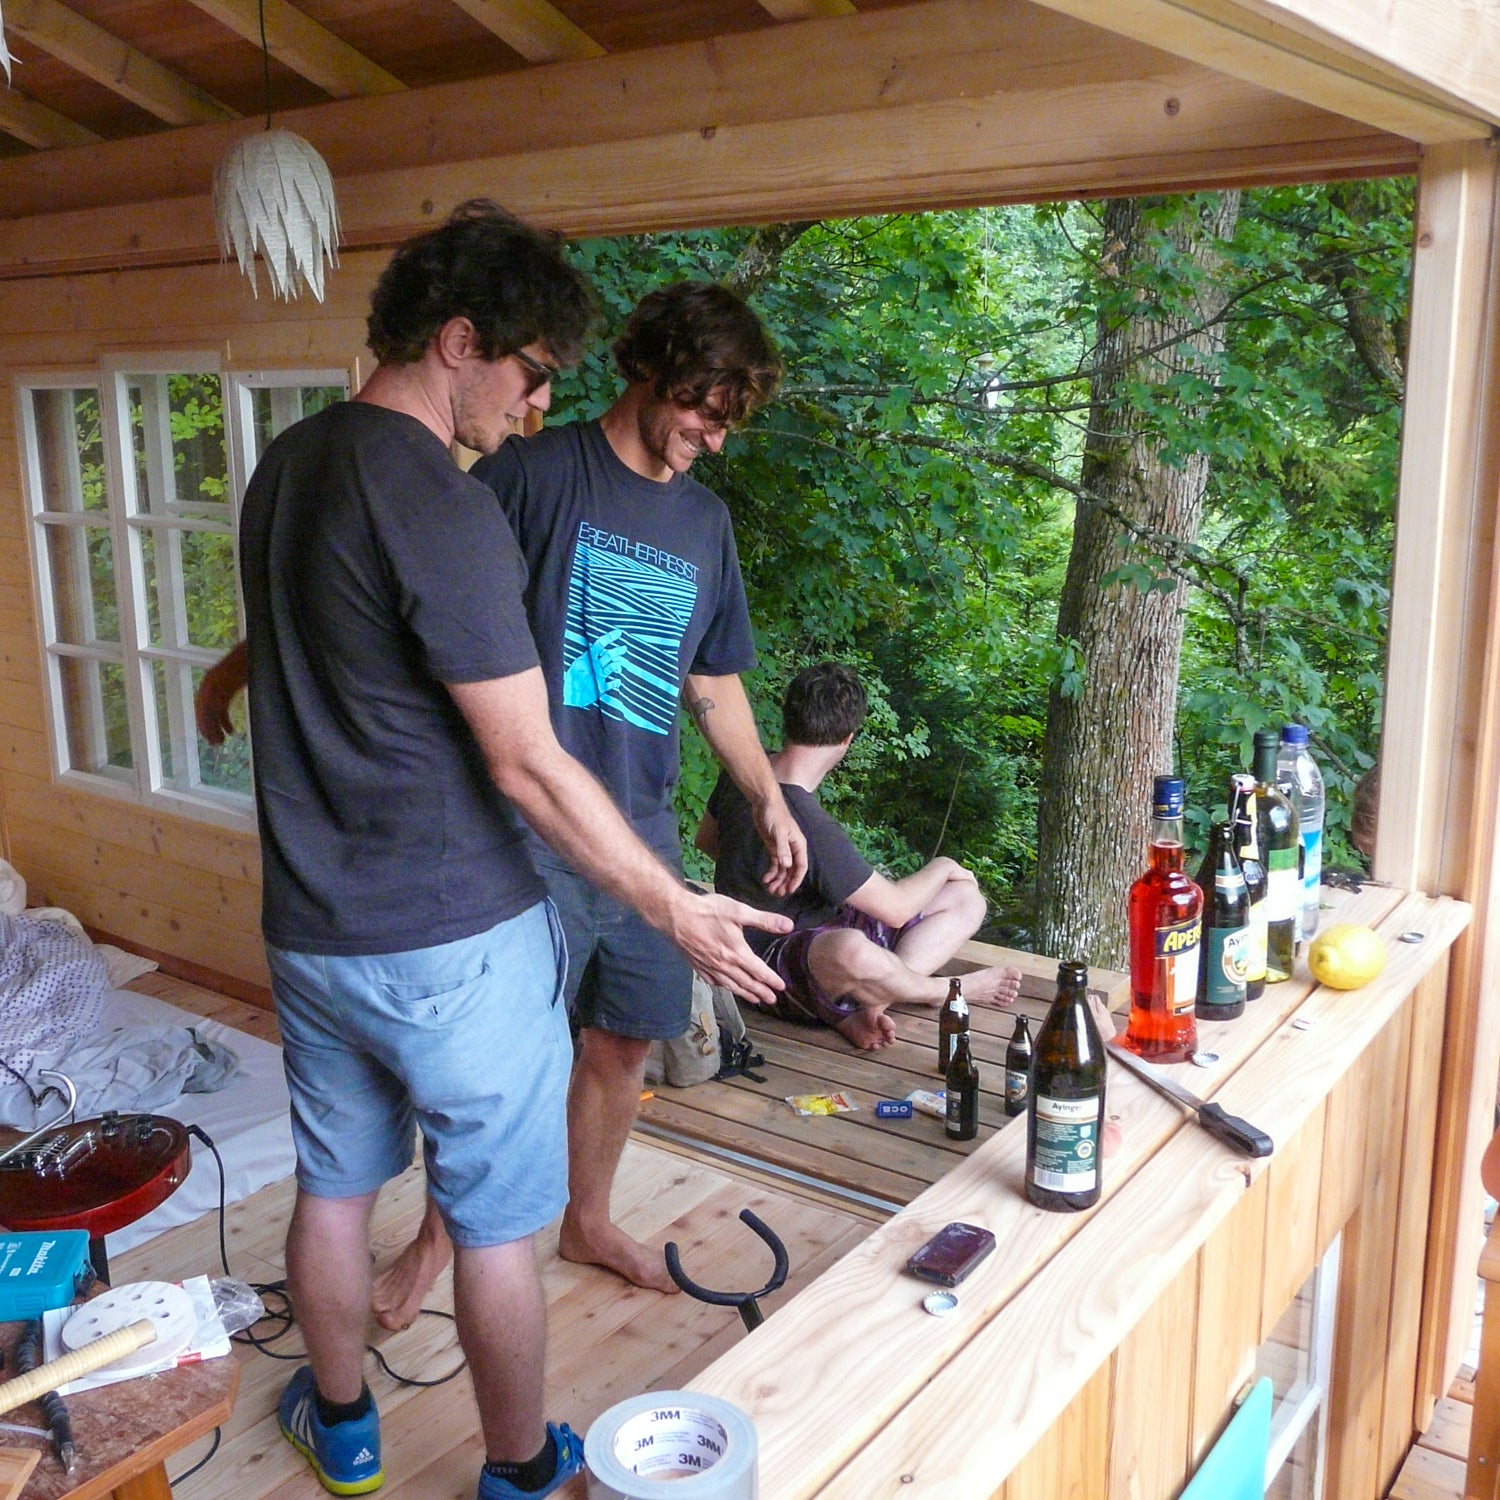
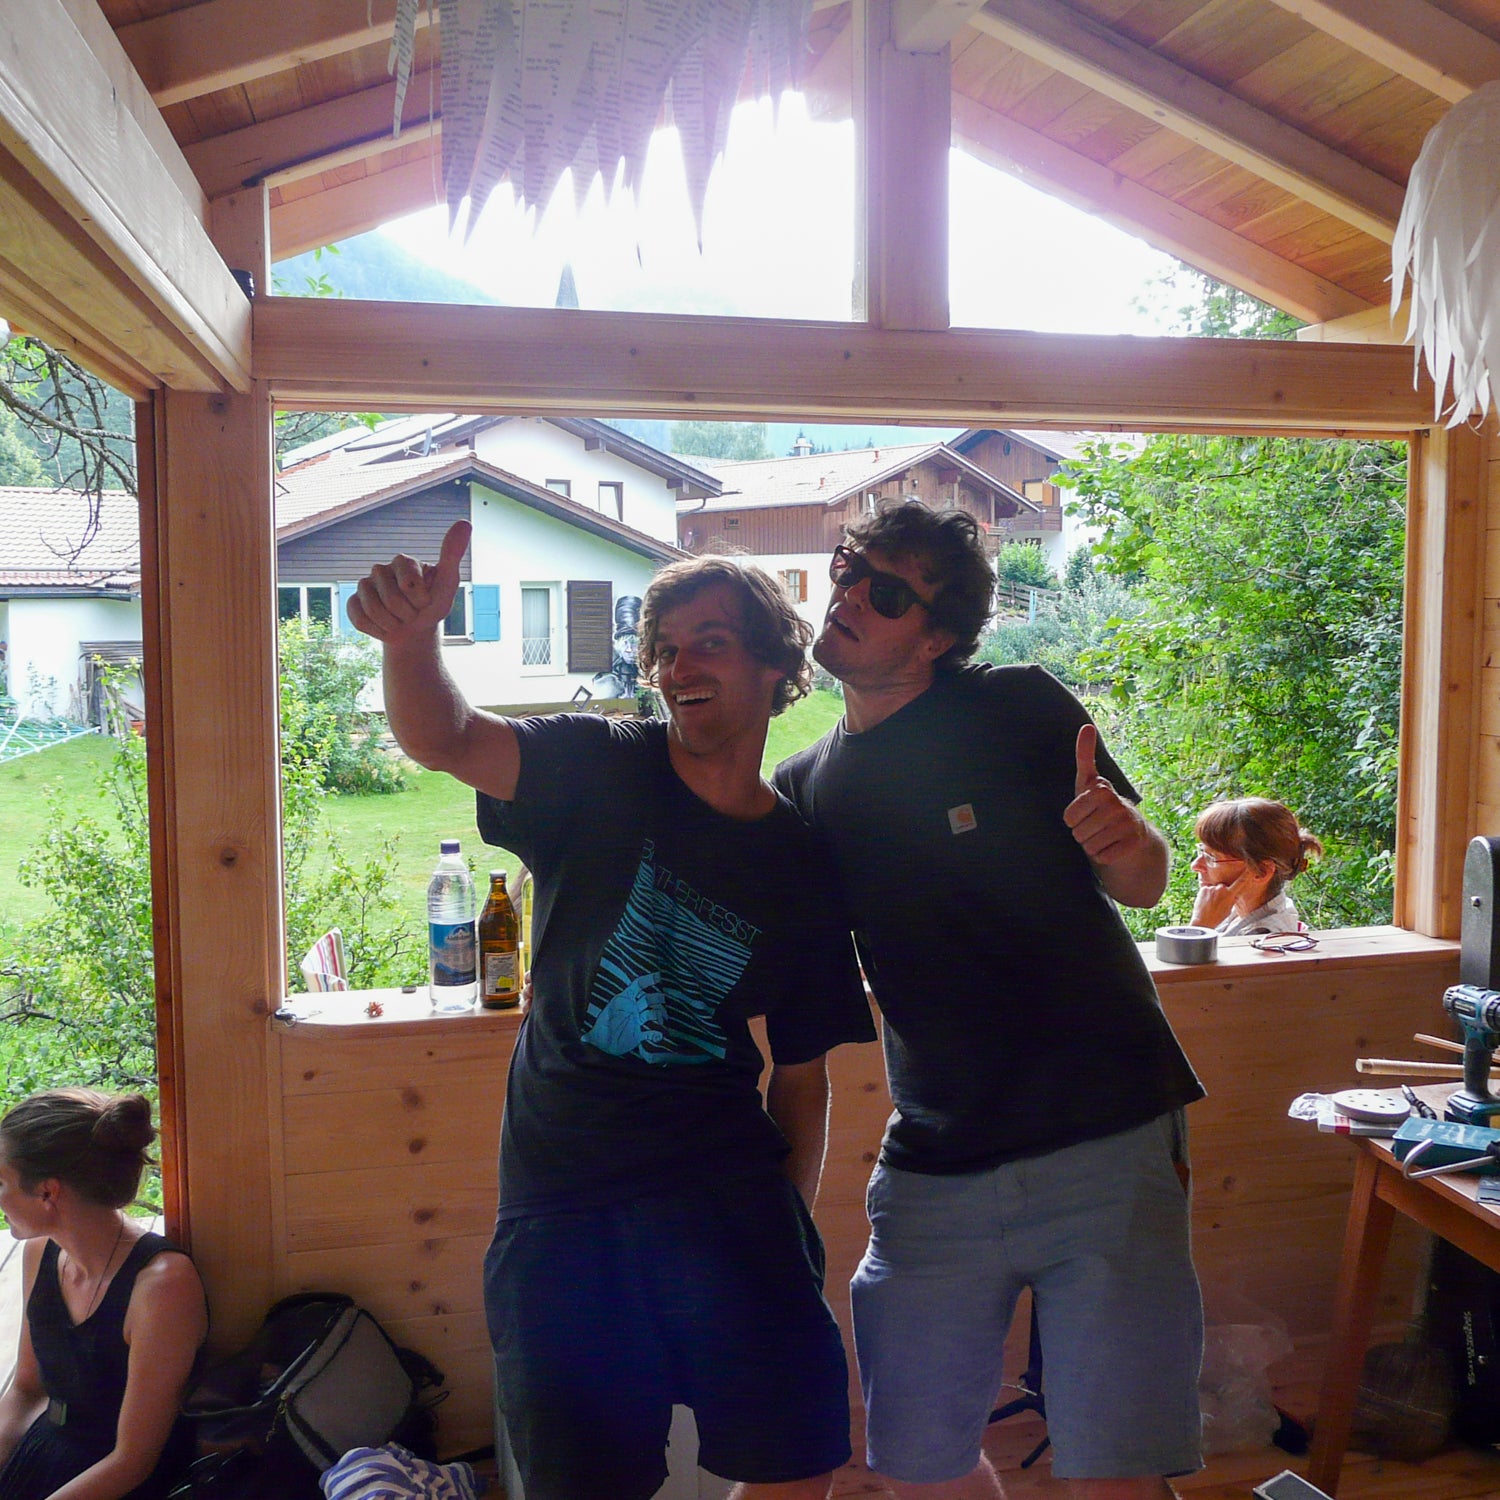
My brother and I give this a big thumbs up :)
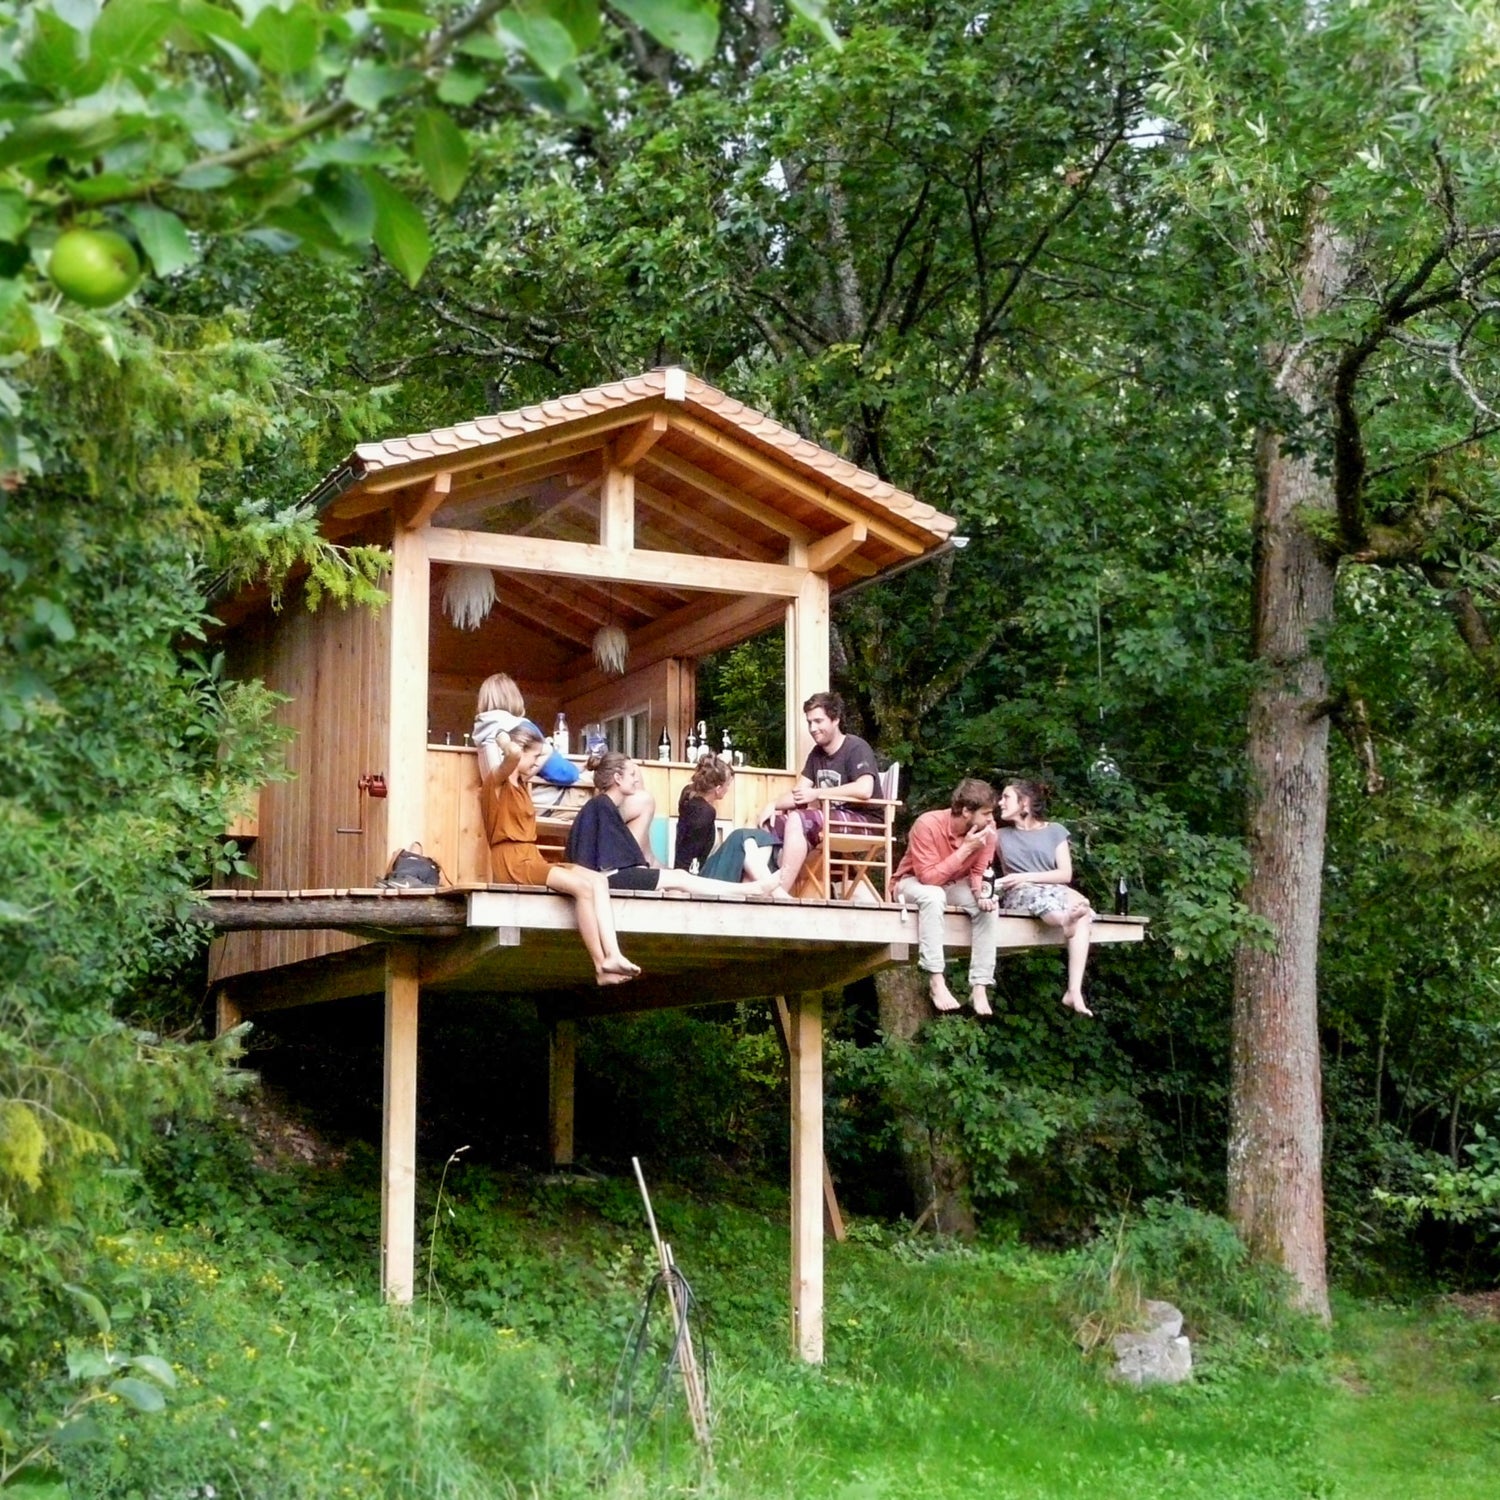
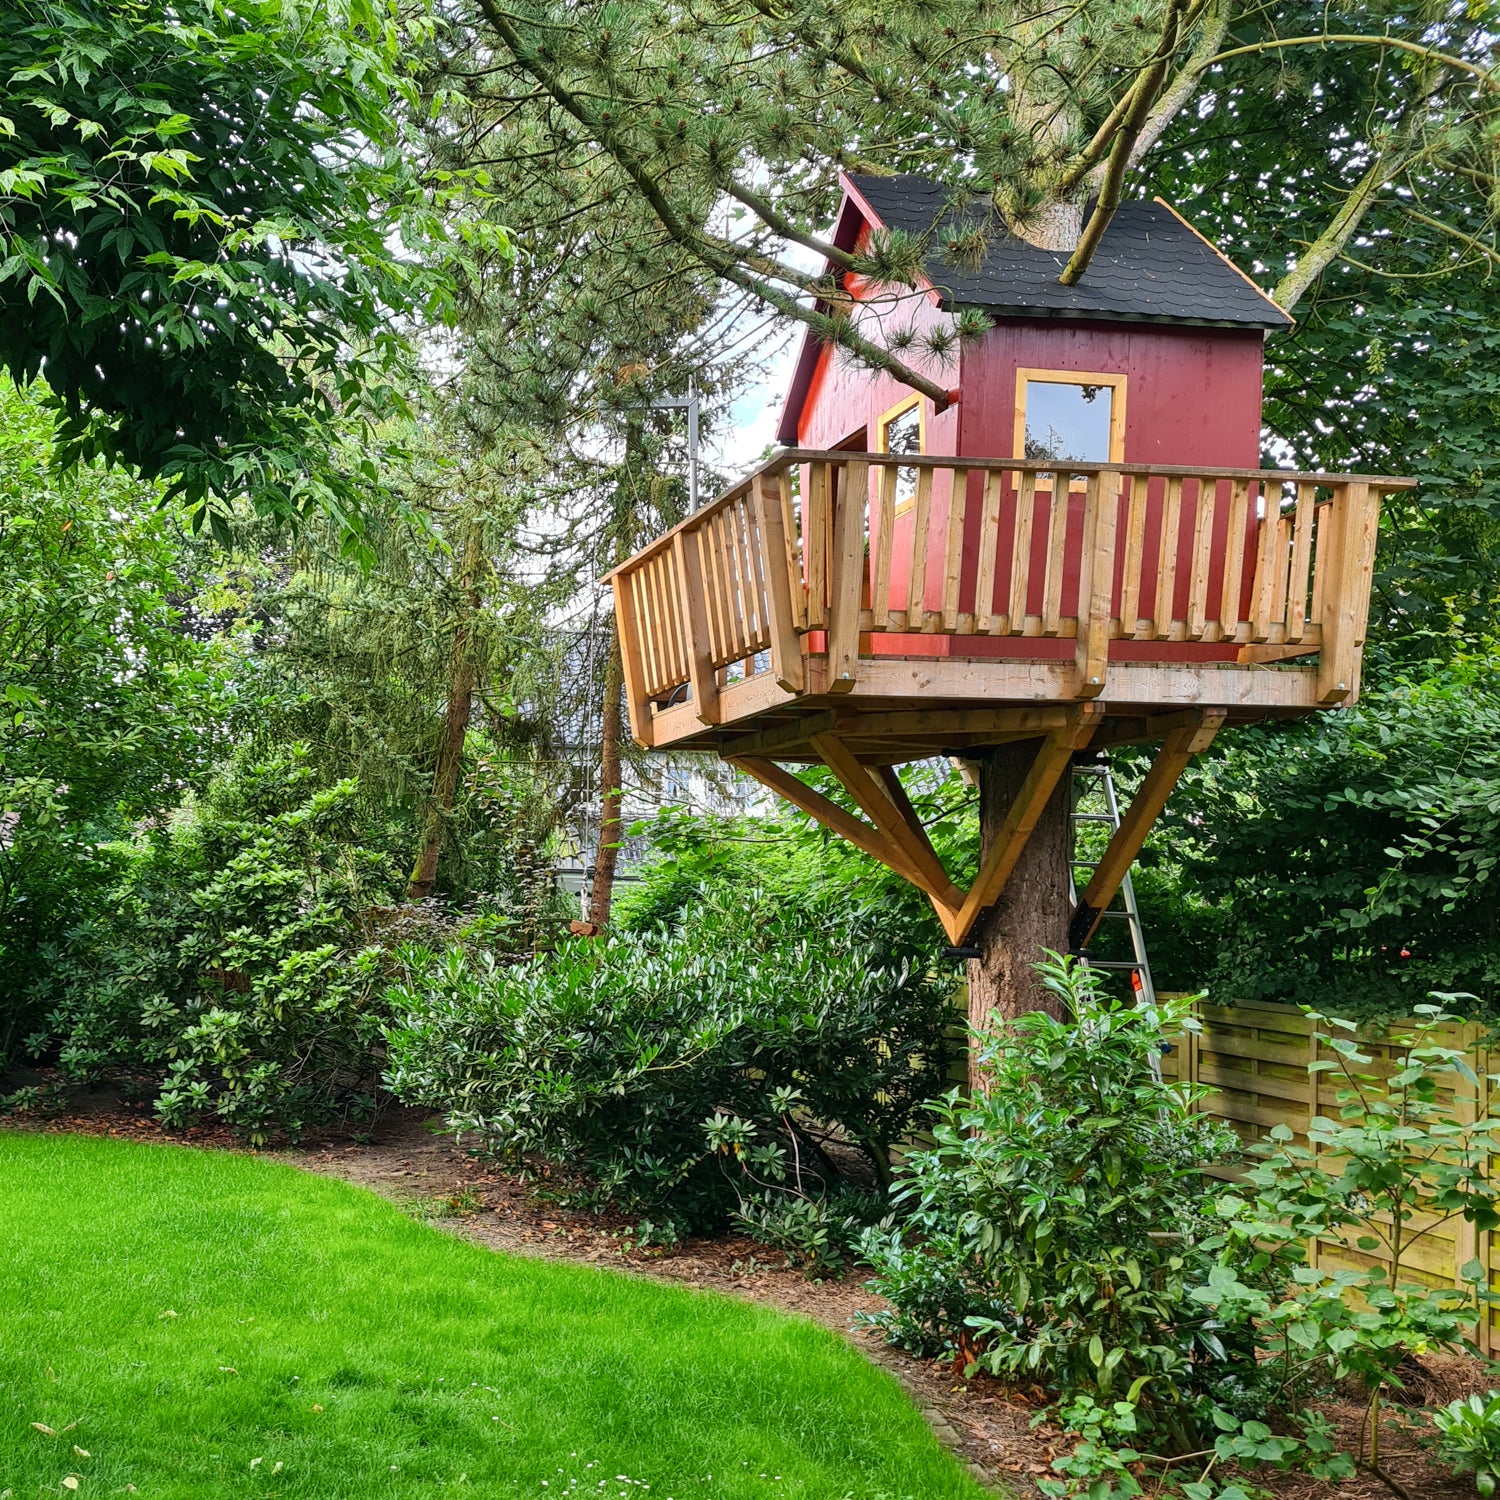
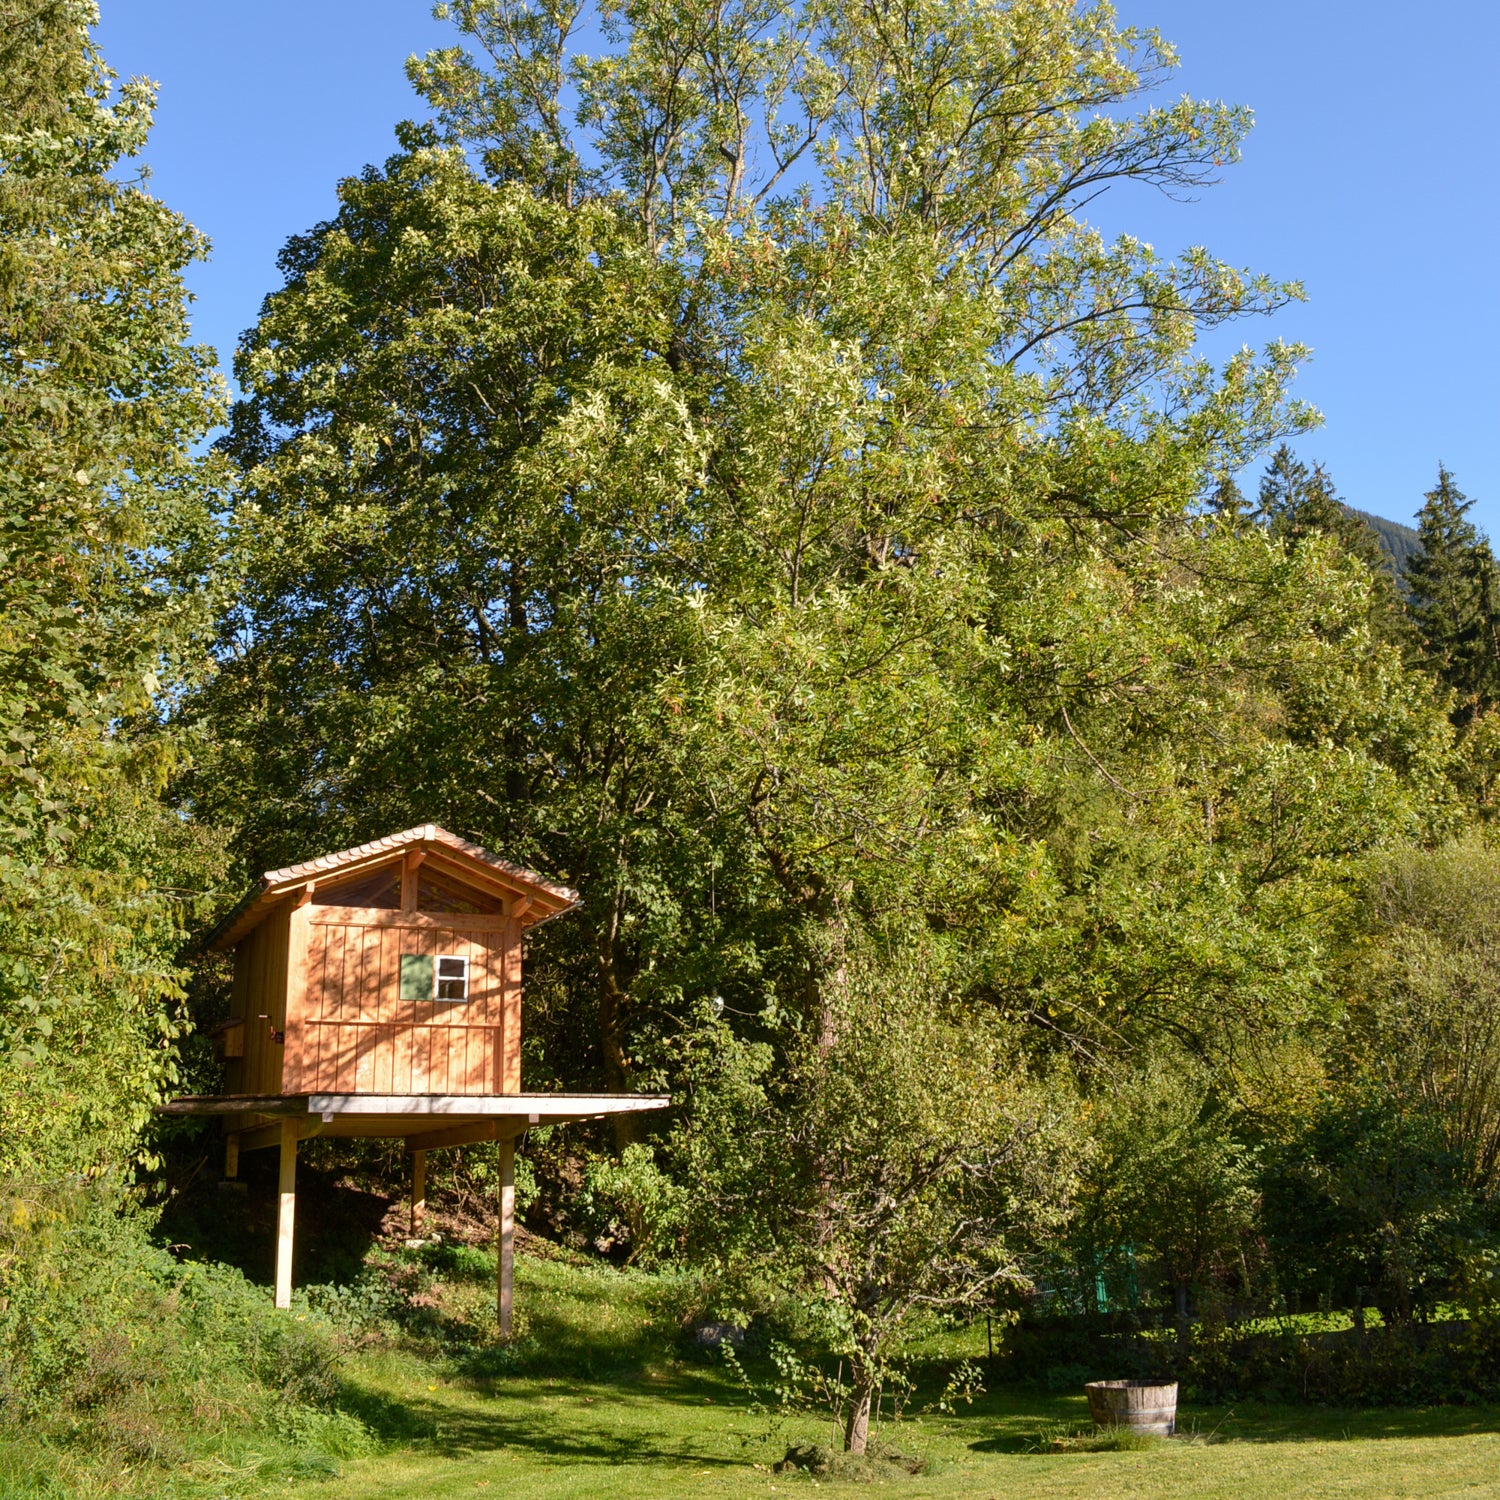
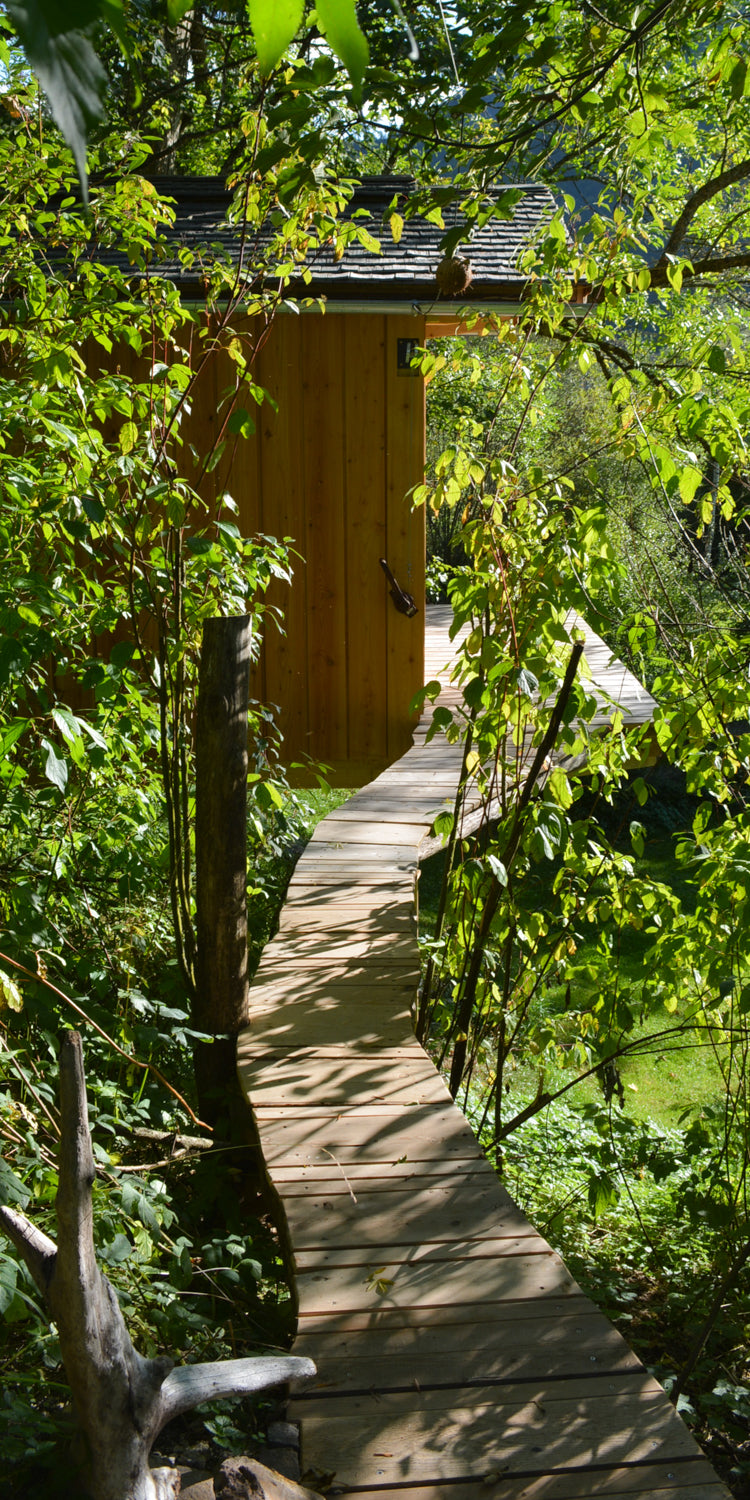
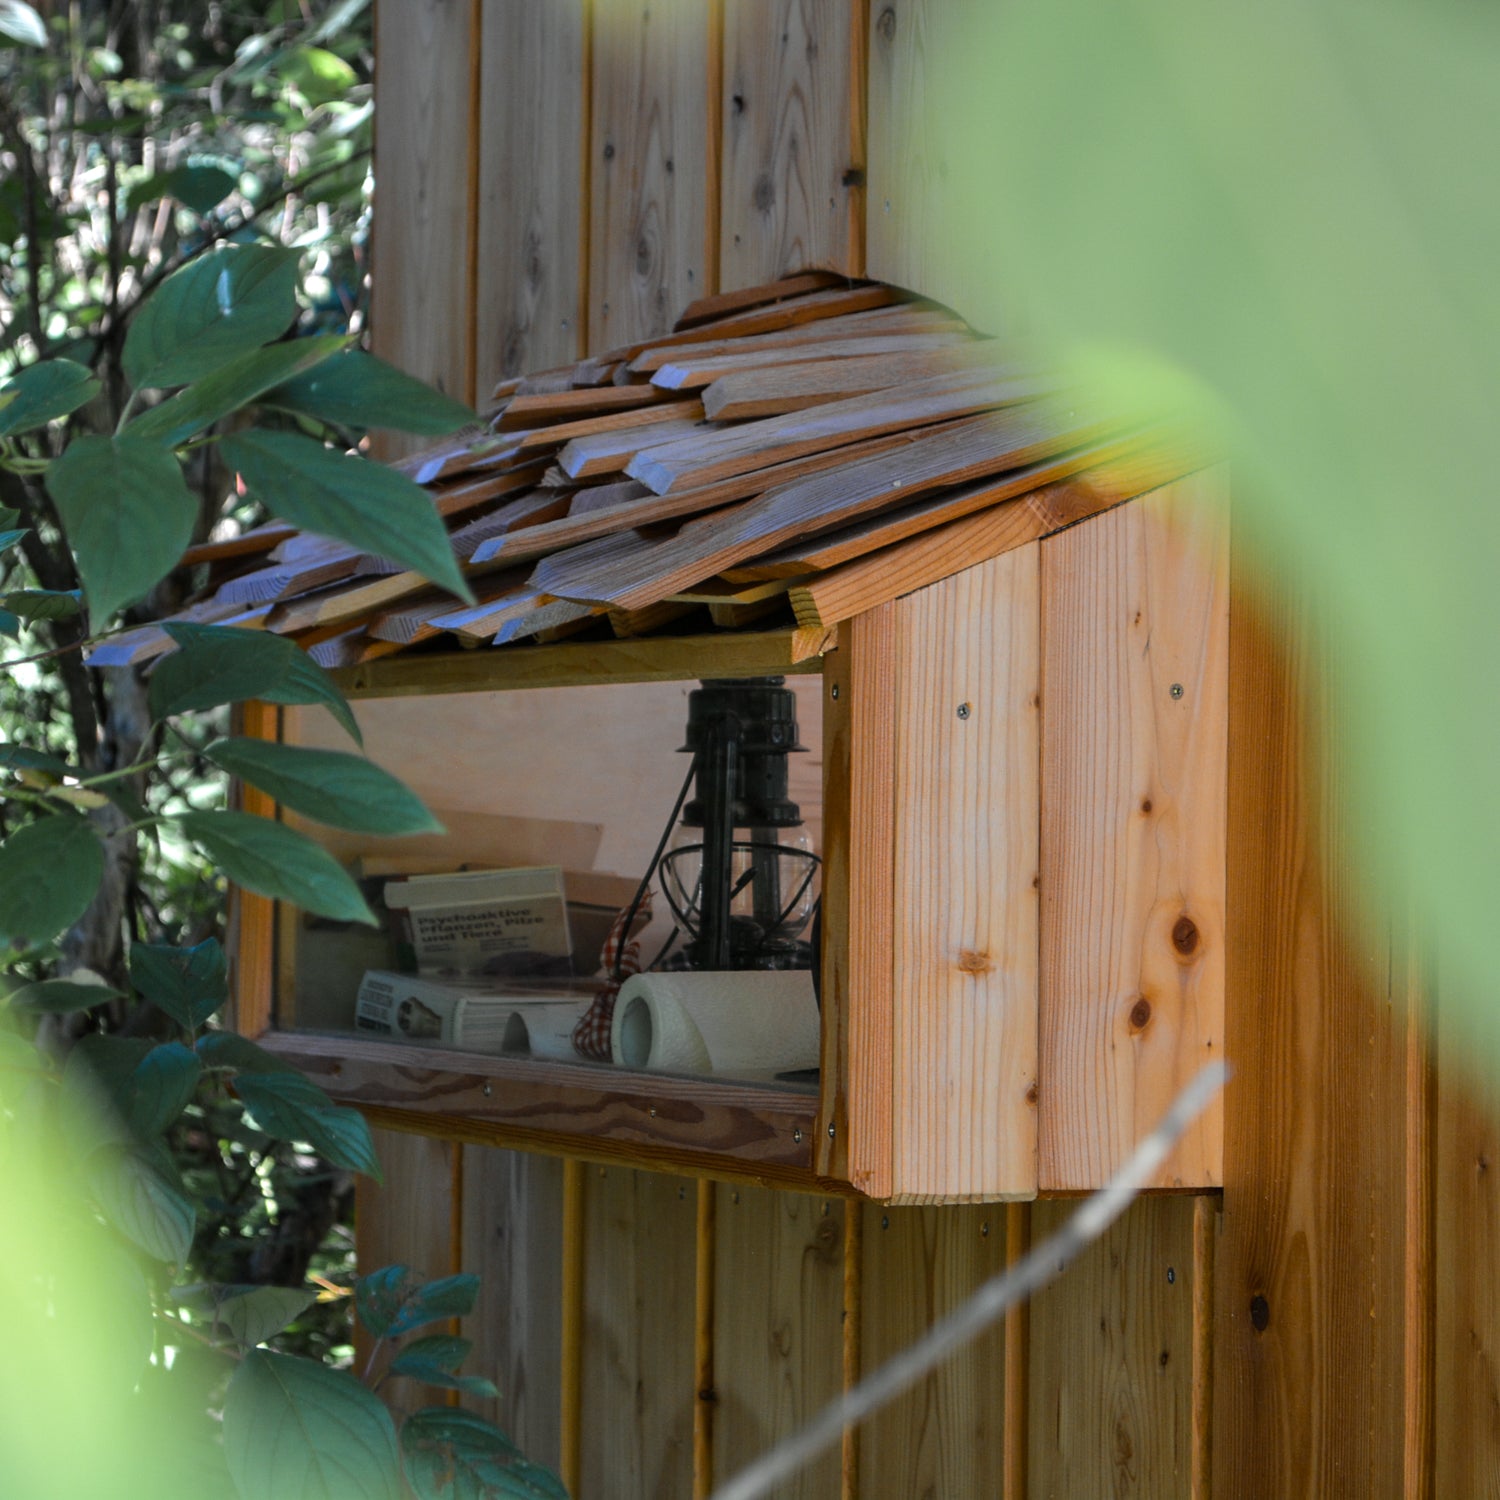
Example: My first ‘treehouse’
Here you can see my very first treehouse (actually a raised stilt treehouse, as the large trees are on the neighbouring property). I built it in 2015, before I started my carpentry apprenticeship, using only a cordless screwdriver, a hand-held circular saw, a chop saw and a router.
The layout is simple and, in my opinion, perfect:
- Facing the morning sun, I have DIY sliding doors with large windows so that the first rays of sunshine warm up the house right away.
- Large openings towards the terrace (sun + south) were very important to me. On the one hand, to enjoy the sun, and on the other hand, to blend the inside and outside and be as close to nature as possible.
- To the north, on the other hand, there is more of a cosy cave with small windows that open up the view without allowing anyone to see into the garden.
Basic dimensions of my treehouse:
✔ Platform floor space: 4 × 5,5 m (13,1×18 ft)
✔ Treehouse floor space: 2,5 × 4 m (8,2×13,1 ft)
✔ Clear wall height inside 2,4 m (7,8 ft)
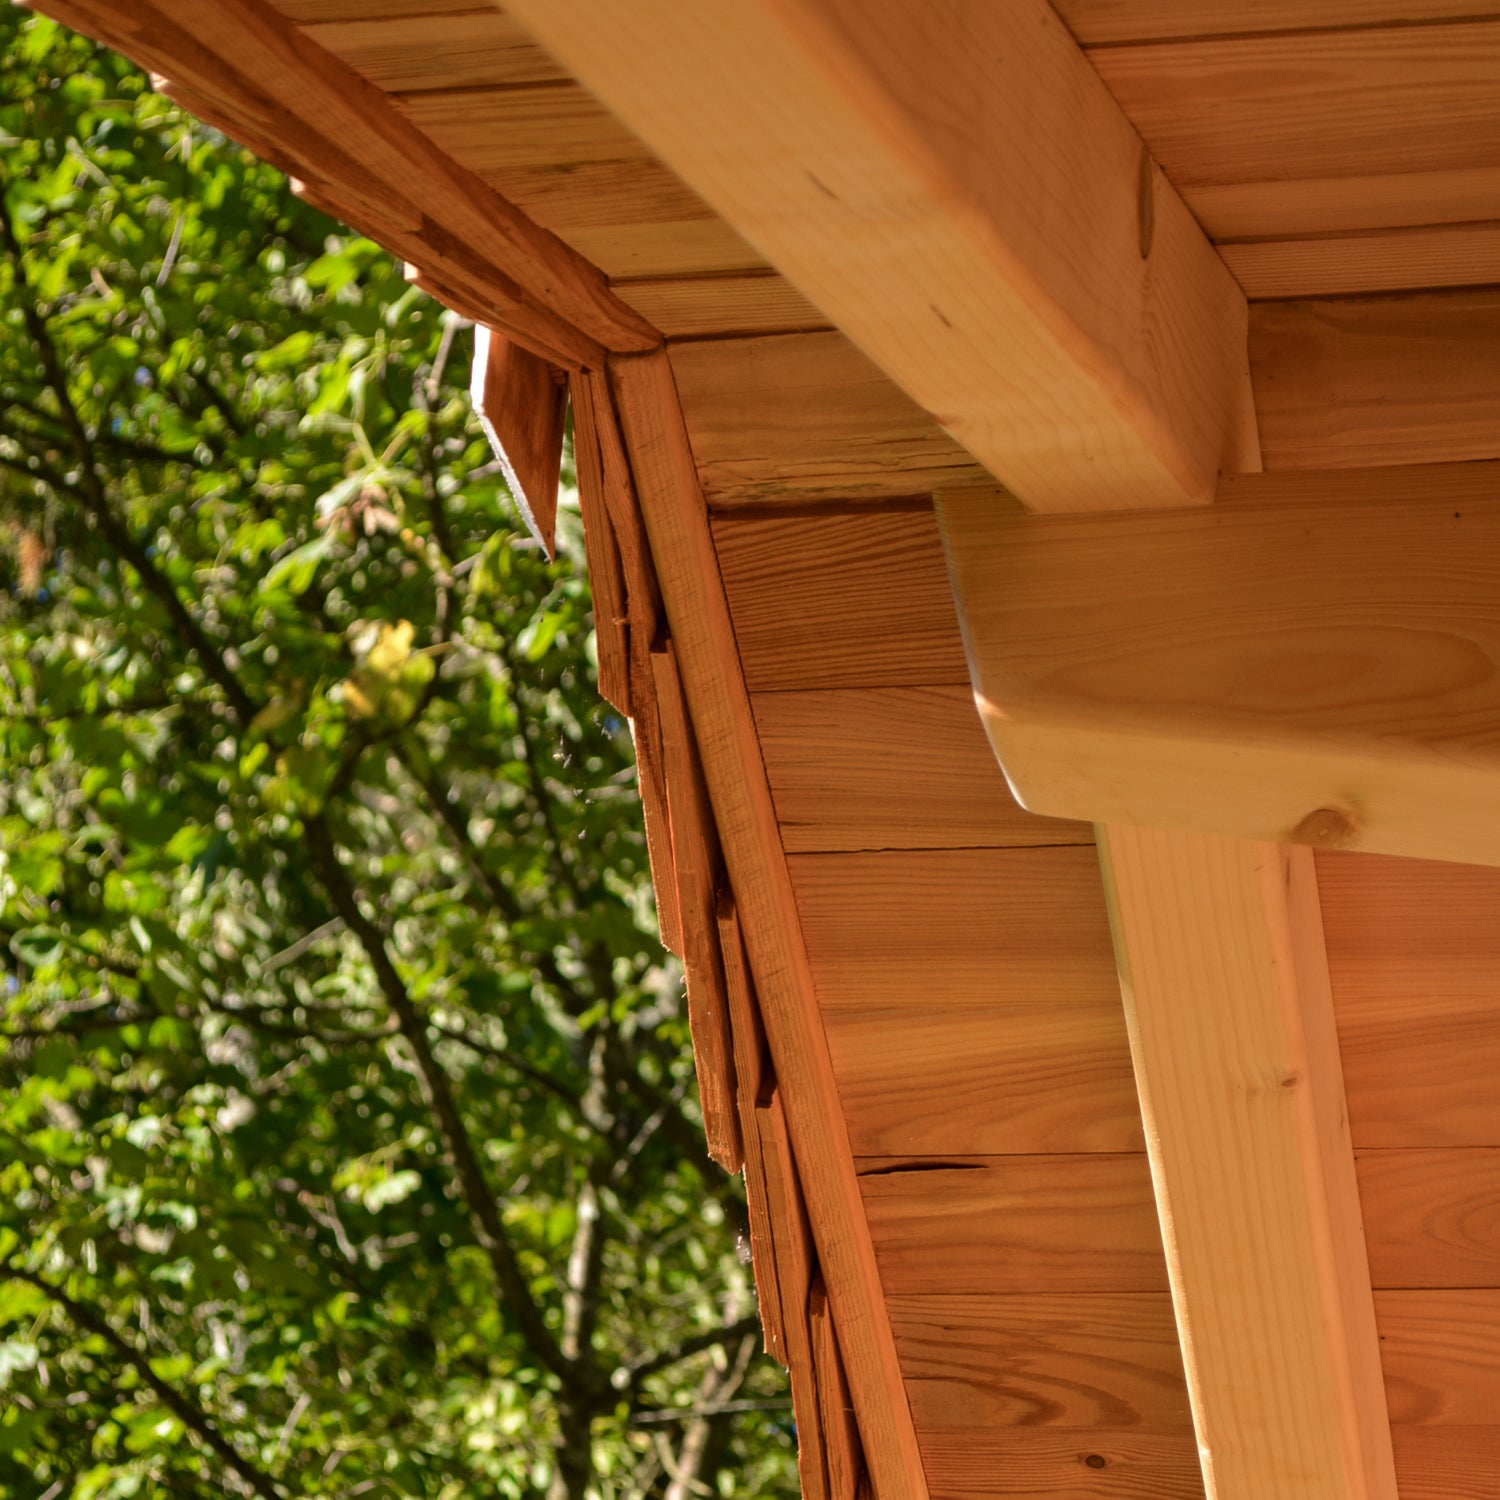
✔ Roof pitch: 30° larch shingles

Plan for the long term – your children grow up faster than you think. Then they will either want to sleep there with their partner, or the treehouse will become available for the parents – so a large double bed is always the first thing I plan for ;)
Most treehouses are far too small, cramped and uncomfortable! The best thing to do is to arrange a few pieces of furniture as closely together as you have planned in your treehouse design and move around naturally... you usually need more space than you think.
The art of treehouse building lies in creating the ultimate cosiness in the smallest of spaces and knowing right from the start exactly which corners you will want to spend time in later on.
4. The perfect platform height
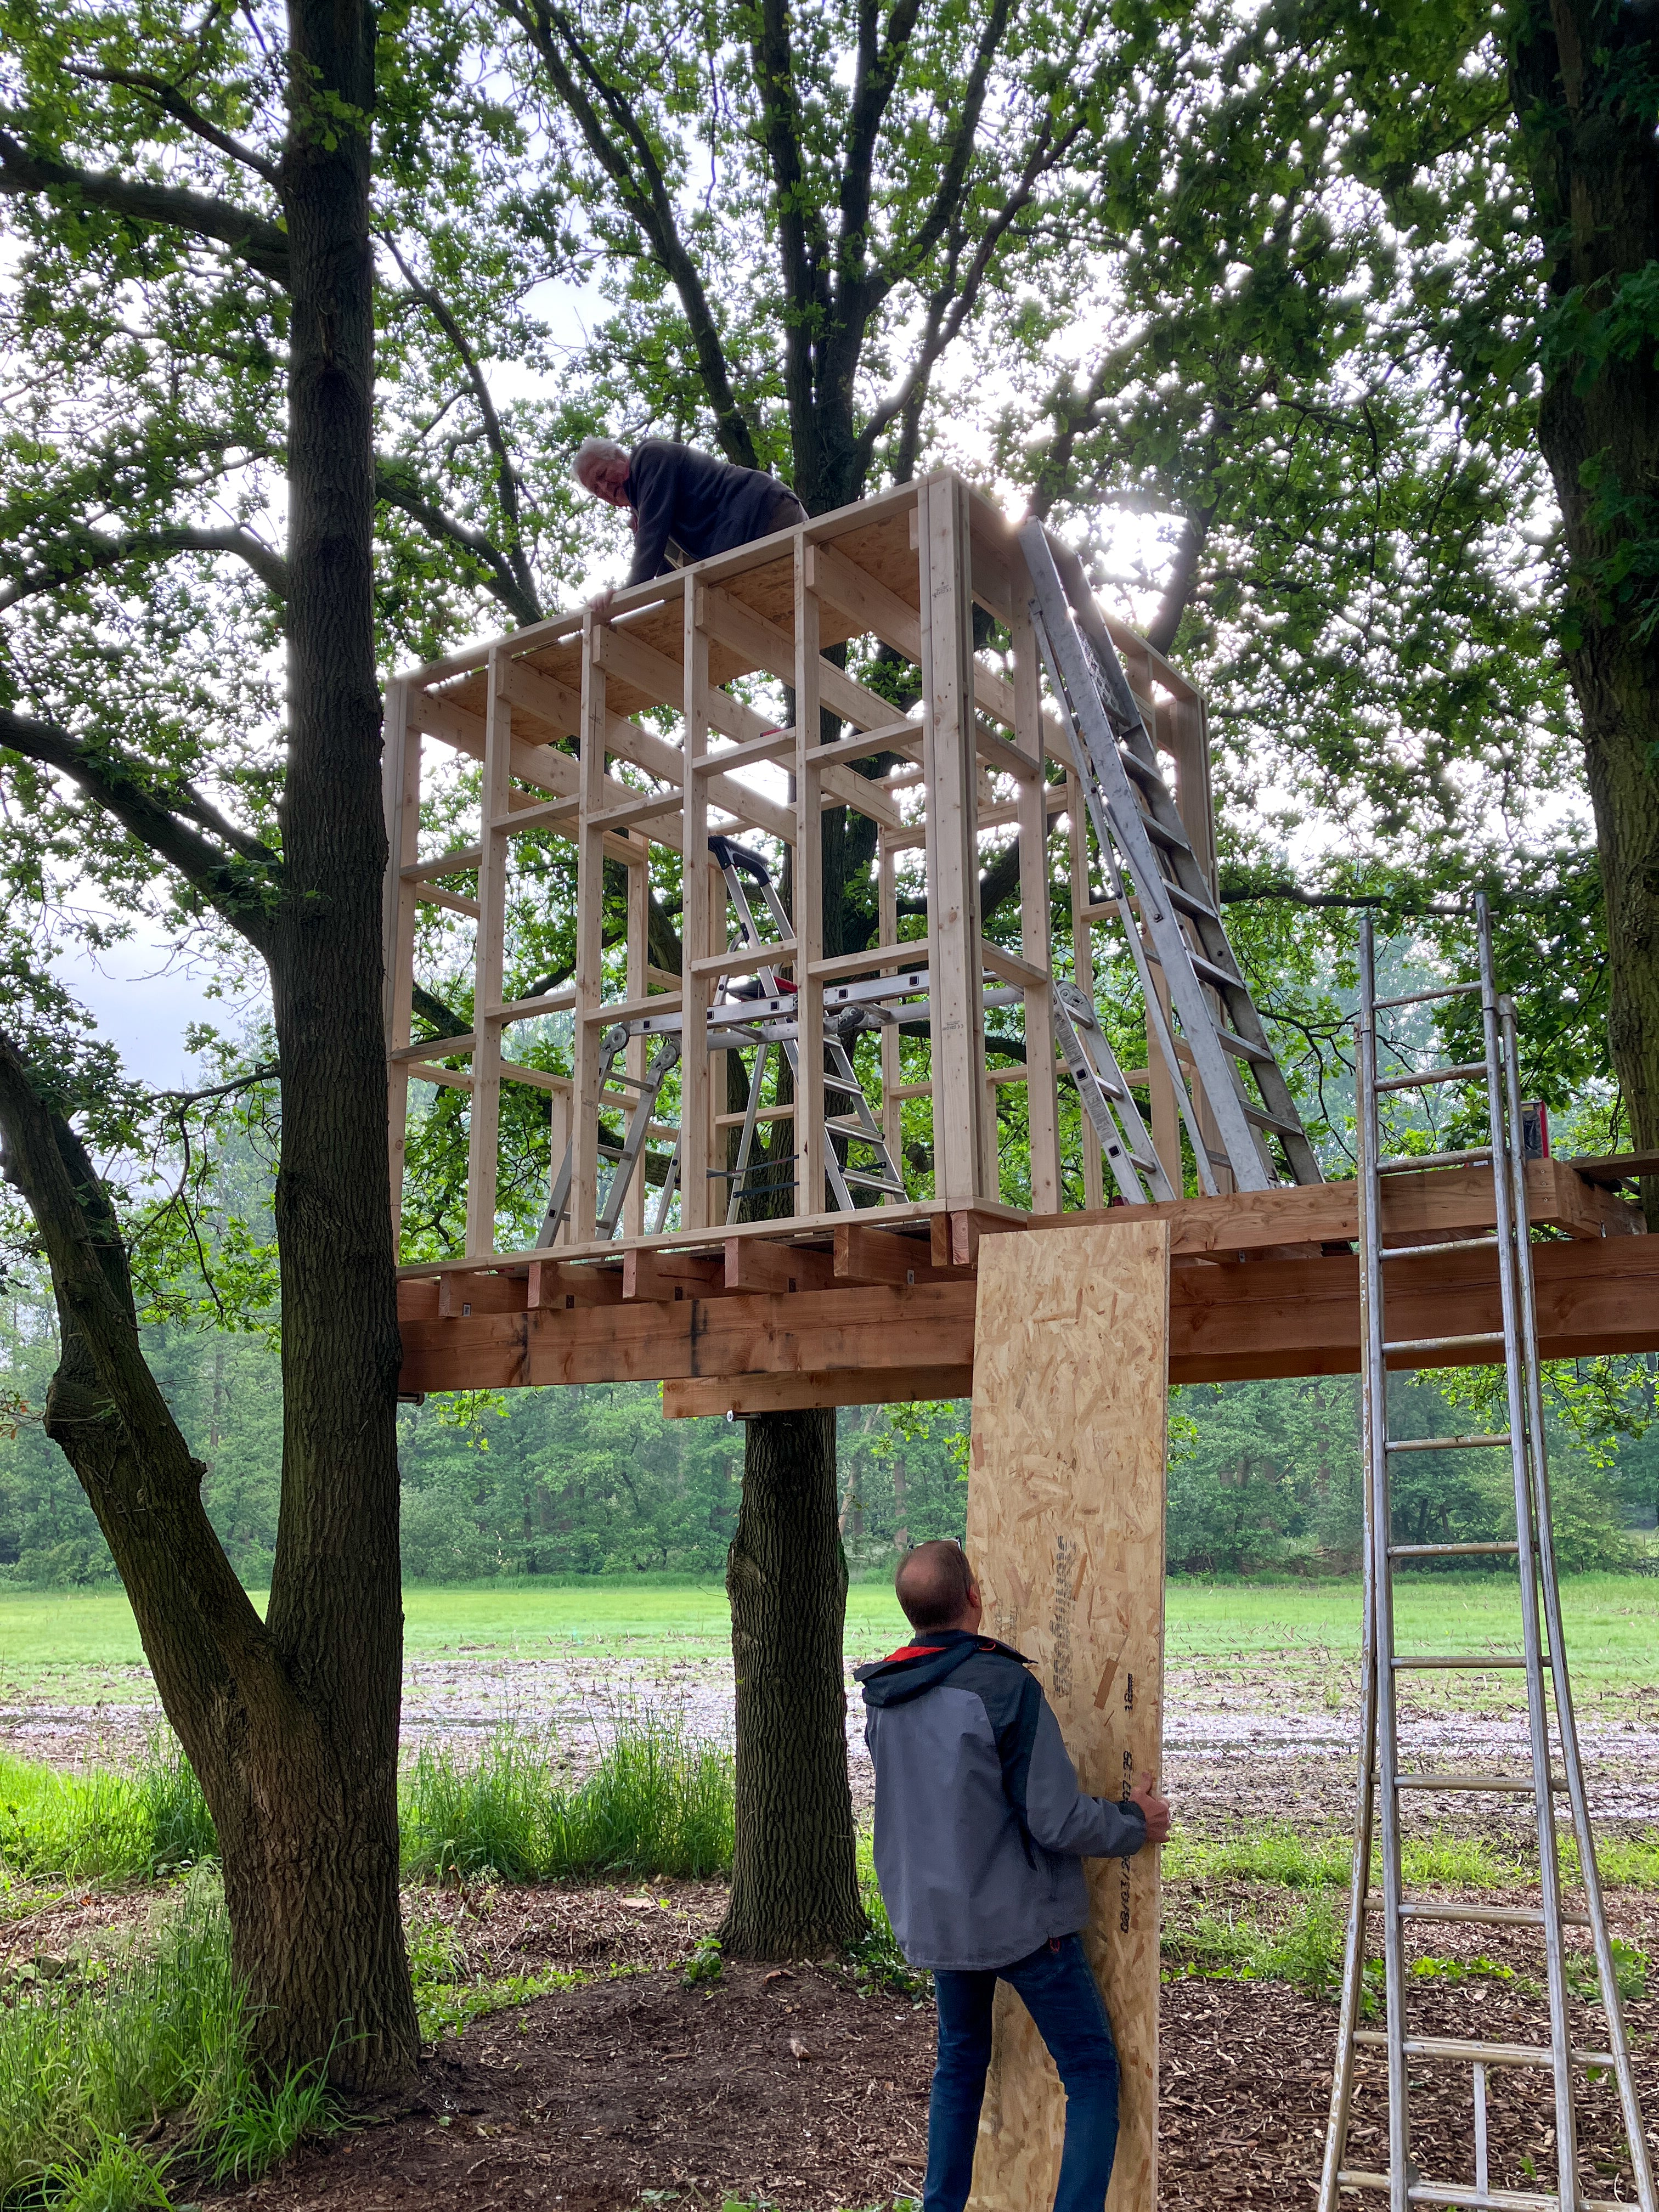
Checklist VII – Height of the platform
The higher the treehouse is in the tree, the better the view and the more adventure! But keep the following in mind:
✔ The higher the platform, the more wind fluctuations
✔ From a height of 3.5 m (11.5 ft), installation becomes significantly more difficult
✔ From 3.5 m (11.5 ft), ladders become wobbly and transporting tools and components becomes more difficult
✔ Do you have the necessary climbing equipment for safe working at exposed locations (facade, roof, etc.)?
✔ How will you access the treehouse later? Comfortable stairs, steep ladder, split stairs with intermediate platform?
✔ The advantage of stairs is that you can easily transport heavier items to the treehouse (vacuum cleaner, etc.).
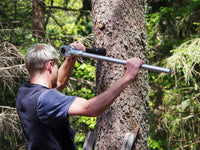
✔ Can a platform be securely fastened to the tree at this height?
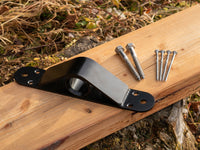
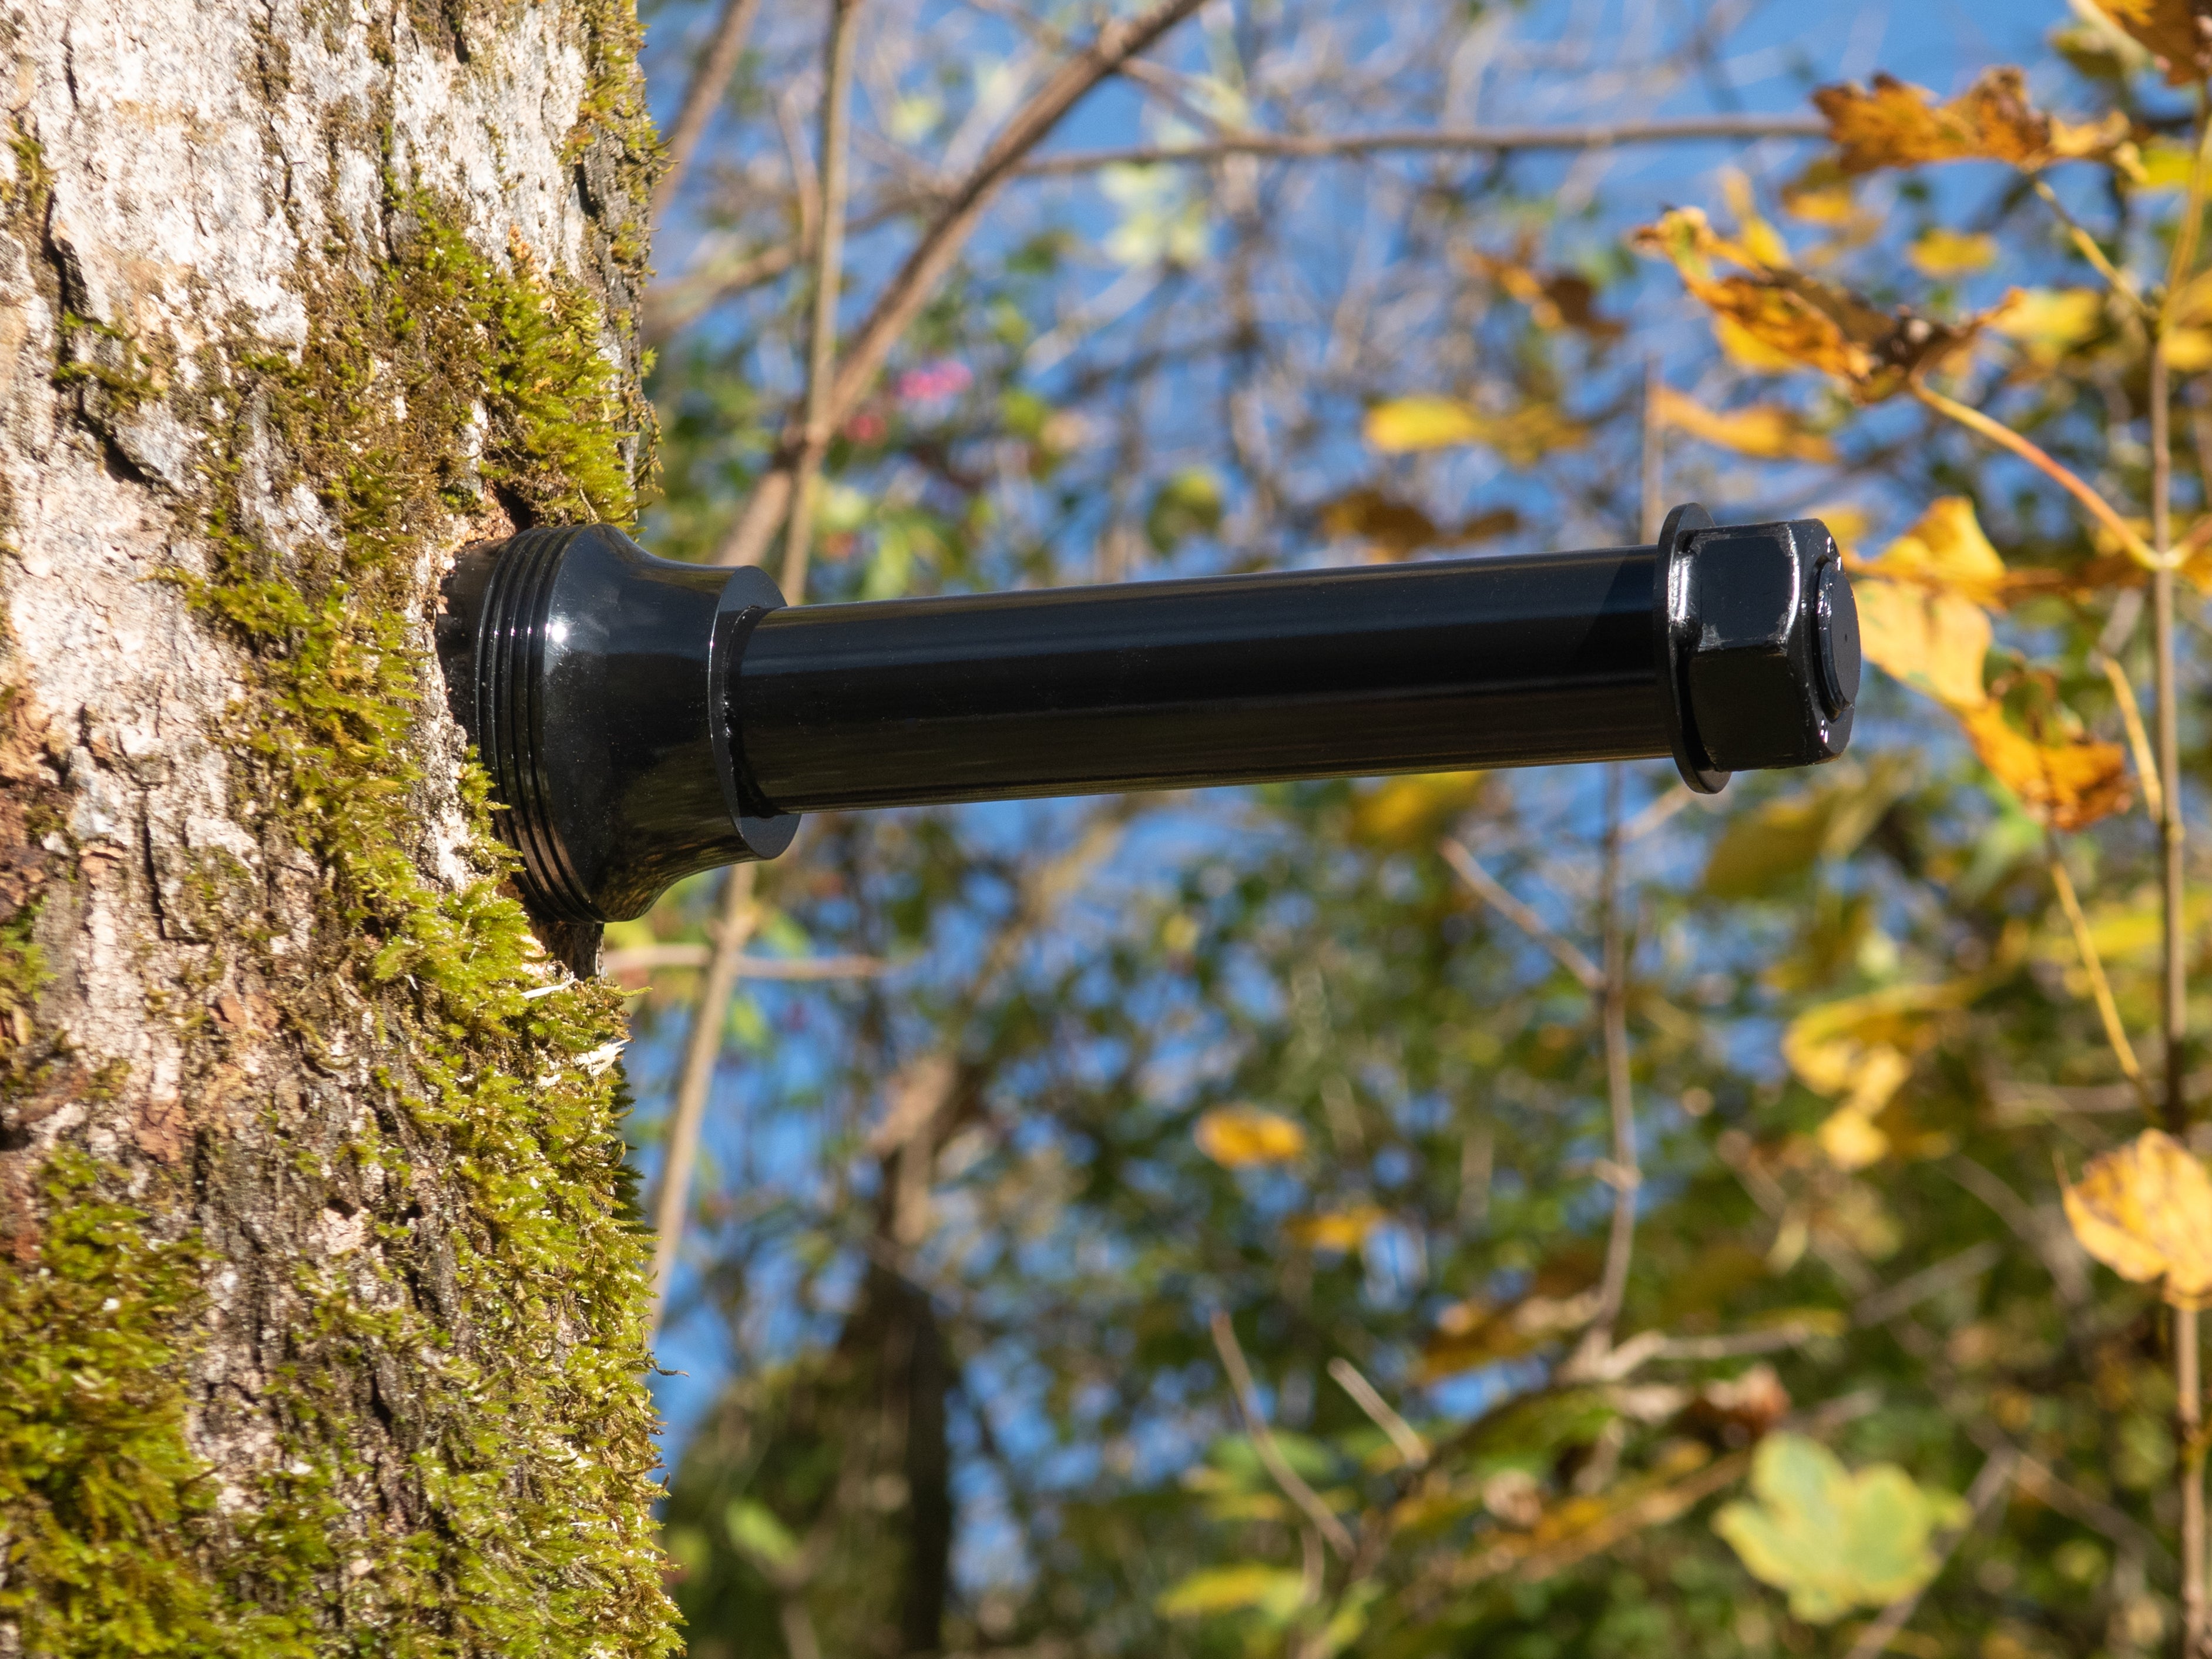
✔ For professional tree bolts, the tree trunk must be at least 30 cm thick at the height of the platform.
Buy professional fasteners!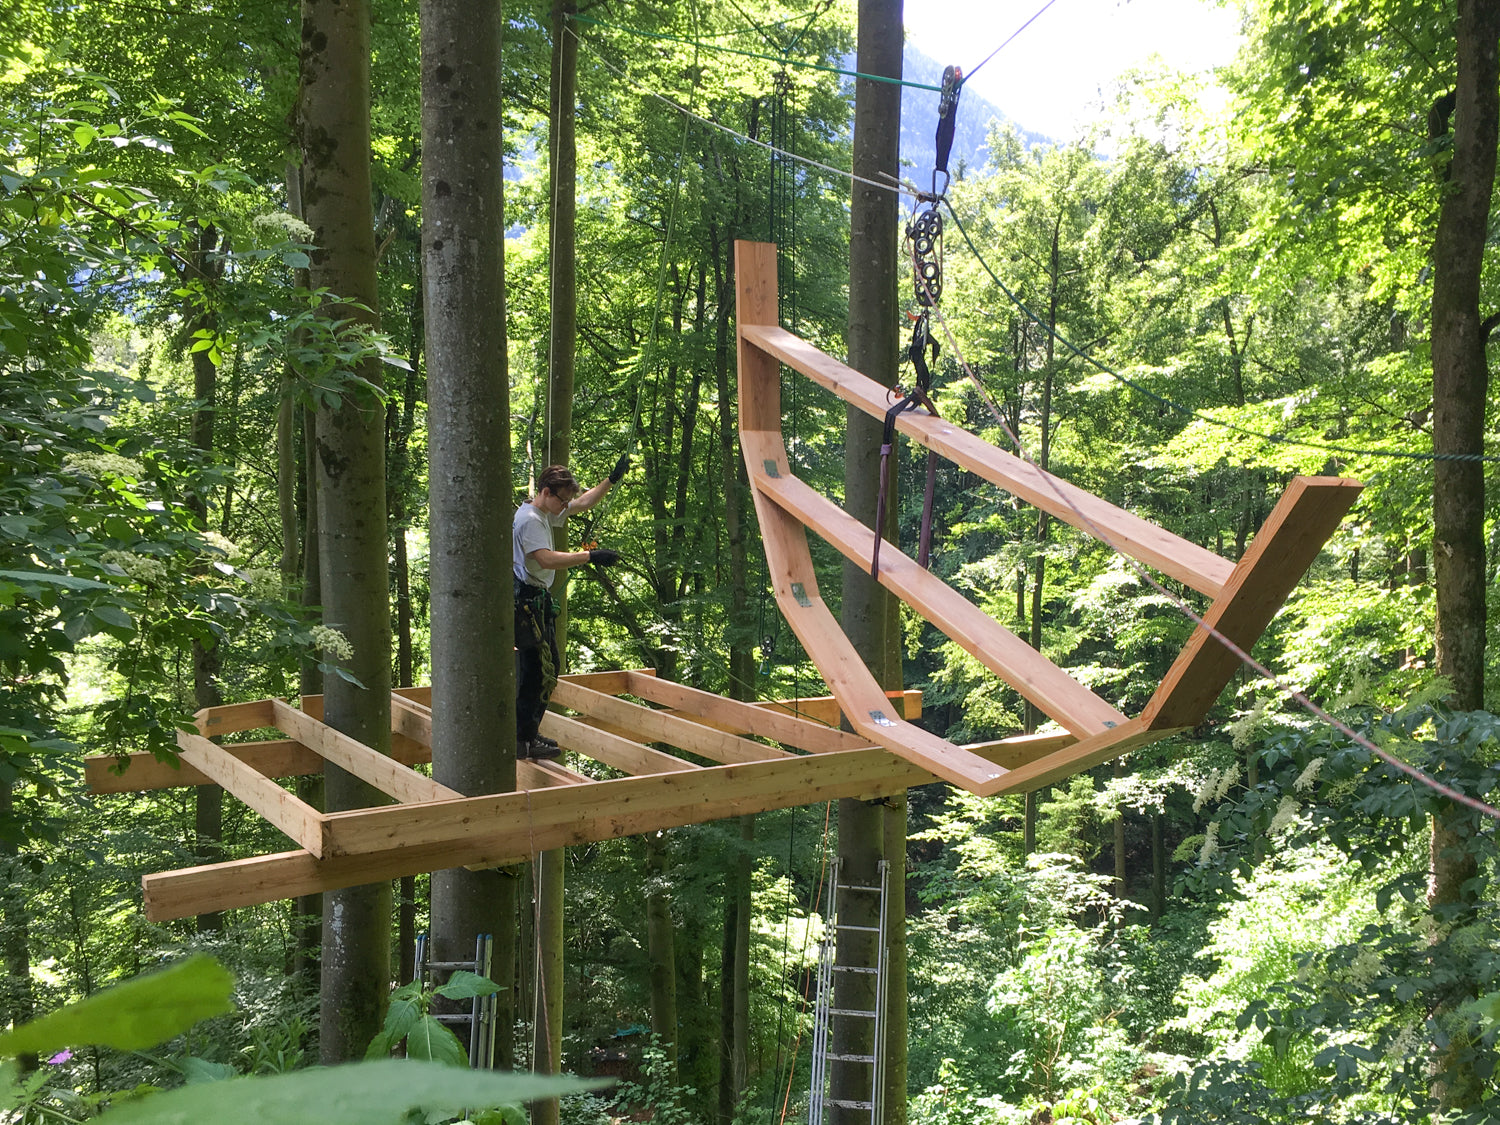
A scaffolding is also very practical, of course.
Heavy machinery or vehicles in the immediate vicinity of the trees are absolutely taboo, as soil compaction can cause serious damage to the trees and is almost impossible to reverse.
Once you have found the optimal platform height, mark it clearly on the tree (e.g. with a small nail or coloured marker) and transfer it to the other trees if necessary. The markings will help you with planning and are also very useful for photos.
You get that real treehouse feeling from just 2,5 m (8,2 ft) above the ground. Every metre higher makes assembly more complicated because you need long ladders and climbing equipment.
It's also very nice to create several small levels in the tree instead of one large room, e.g. a heated office at the bottom, a cool bedroom with a view above it and an open viewing platform at the top of the tree canopy.
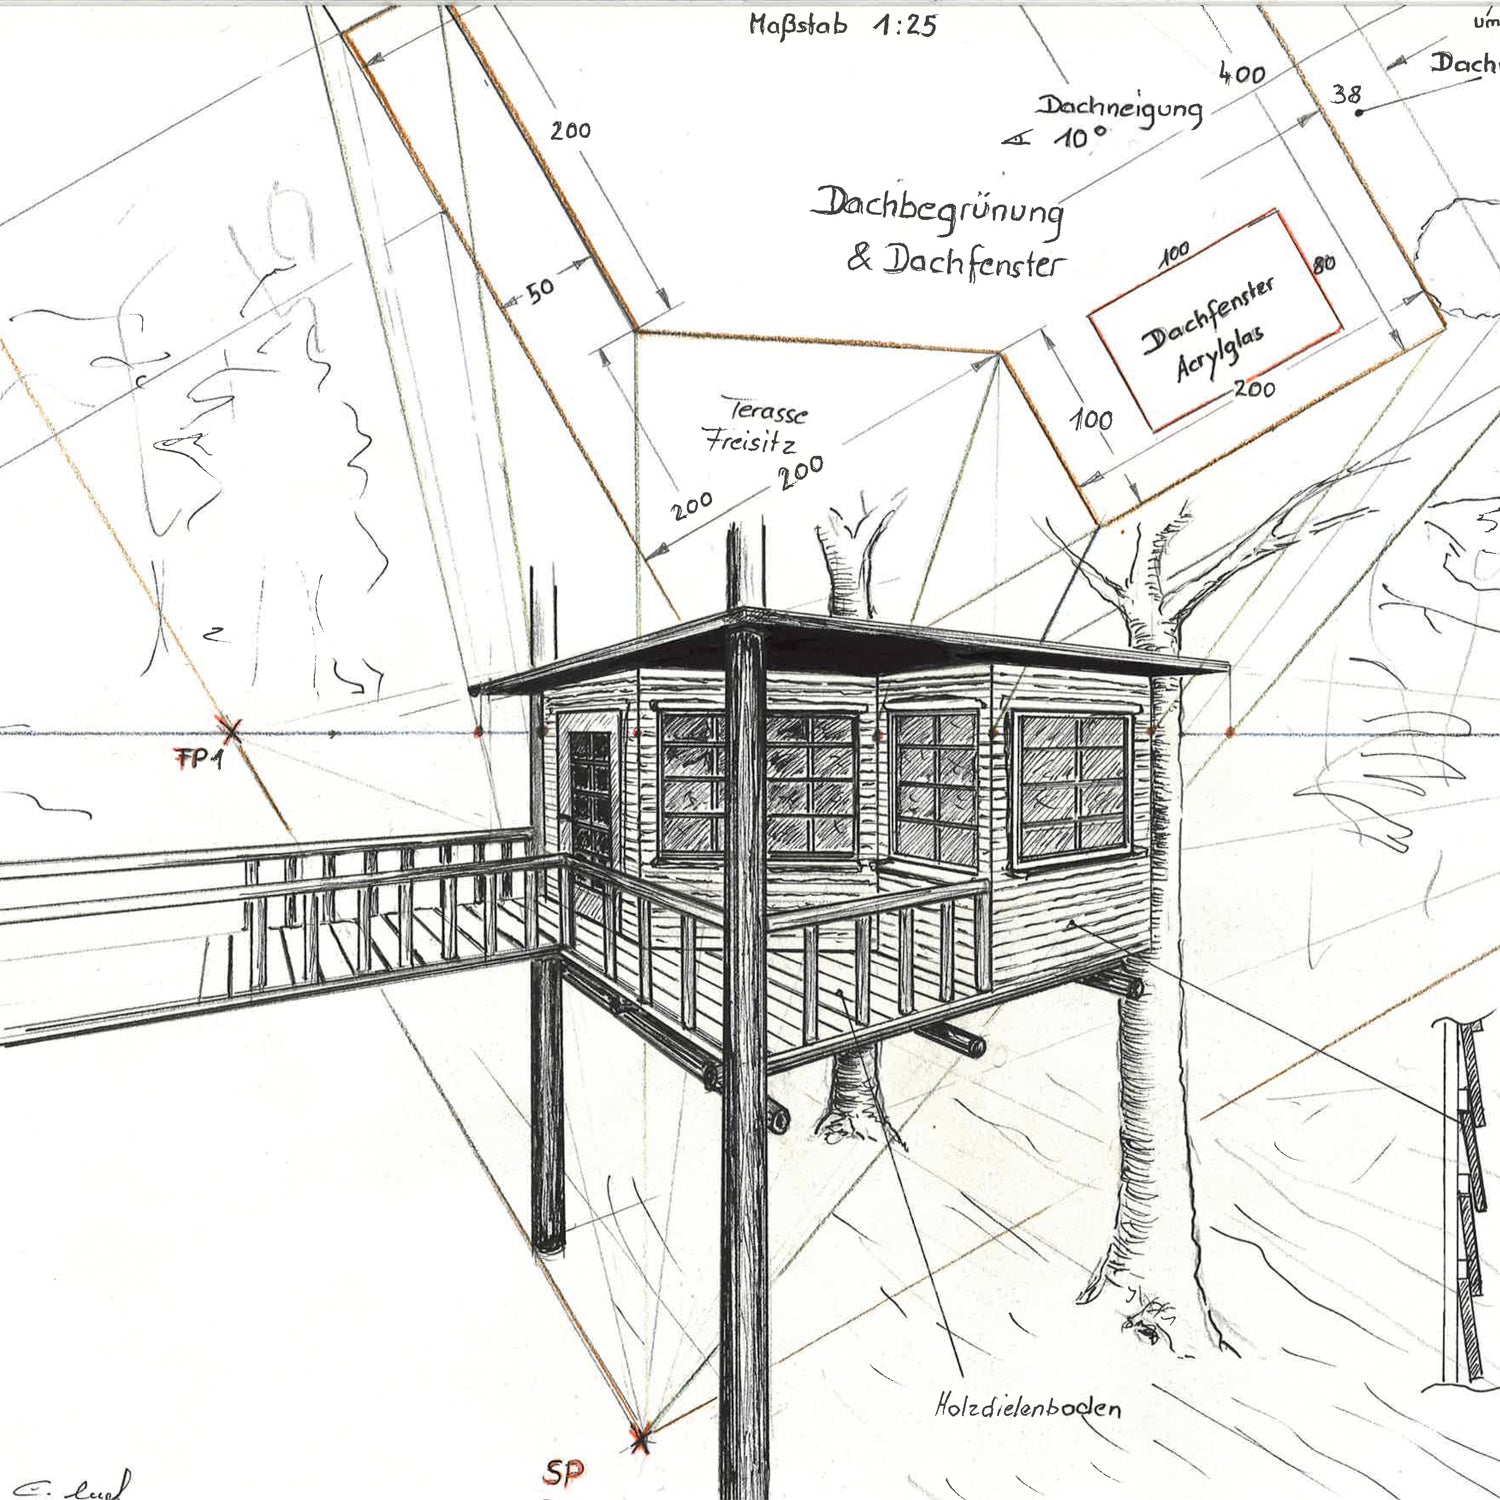
5. Draw floor plans and platform plans
You know where and how high you want to build your treehouse – great! Now it's time to take a bird's eye view:
Measure your site and trees as accurately as possible and transfer everything to the site plan – it should be roughly to scale For a DIN A4 sheet, a scale of 1:30 is suitable – for example:

Checklist VIII – The site plan
✔ Distance between trees: bark-to-bark at platform height
✔ Trunk diameter at platform height
✔ Slope/curvature of the trunk (sketch of trees 1 & 4)
✔ Course of thick branches in the area of the platform (sketch of tree 2)
✔ Property boundary/neighbours
✔ Compass directions (sun path / shade)
✔ Main weather side, wind & rain (sketch of blue cloud)
✔ Slope (sketch of contour lines)
✔ Best view (green eye)
✔ Unwanted views / neighbours (red eye)?
✔ Location of the house or path to the treehouse

Checklist IX – Aligning the platform and walls
✔ First, align the platform edges with the sun and the best view!
✔ Where should the treehouse stand on the platform? (yellow sketch)
✔ Where should the terrace go? (light brown)
✔ Where will the windows and doors go, and how much space do I need to open them (radius)?
✔ Where is the best place for the furniture? Where can I store it?
✔ Where is the staircase? Is there space for a long staircase or only a steep ladder?
✔ How will several people move from A to B?
✔ Where are branches in the way?
✔ Where can I sit on the terrace out of the wind?
✔ Where should I place the slide and climbing wall so that the children can run around in circles all day?
Pro tip:
Start with the platform and turn it so that it is perfectly positioned for the sun and the best views. This is because the walls of the house, windows and everything else will usually be aligned with the edges of the platform. Even a few degrees of rotation can make a huge difference here!

Checklist X – Roof with sufficient clearance
✔ Which roof shape should I choose?
✔ Where does the main rain come from (sketch, blue cloud)?
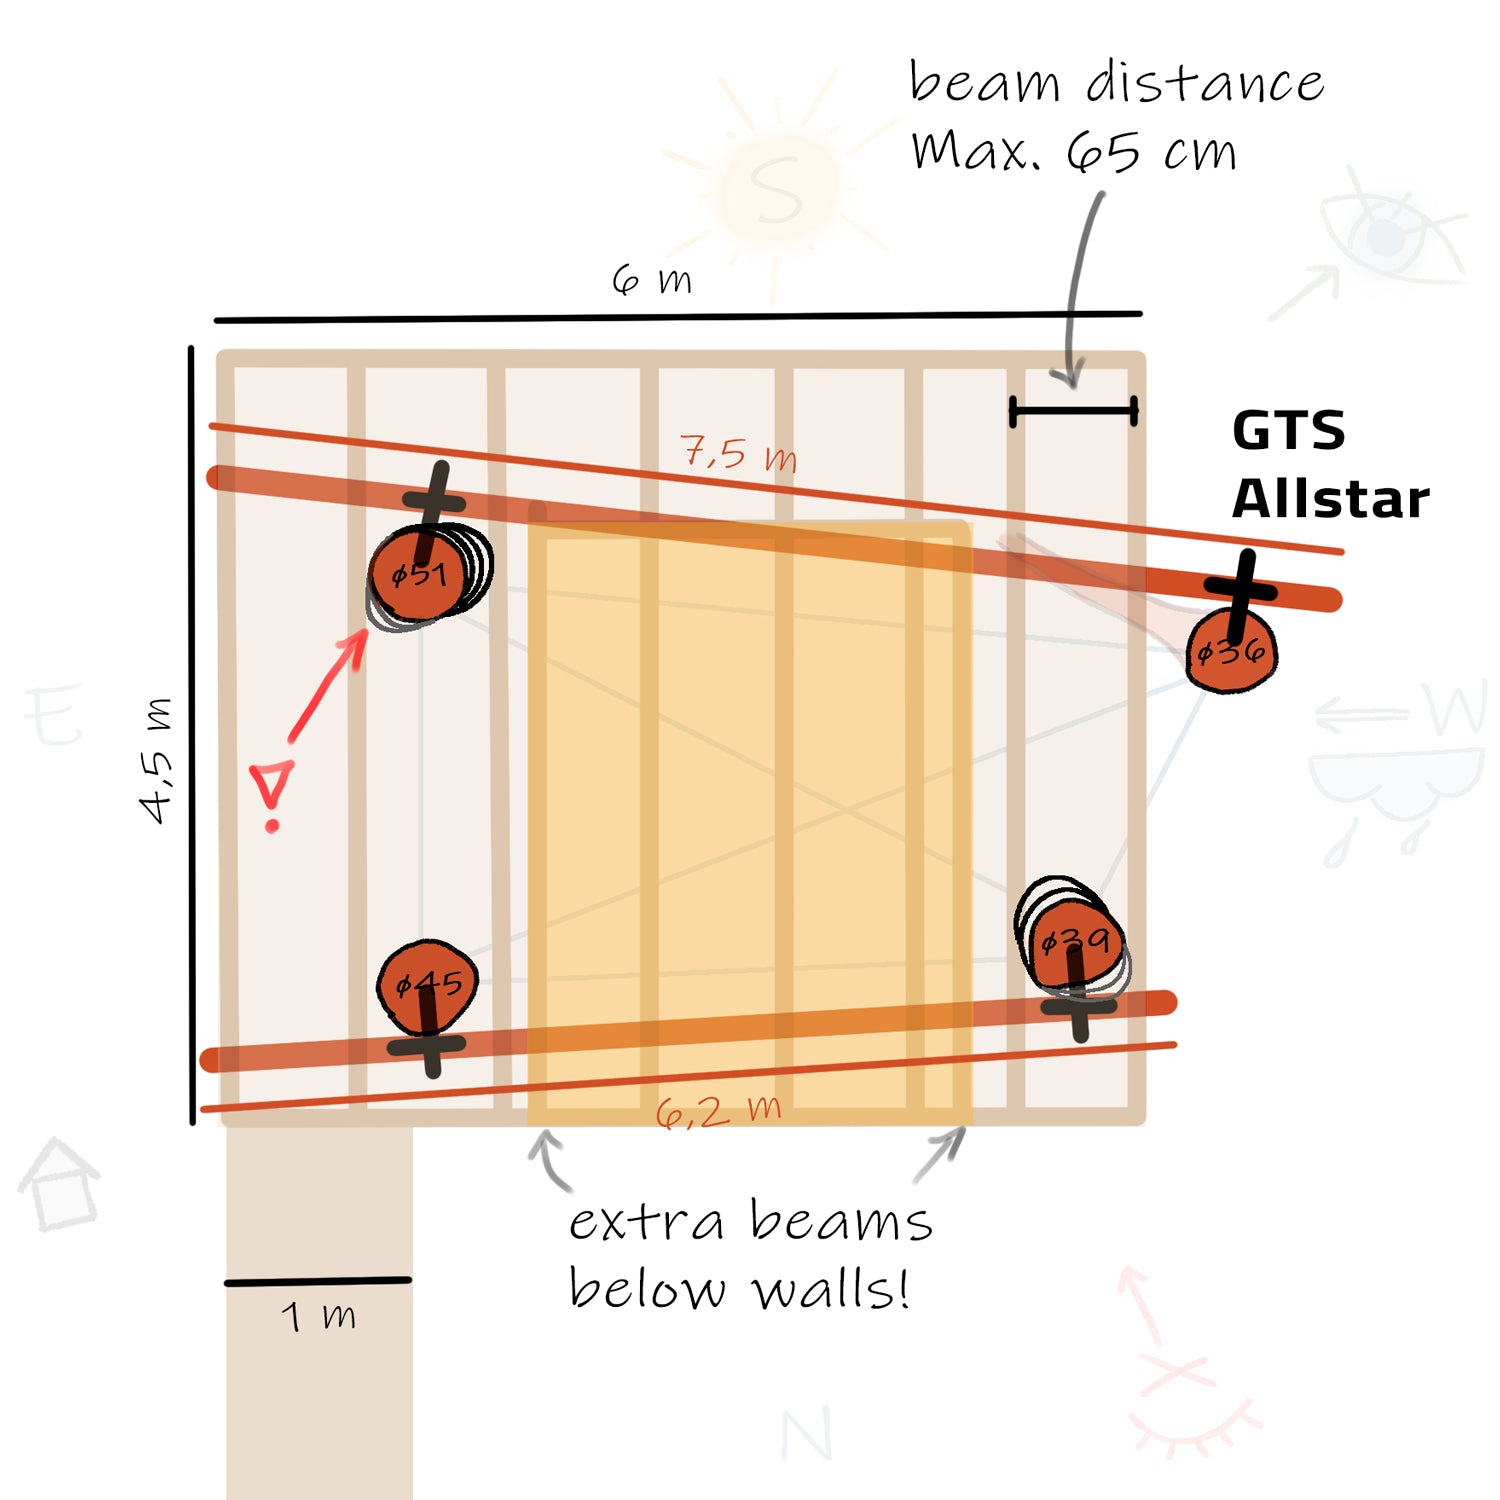
Checklist XI – Support Structure & Floor Joists
Now the whole thing needs to be securely fastened to the trees:
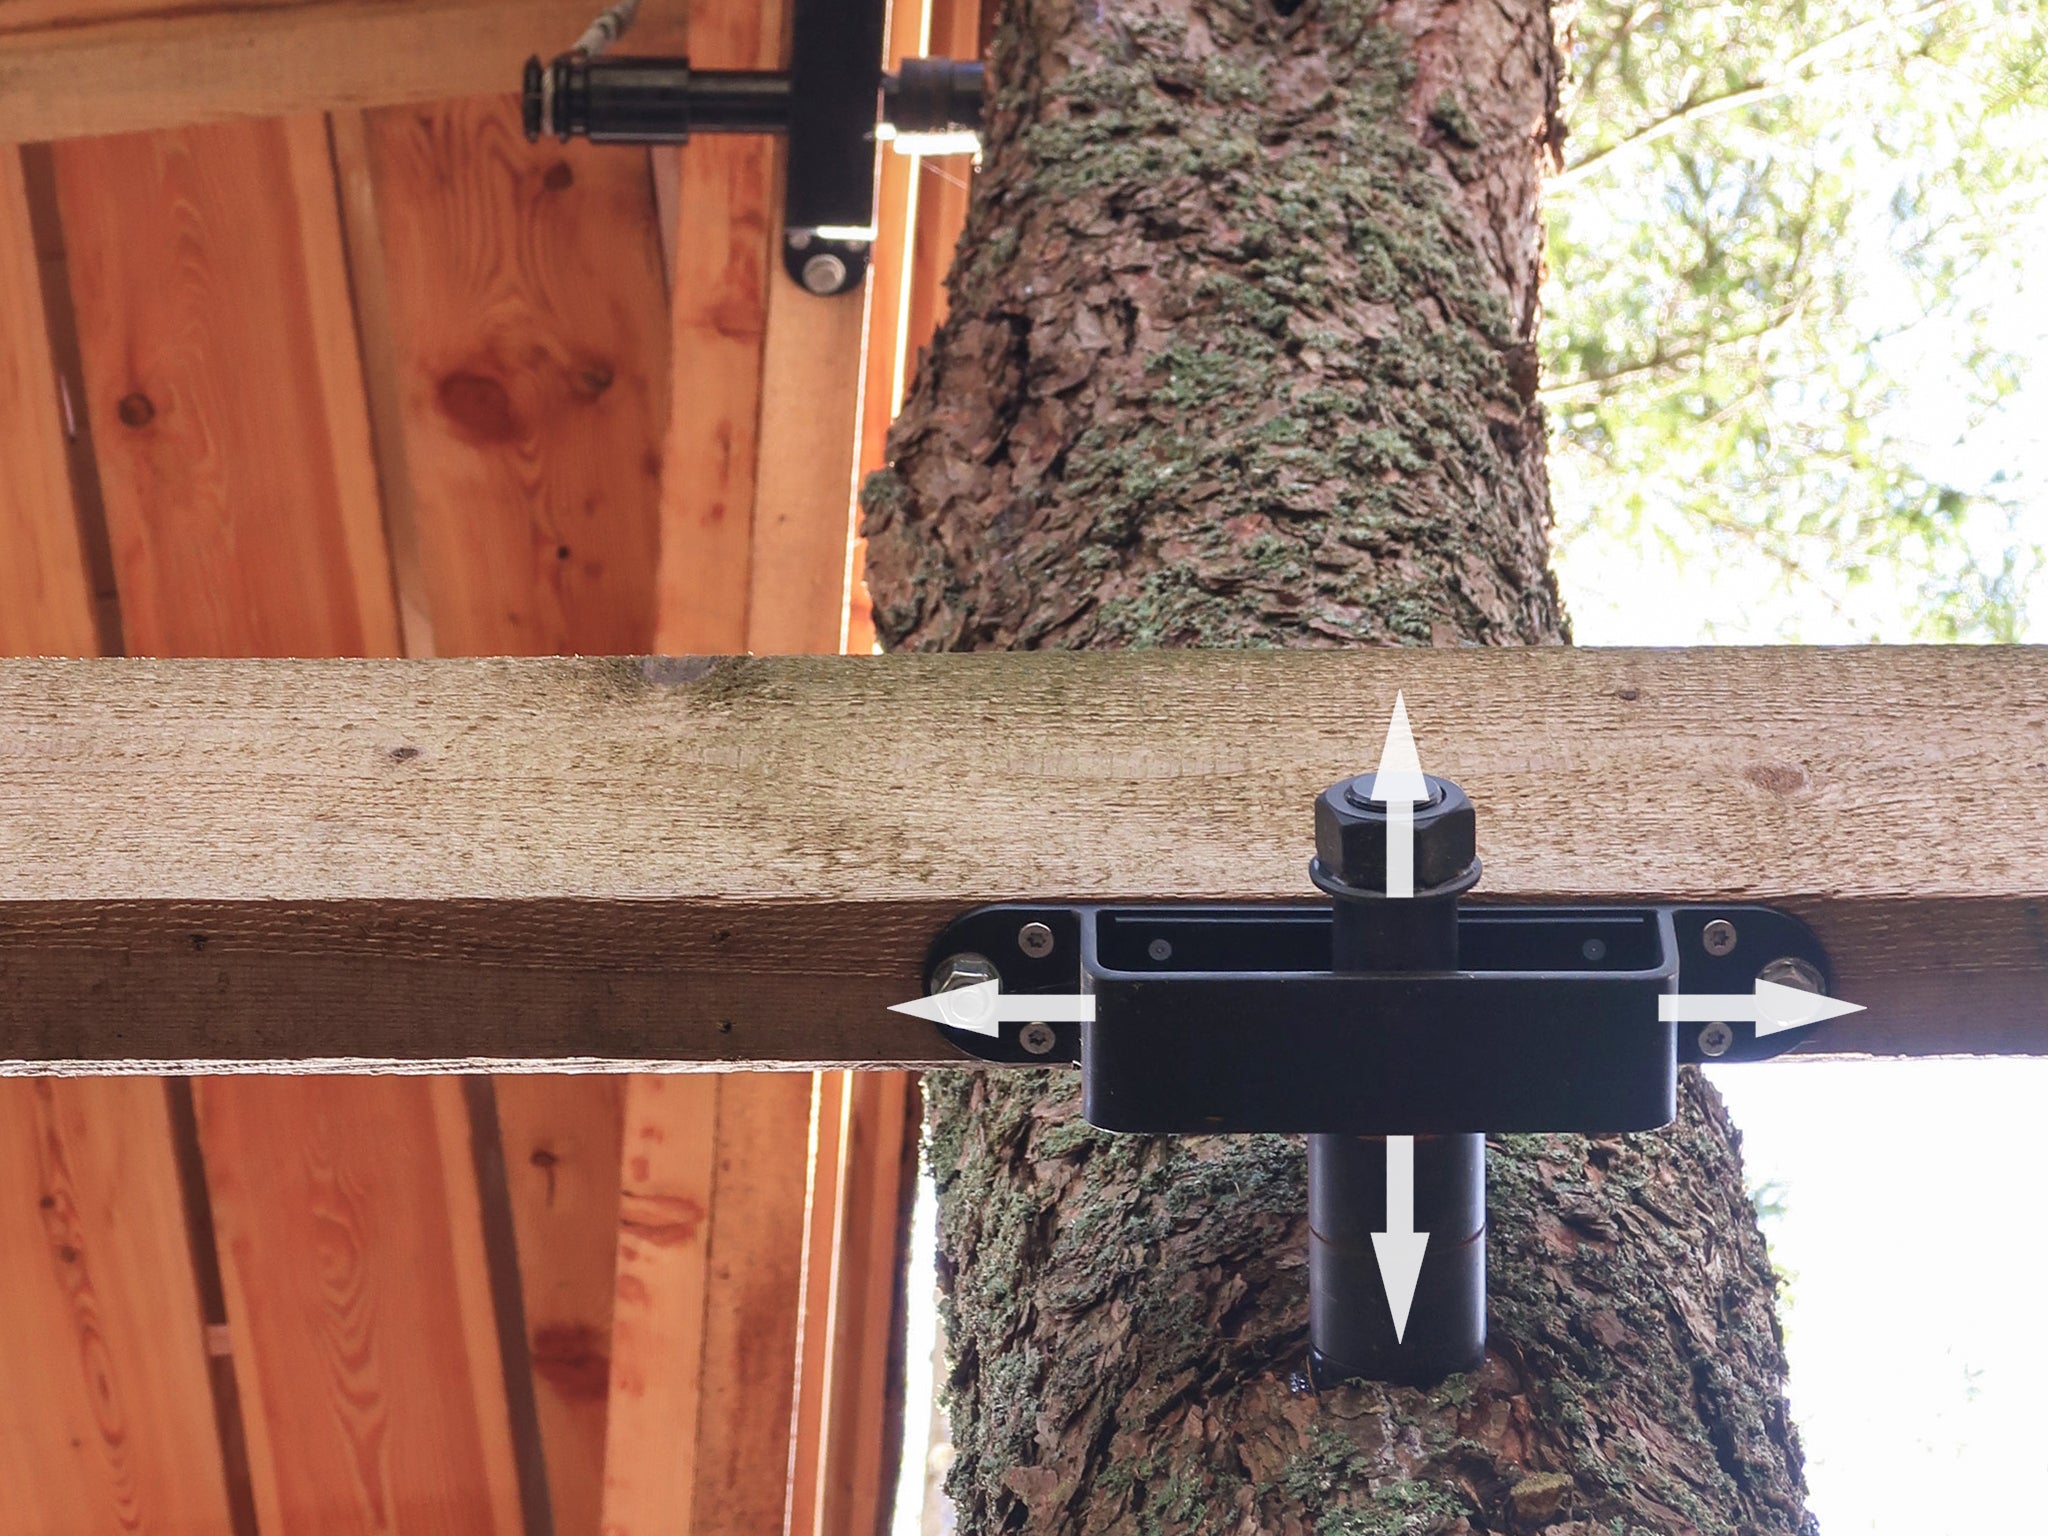
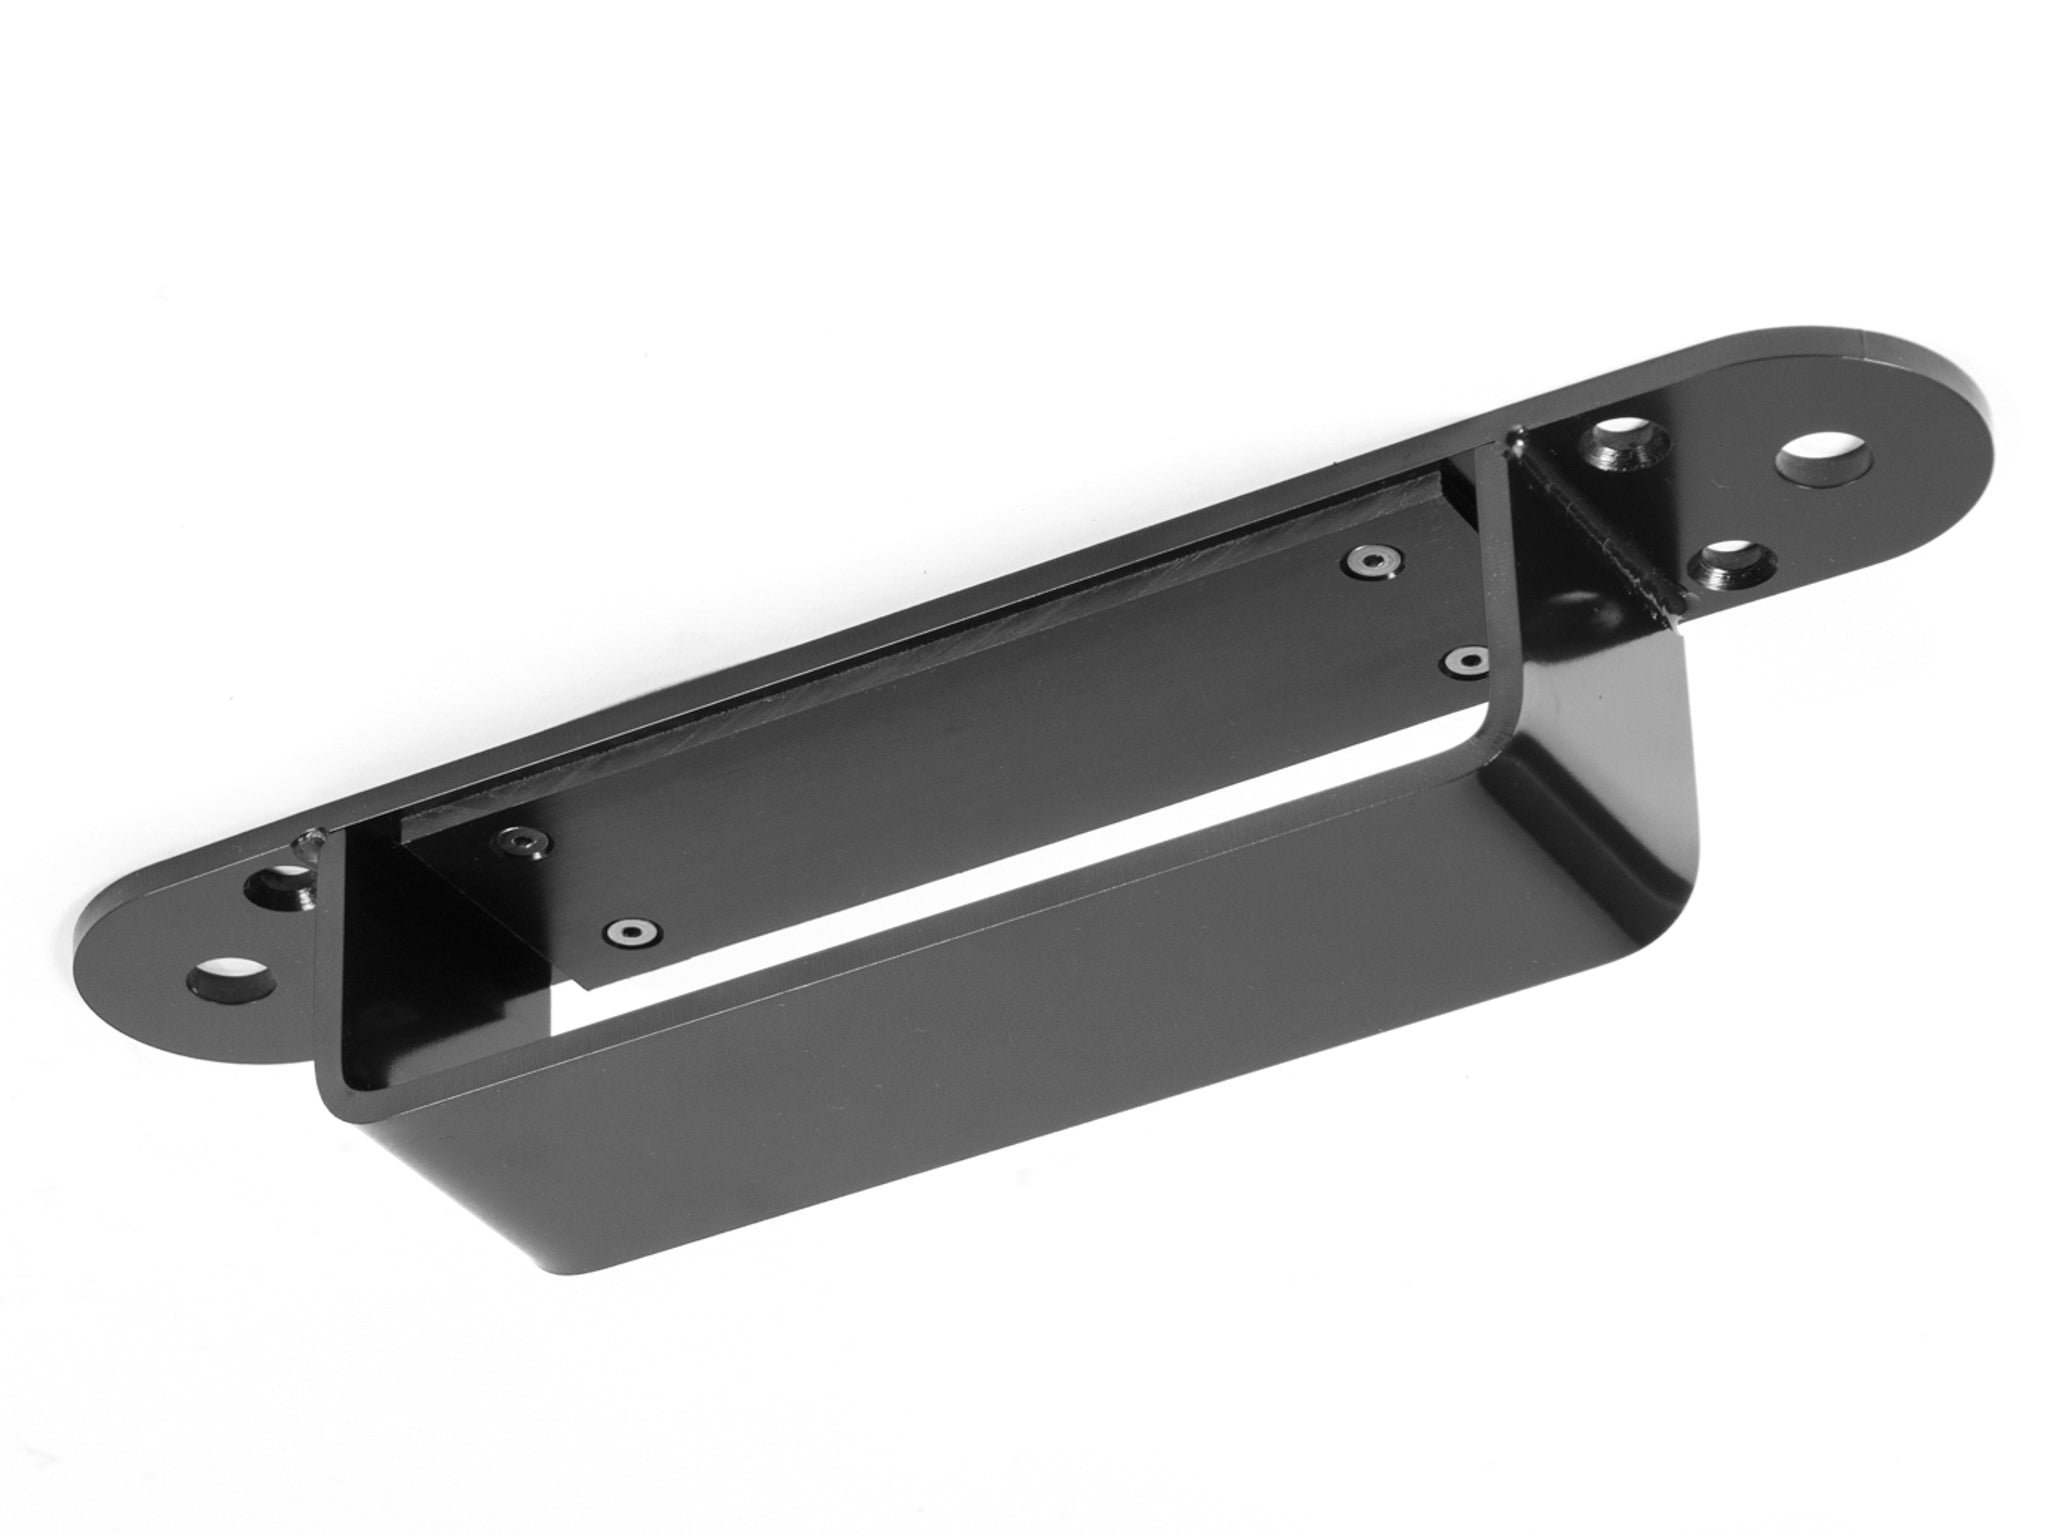
In our example, we have chosen two dynamically mounted main beams (dark brown), which are anchored to the tree with tree bolts. The floor joists (beige) are fastened to the support beams.
✔ How heavy will my treehouse be?
✔ Which support structure can I use to build the platform?
✔ Can the individual fastenings safely bear the load?
✔ At which corners could the platform become wobbly?
✔ How do I lay out the floor joists – maximum centre distance 65 cm?
✔ How thick do my wooden beams need to be? Rule of thumb here!
Buy professional fasteners!Simulate your platform construction in the tree using a few wooden slats – this will quickly give you a feel for the dimensions and show you where branches might get in the way.
If your desired platform is too large for the trees, you can also attach your treehouse half to the tree and half to stilts.
Stairs, ladders, slides and climbing walls can be permanently concreted in as additional bracing elements.
6. The finished treehouse design!
Congratulations, you have reached an important milestone – the first draft of your very own treehouse is complete!
Now it's time to continue step by step:
- In the next step, you can use our rules of thumb to estimate the weight of your treehouse (step 4).
- Then we turn our attention to the trees and show you the techniques you can use to secure your treehouse permanently and safely to the tree (steps 5 - 8).
- In steps 9 - 12, we reveal important professional tips, subtleties and details – the secret knowledge of the Treehouse Pros.
Of course, the design will change a few times, but in the meantime, you can already order the right tree house fastenings.
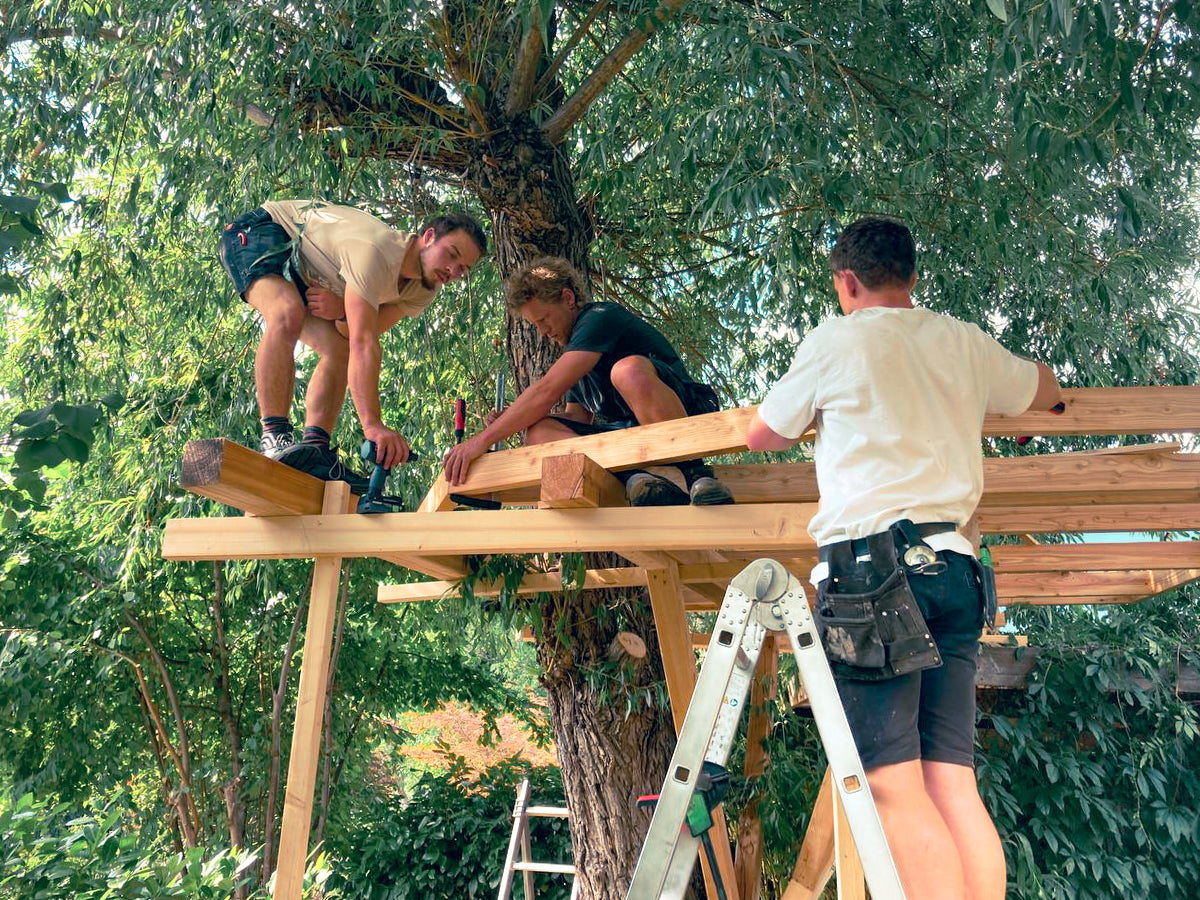
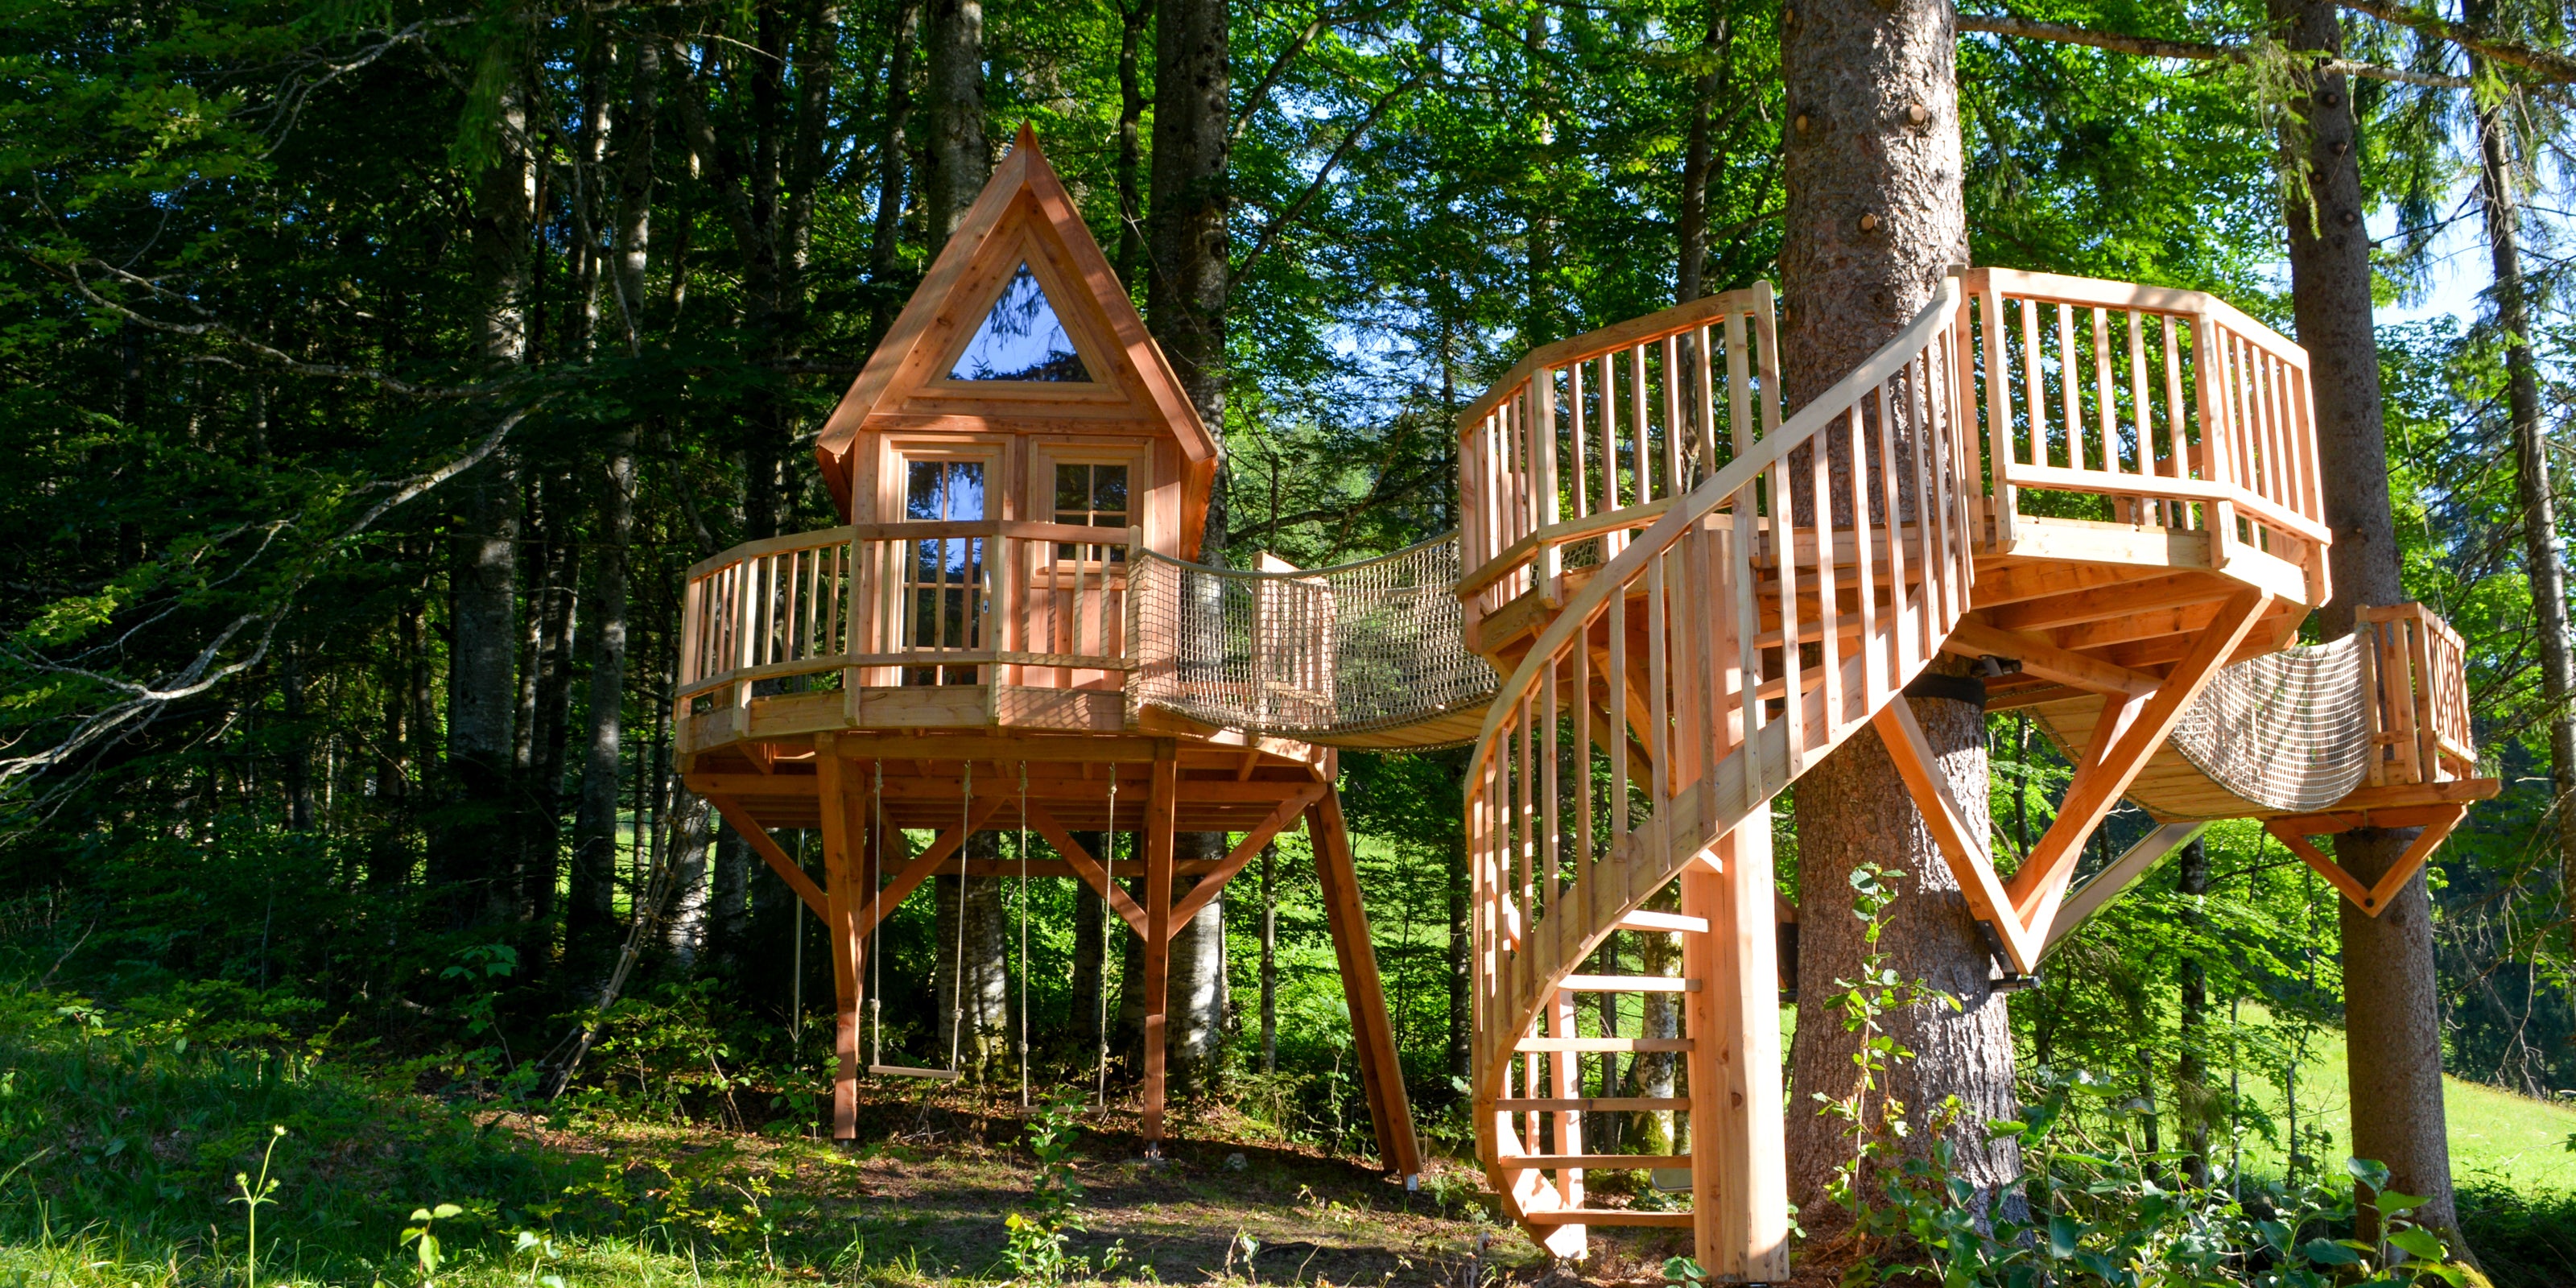
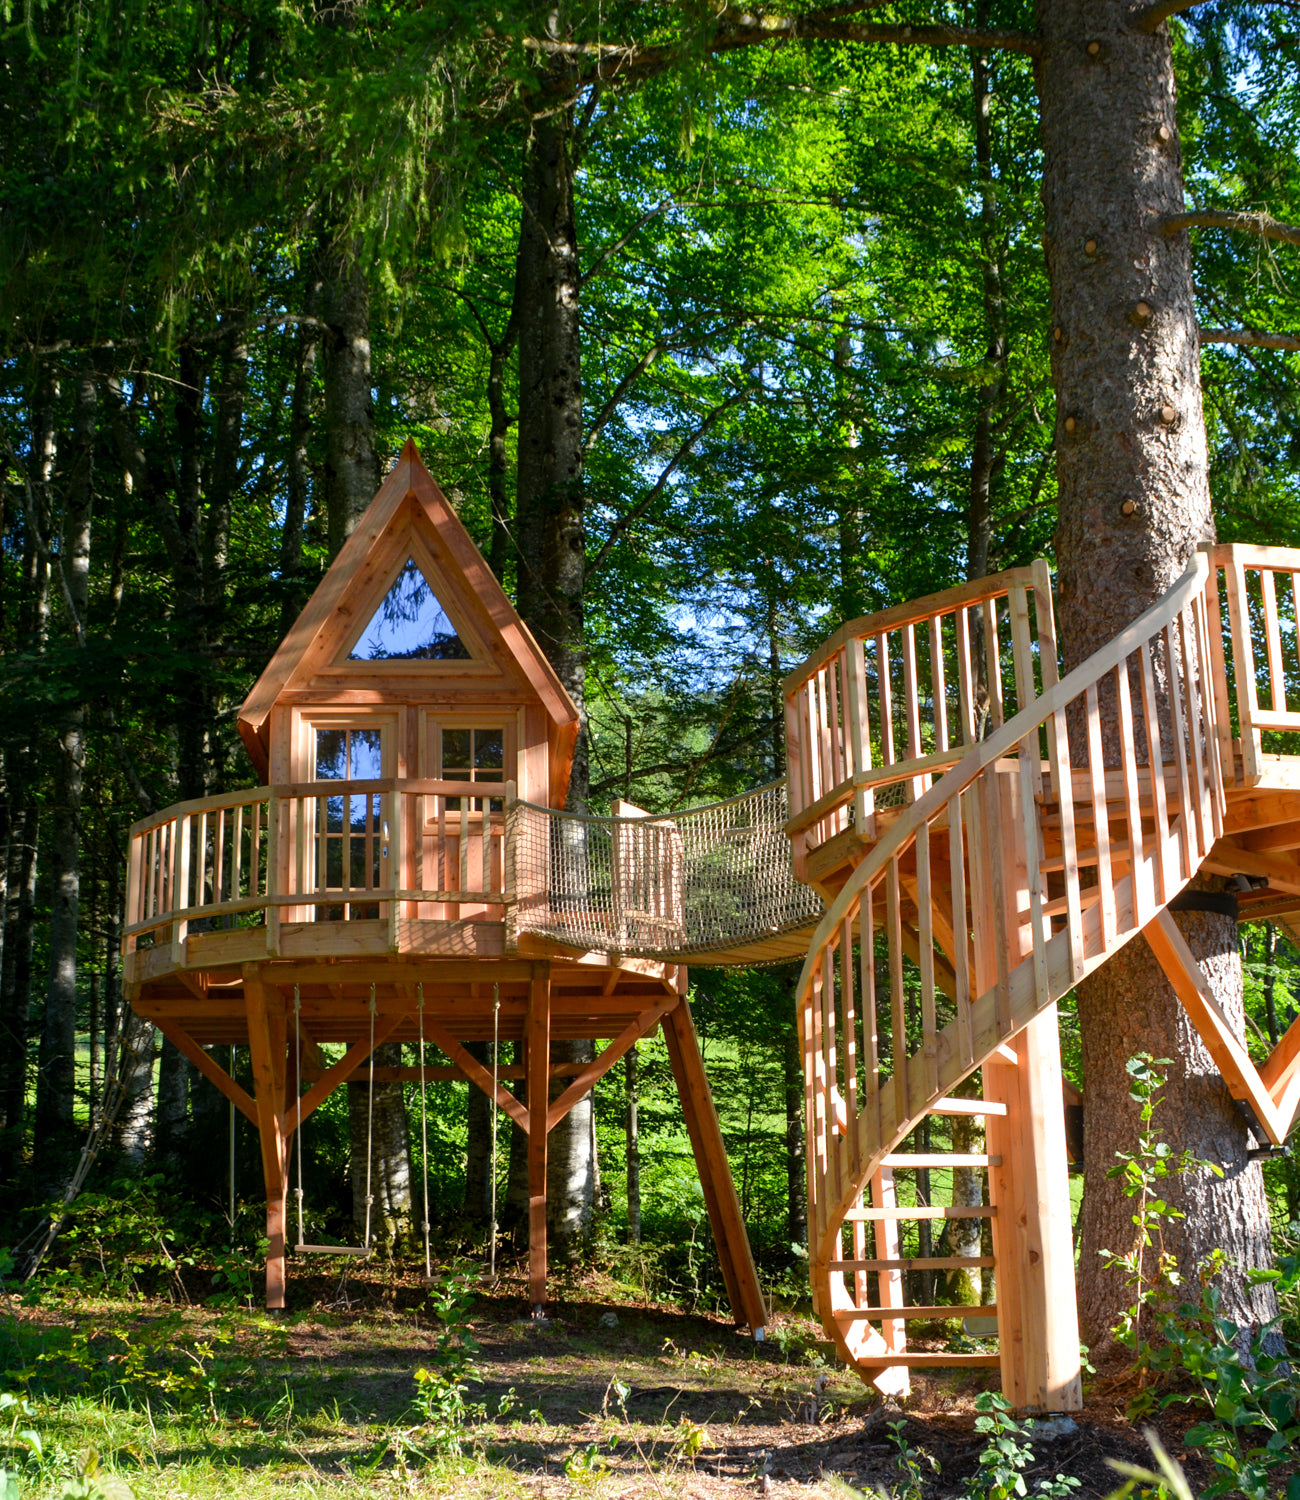
Example: Treehouse between 4 trees – dynamically supported
This is what the finished treehouse could look like – built by our carpentry firm baumbaron and securely fastened with our GTS Tree Bolts.
Need more ideas and inspiration? Take a look at the treehouses built by our customers!

€132,00

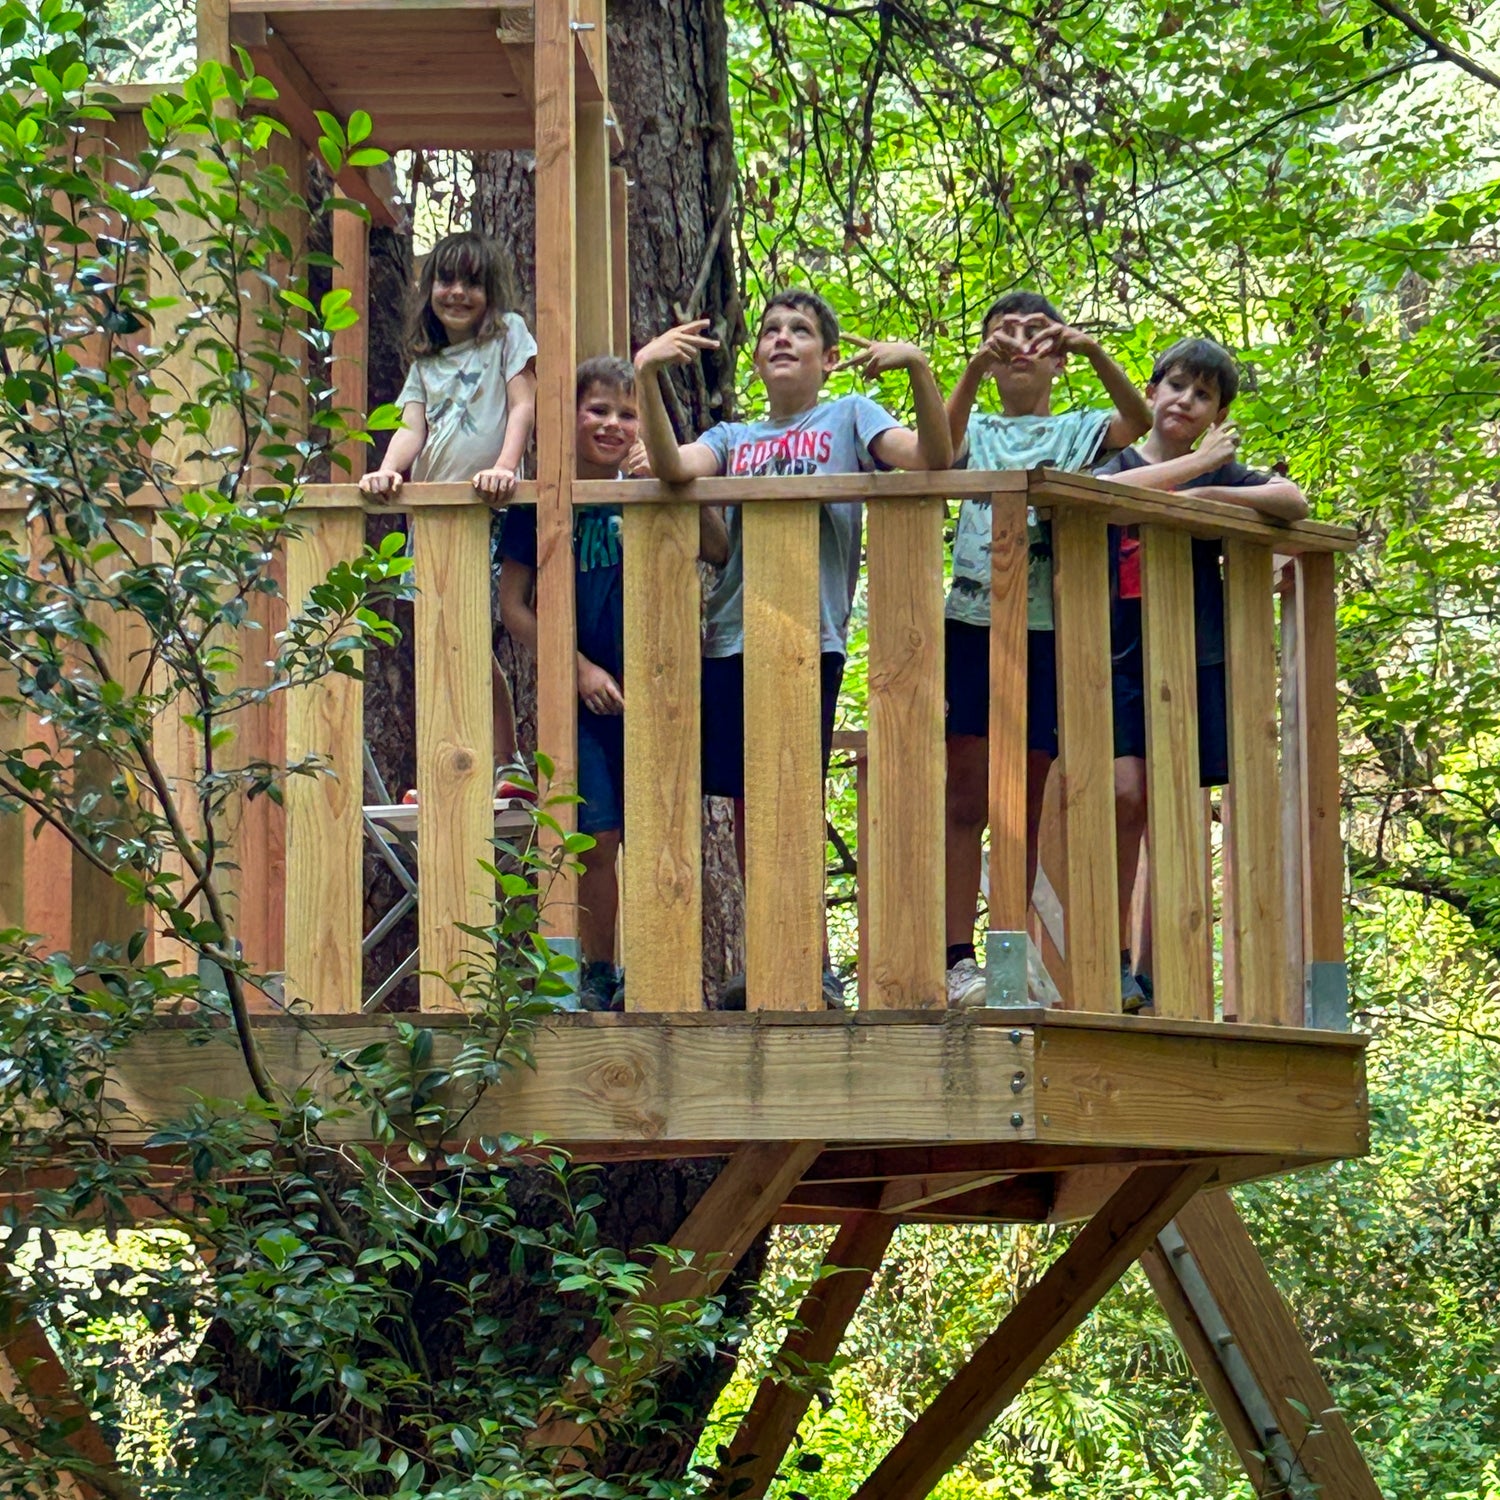
Fun for the whole family! The more your children are allowed to help with the planning and building, the more they will connect with the treehouse later on. I bet they will love the treehouse and be incredibly proud of themselves :)
Building treehouses is pure creativity – where else do you have the chance to break out of standardised shapes and straight walls and design everything freely – like Hundertwasser, Gaudi and Pippi Longstocking!
In contrast to the comfortable house, the treehouse in the garden is intended to be a romantic retreat, a mysterious oasis of peace where you can forget everyday life and switch off completely high up in the tree.
The more house, the less treehouse! The thicker the walls, the further away you are from nature. When I think of a treehouse, I think of a romantic shack, crooked and nailed together, where you can hear the leaves rustling and the birds chirping as if you were in the middle of nature.