


XXL Treehouse Hardware Kit for 1-2 Trees, Tribeam GTS+
Treehouse Construction XXL – Hardware Kit for 1 to 2 Trees
✔ Fastening for large & heavy treehouses
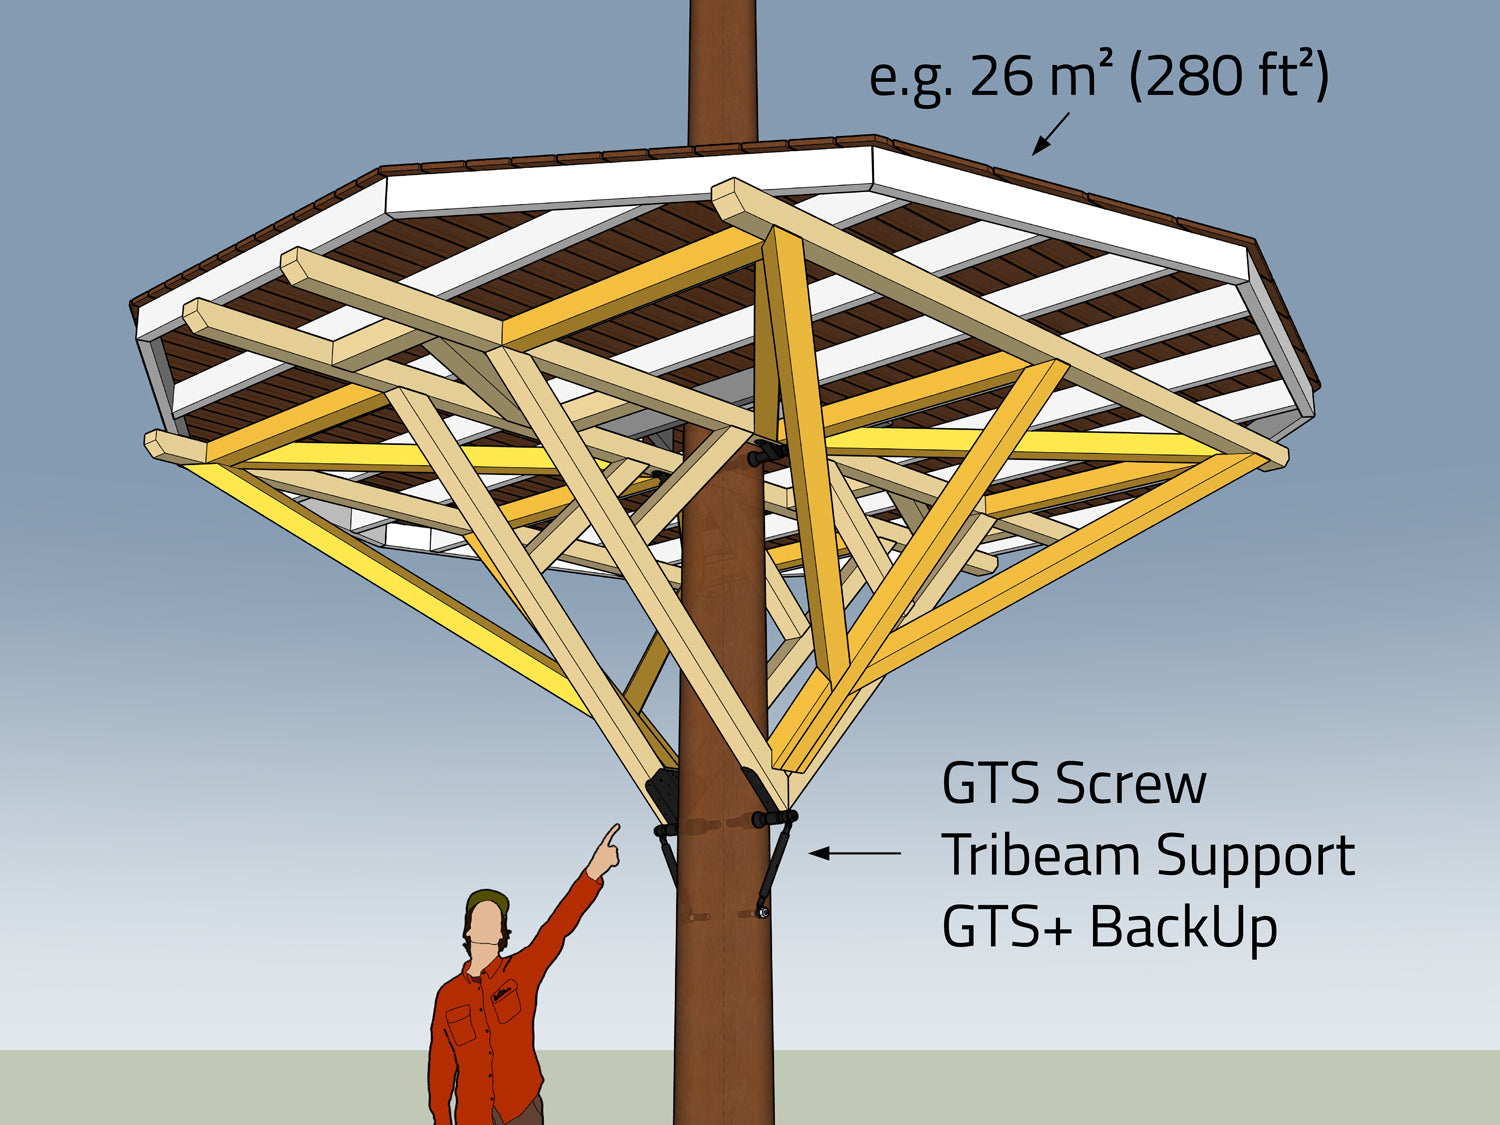
✔ For platforms up to 30 m² (1 tree) or 50 m² (2 trees)
✔ Recommended trunk diameter: from 50 cm (1 tree) or 40 cm (2 trees)
Tax included. Shipping calculated at checkout
XXL kit – Product details

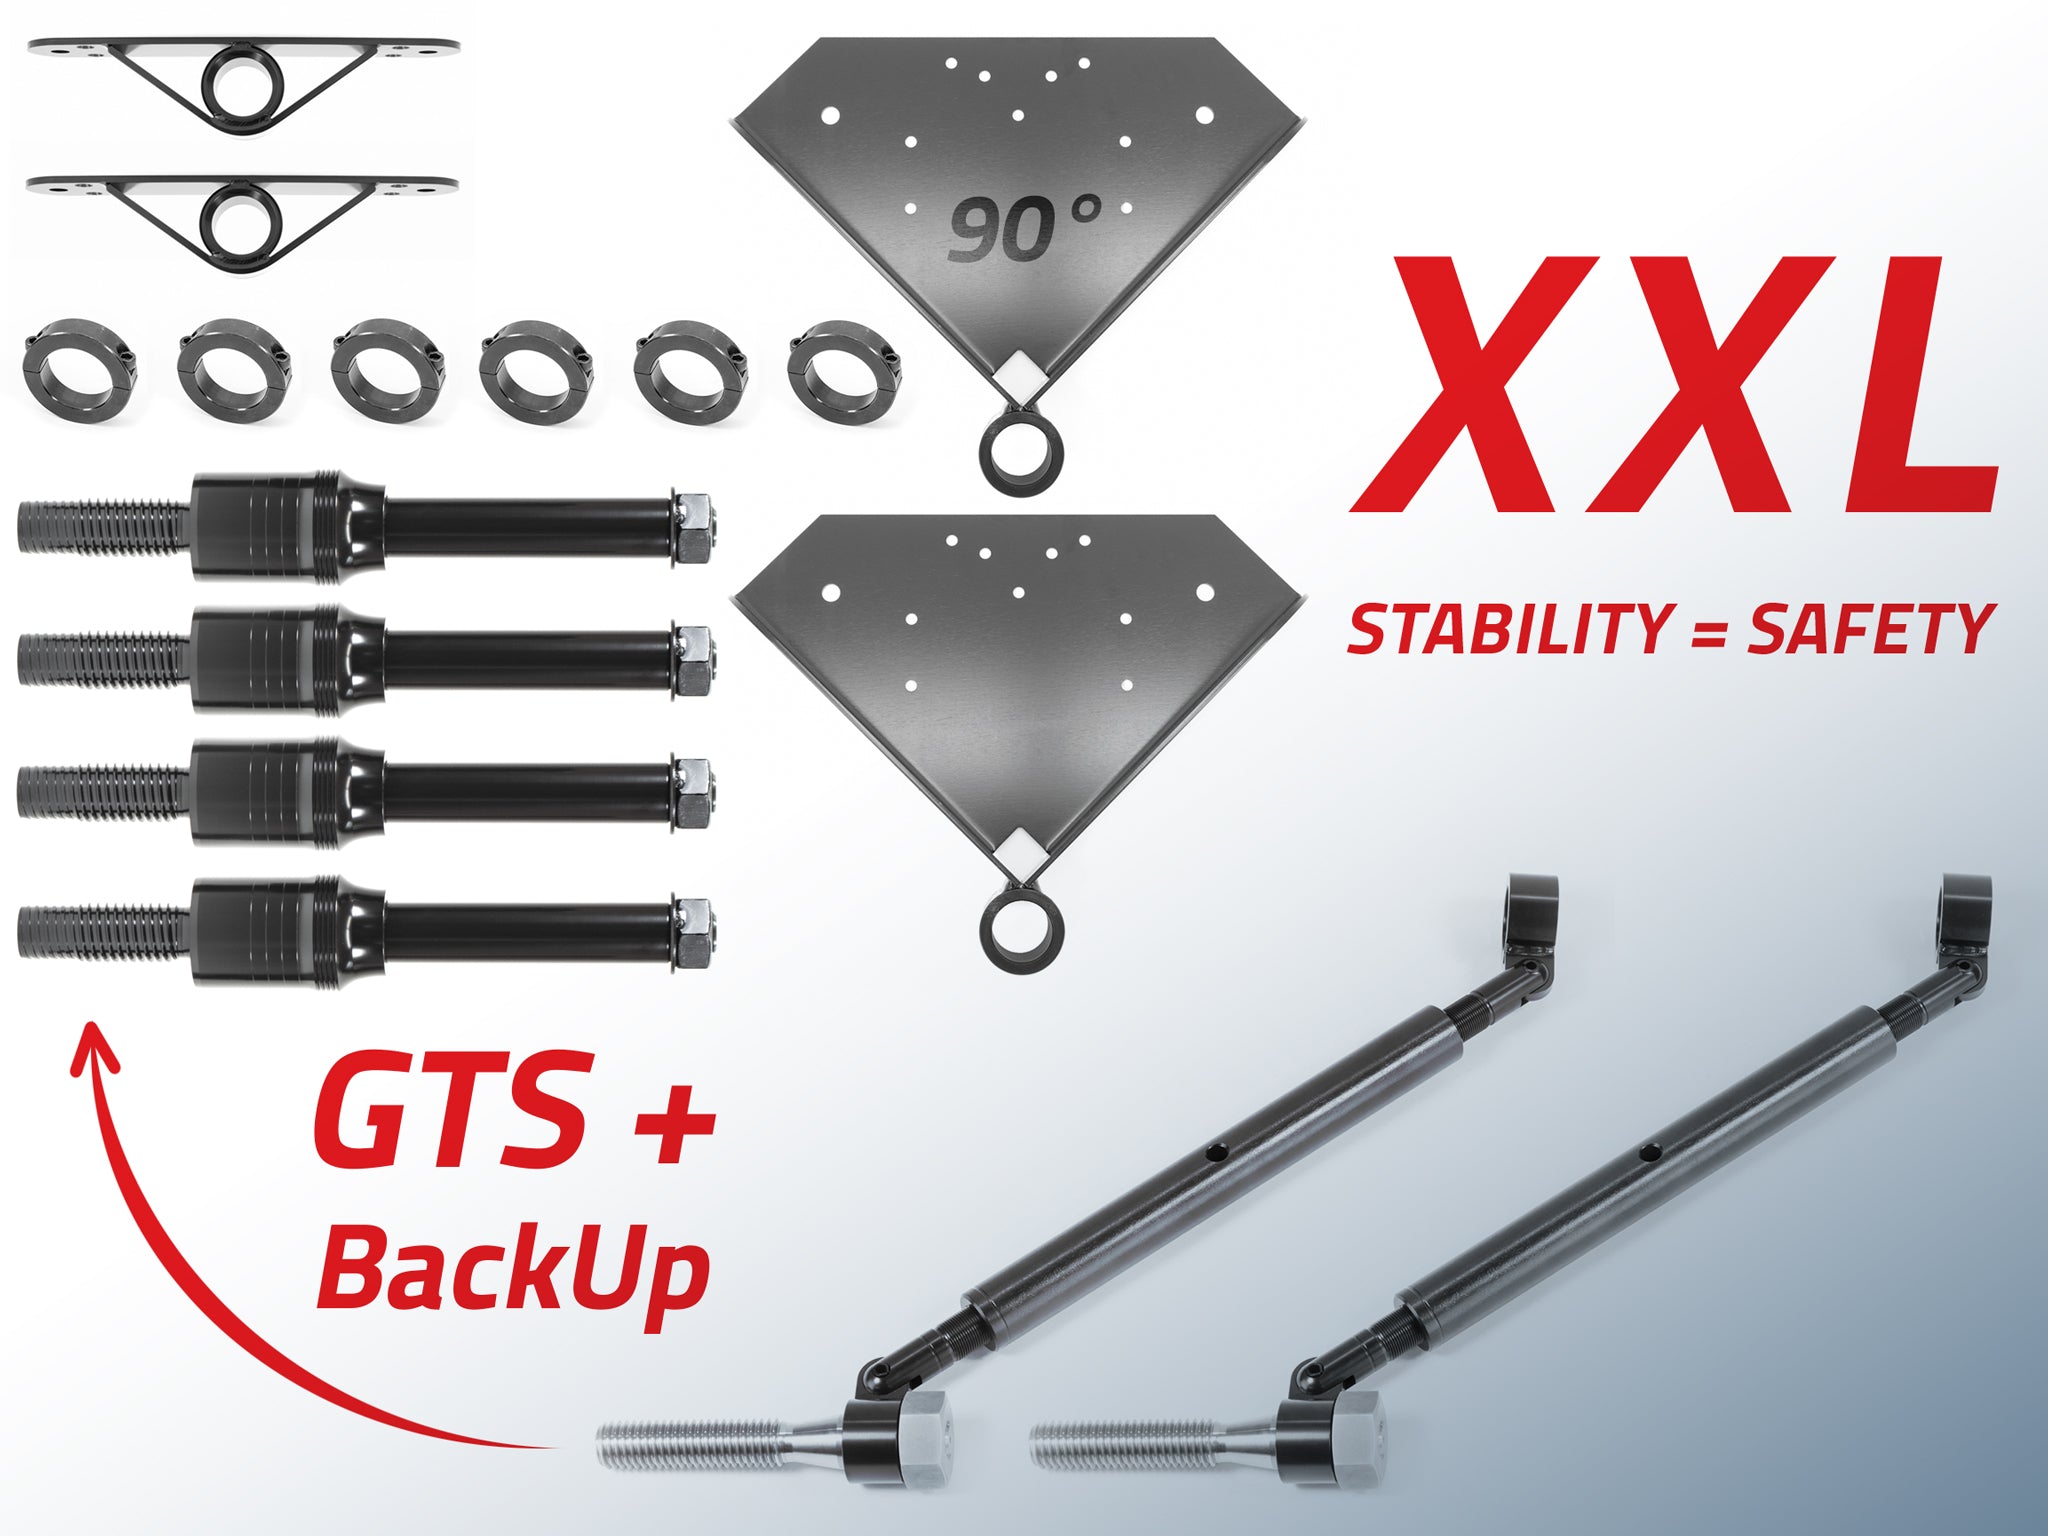
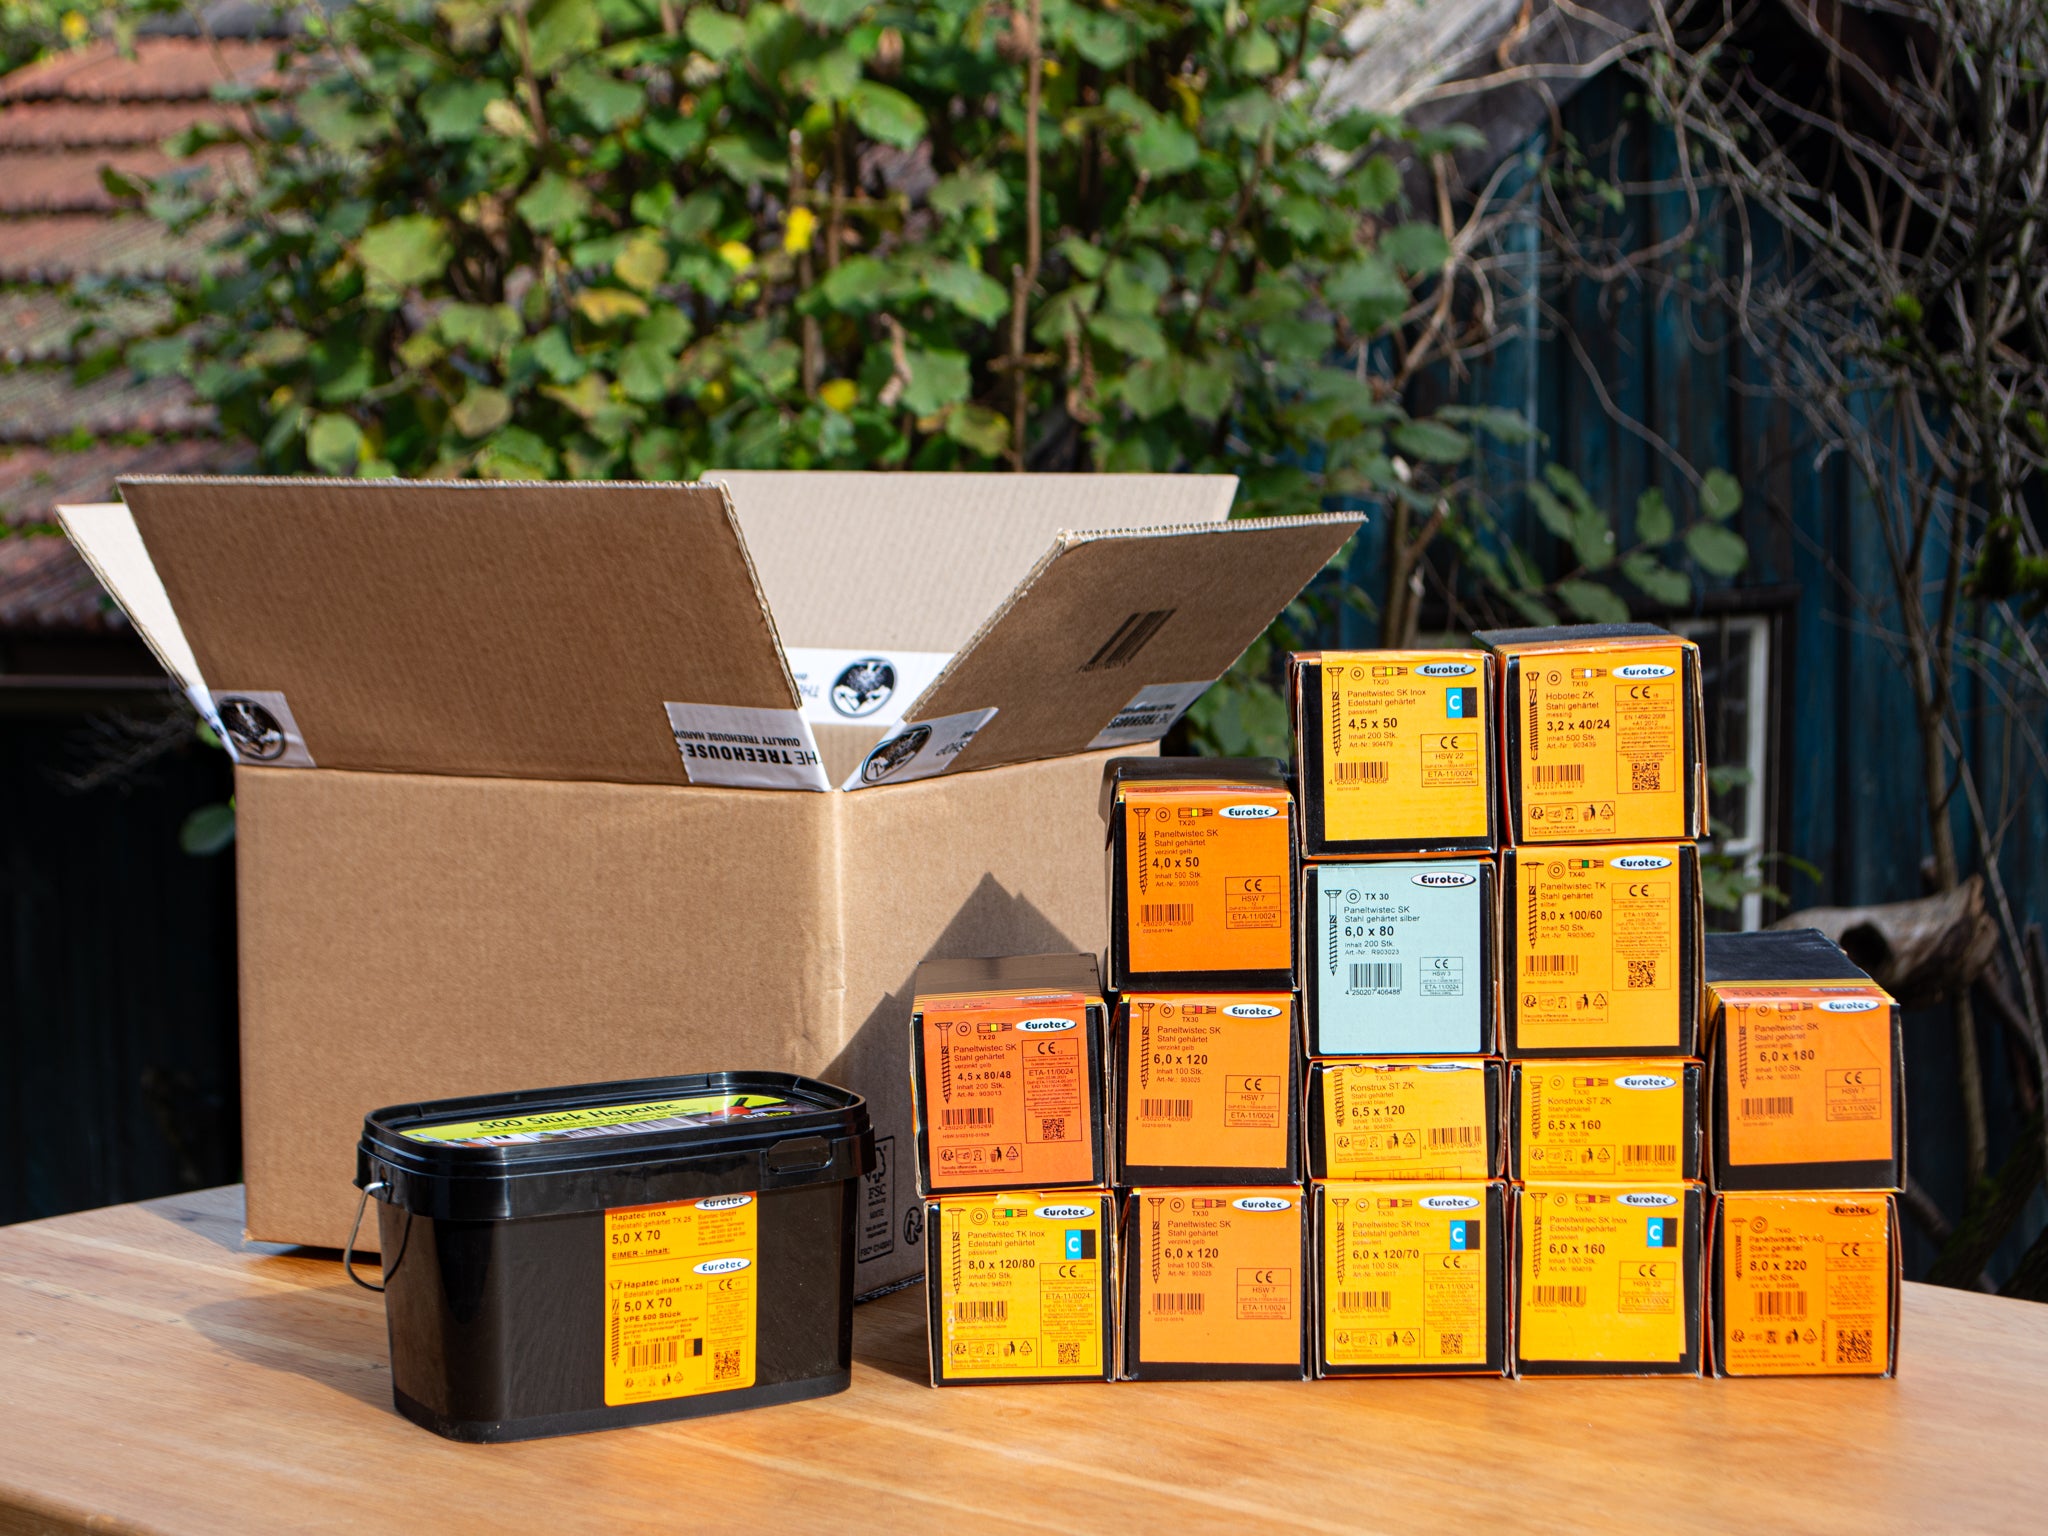
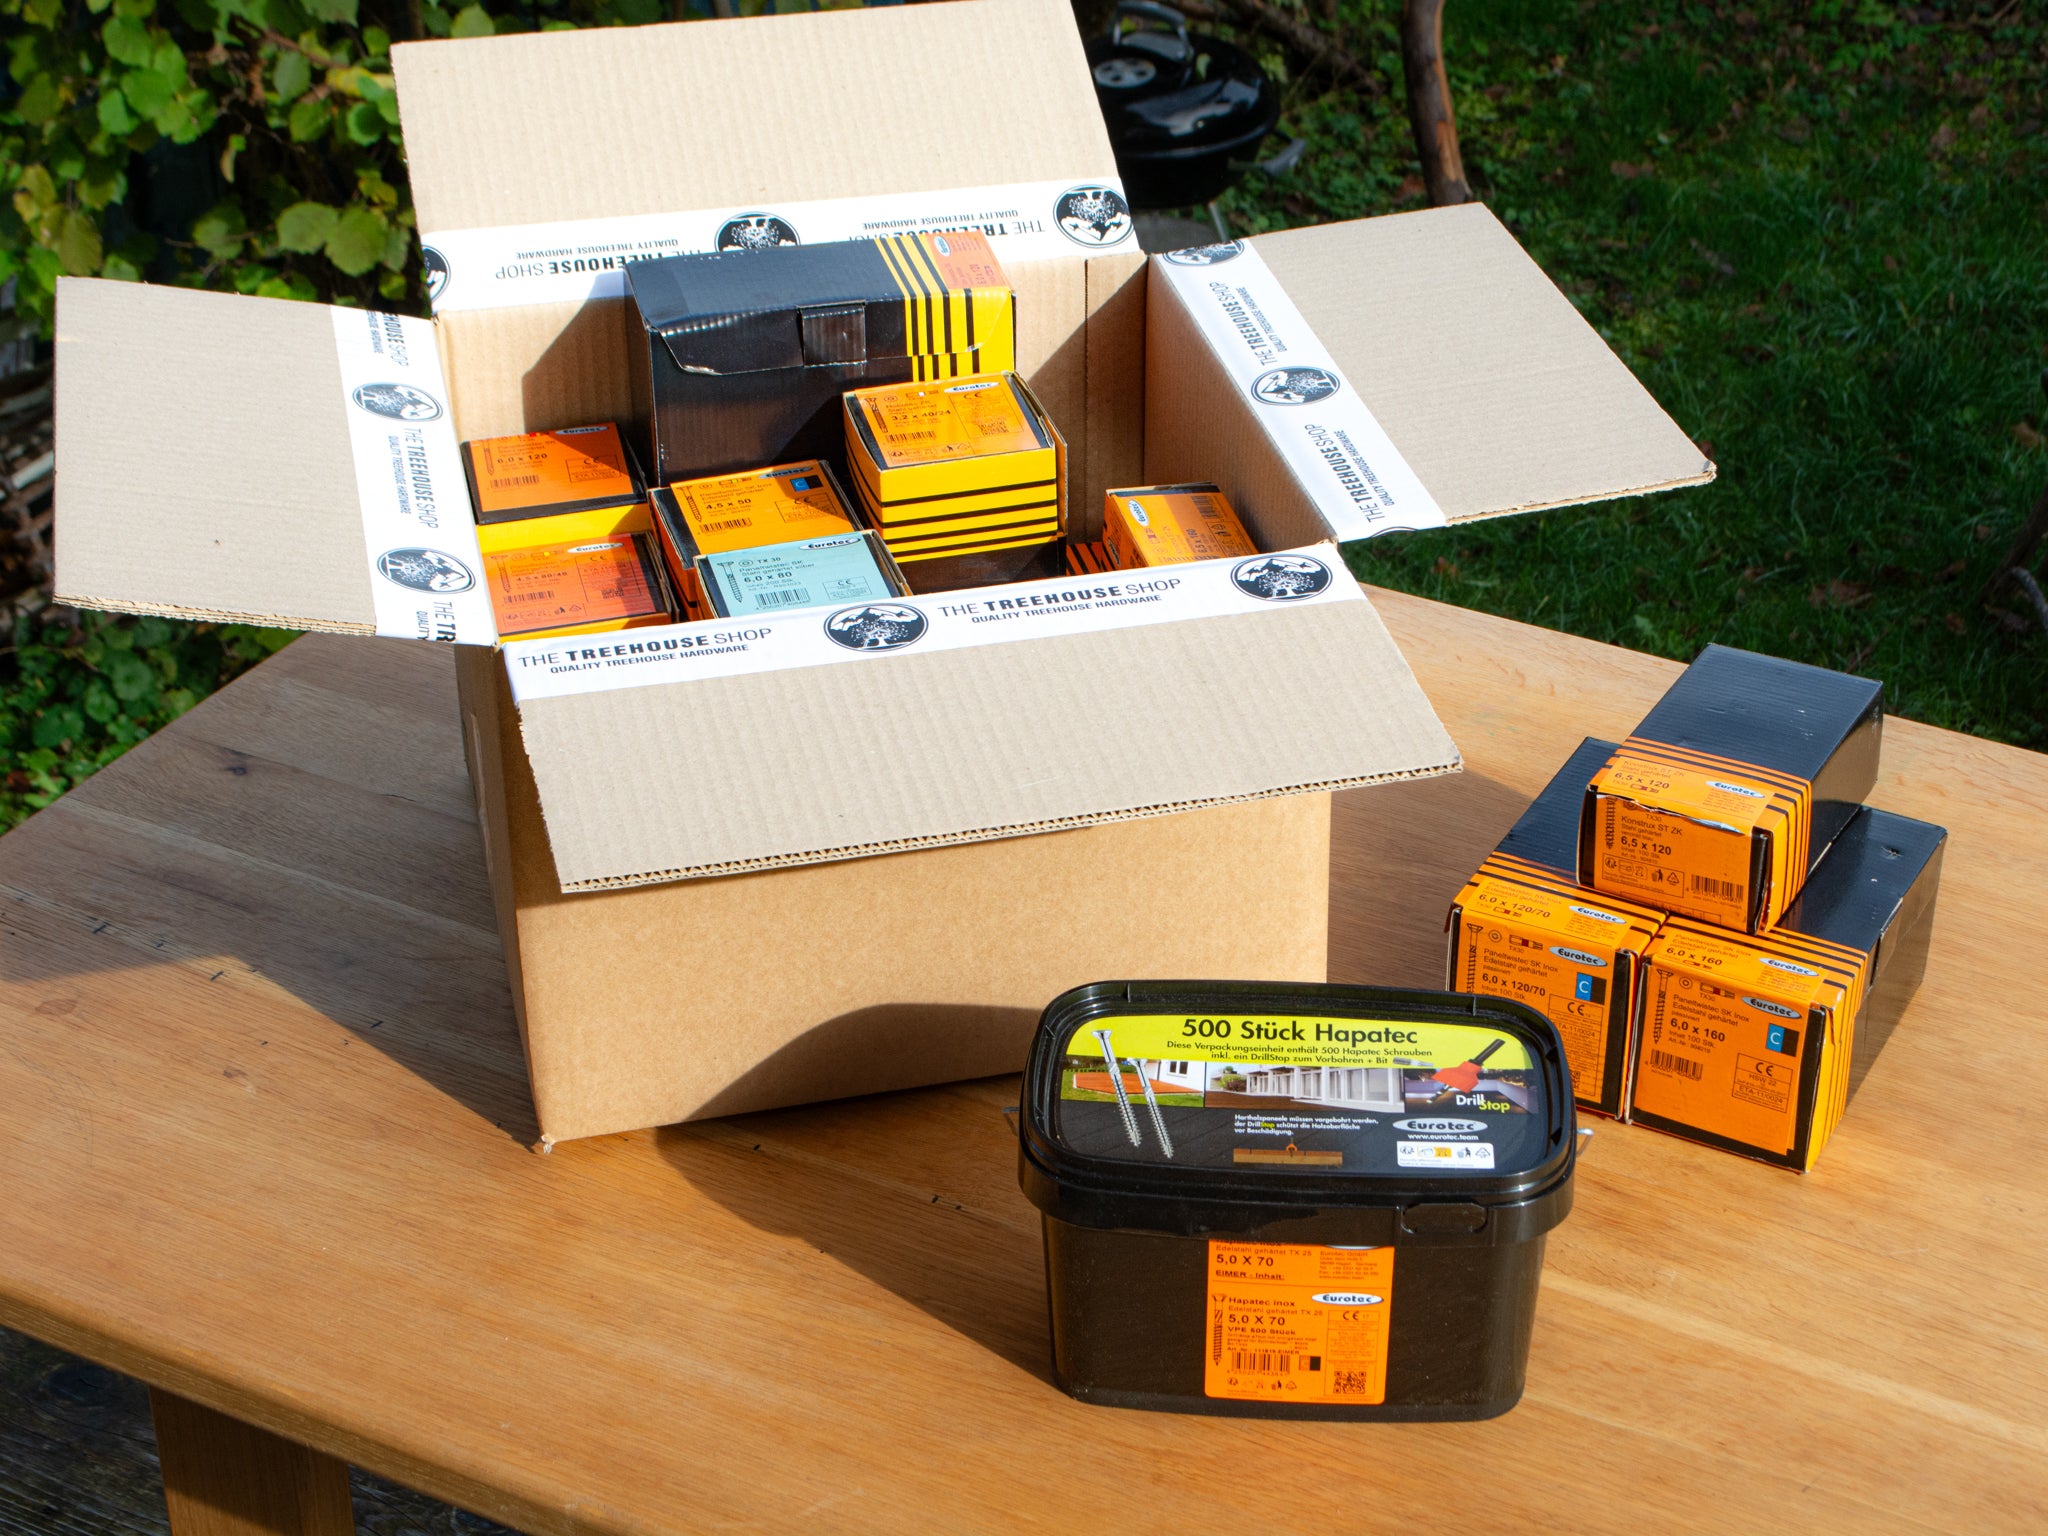
Products included in the set


Product dimensions
All dimensions and details can be found on the respective product pages:
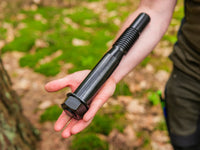
GTS Allstar 2.0:

Load Capacity - Set XL
- in softwood up to 8 tonnes*
- in hardwood up to 16 tonnes*
* Important: The actual load capacity depends on many factors, e.g. lever arm, load direction or wood strength. Always calculate with a safety factor!
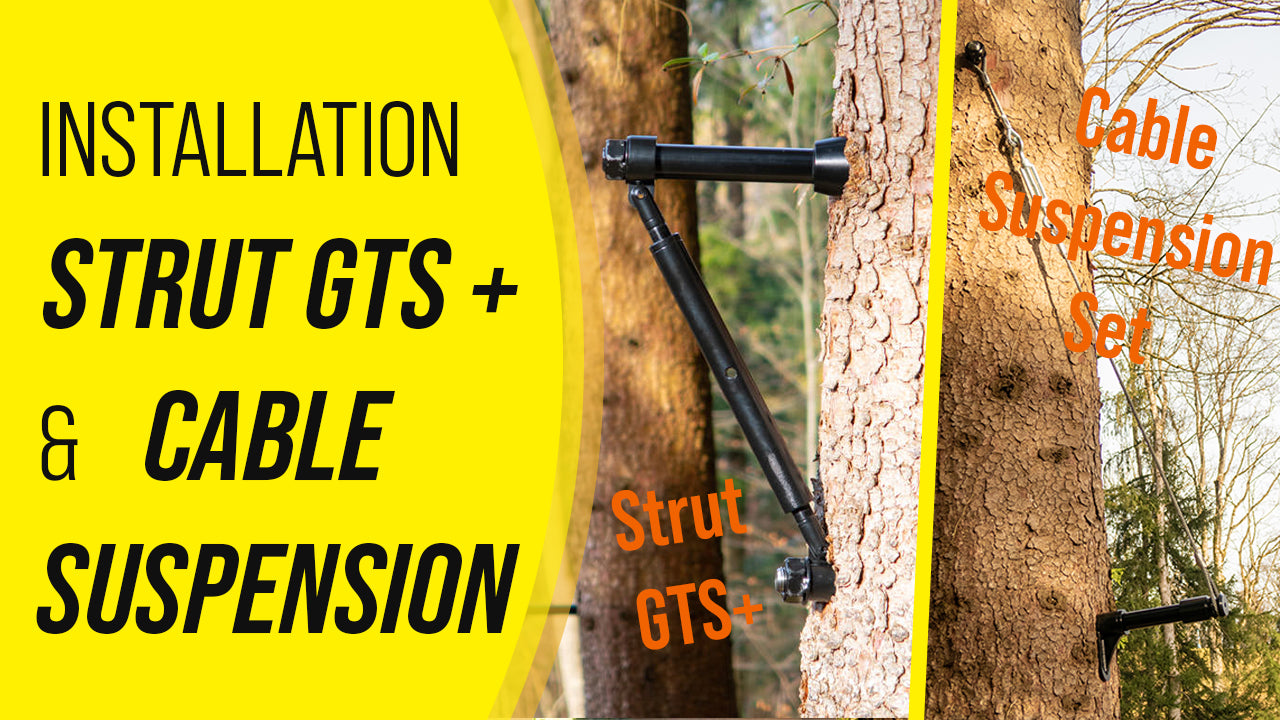
Assembly instructions & video
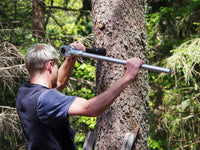
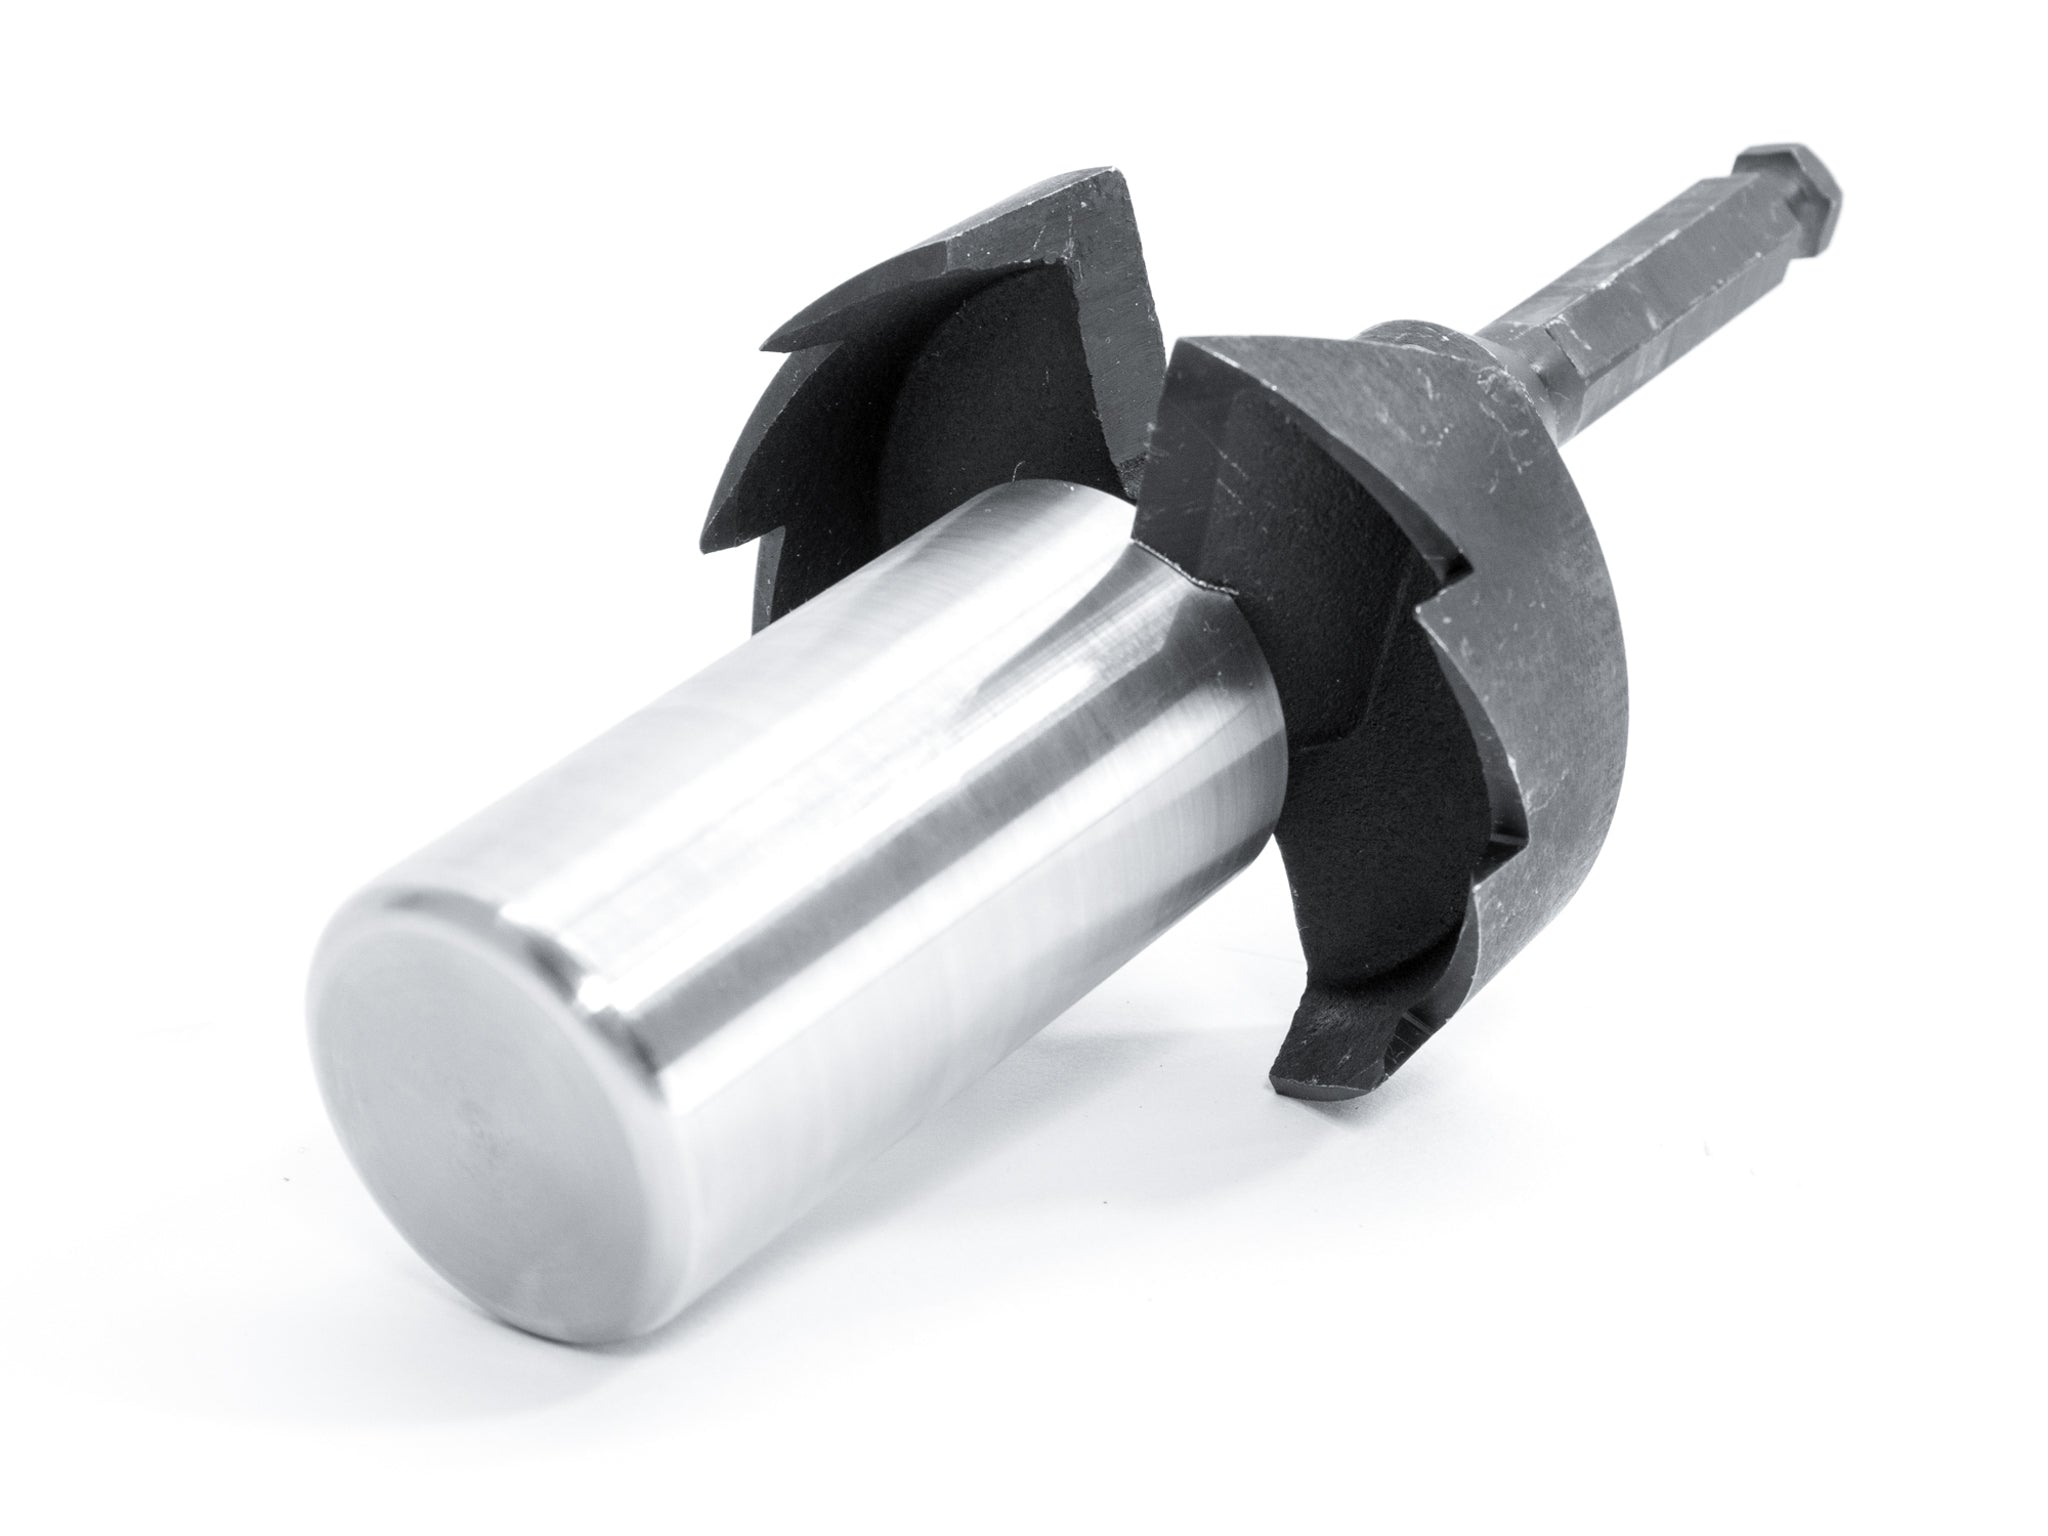
To install the GTS Screws, a hole must be pre-drilled in the tree – you can find the right installation tools in our shop.
Detailed step-by-step instructions can be found on our YouTube channel.
Shipping & Delivery
Great hardware! Great shop! Great advice! Great guy! Thanks, Vitus and team! Even returning the spare screw was no problem!
It was a good purchase, the supports look fantastic, the explanations and advice were perfect, shipping to Spain was very fast, I will definitely buy them again!
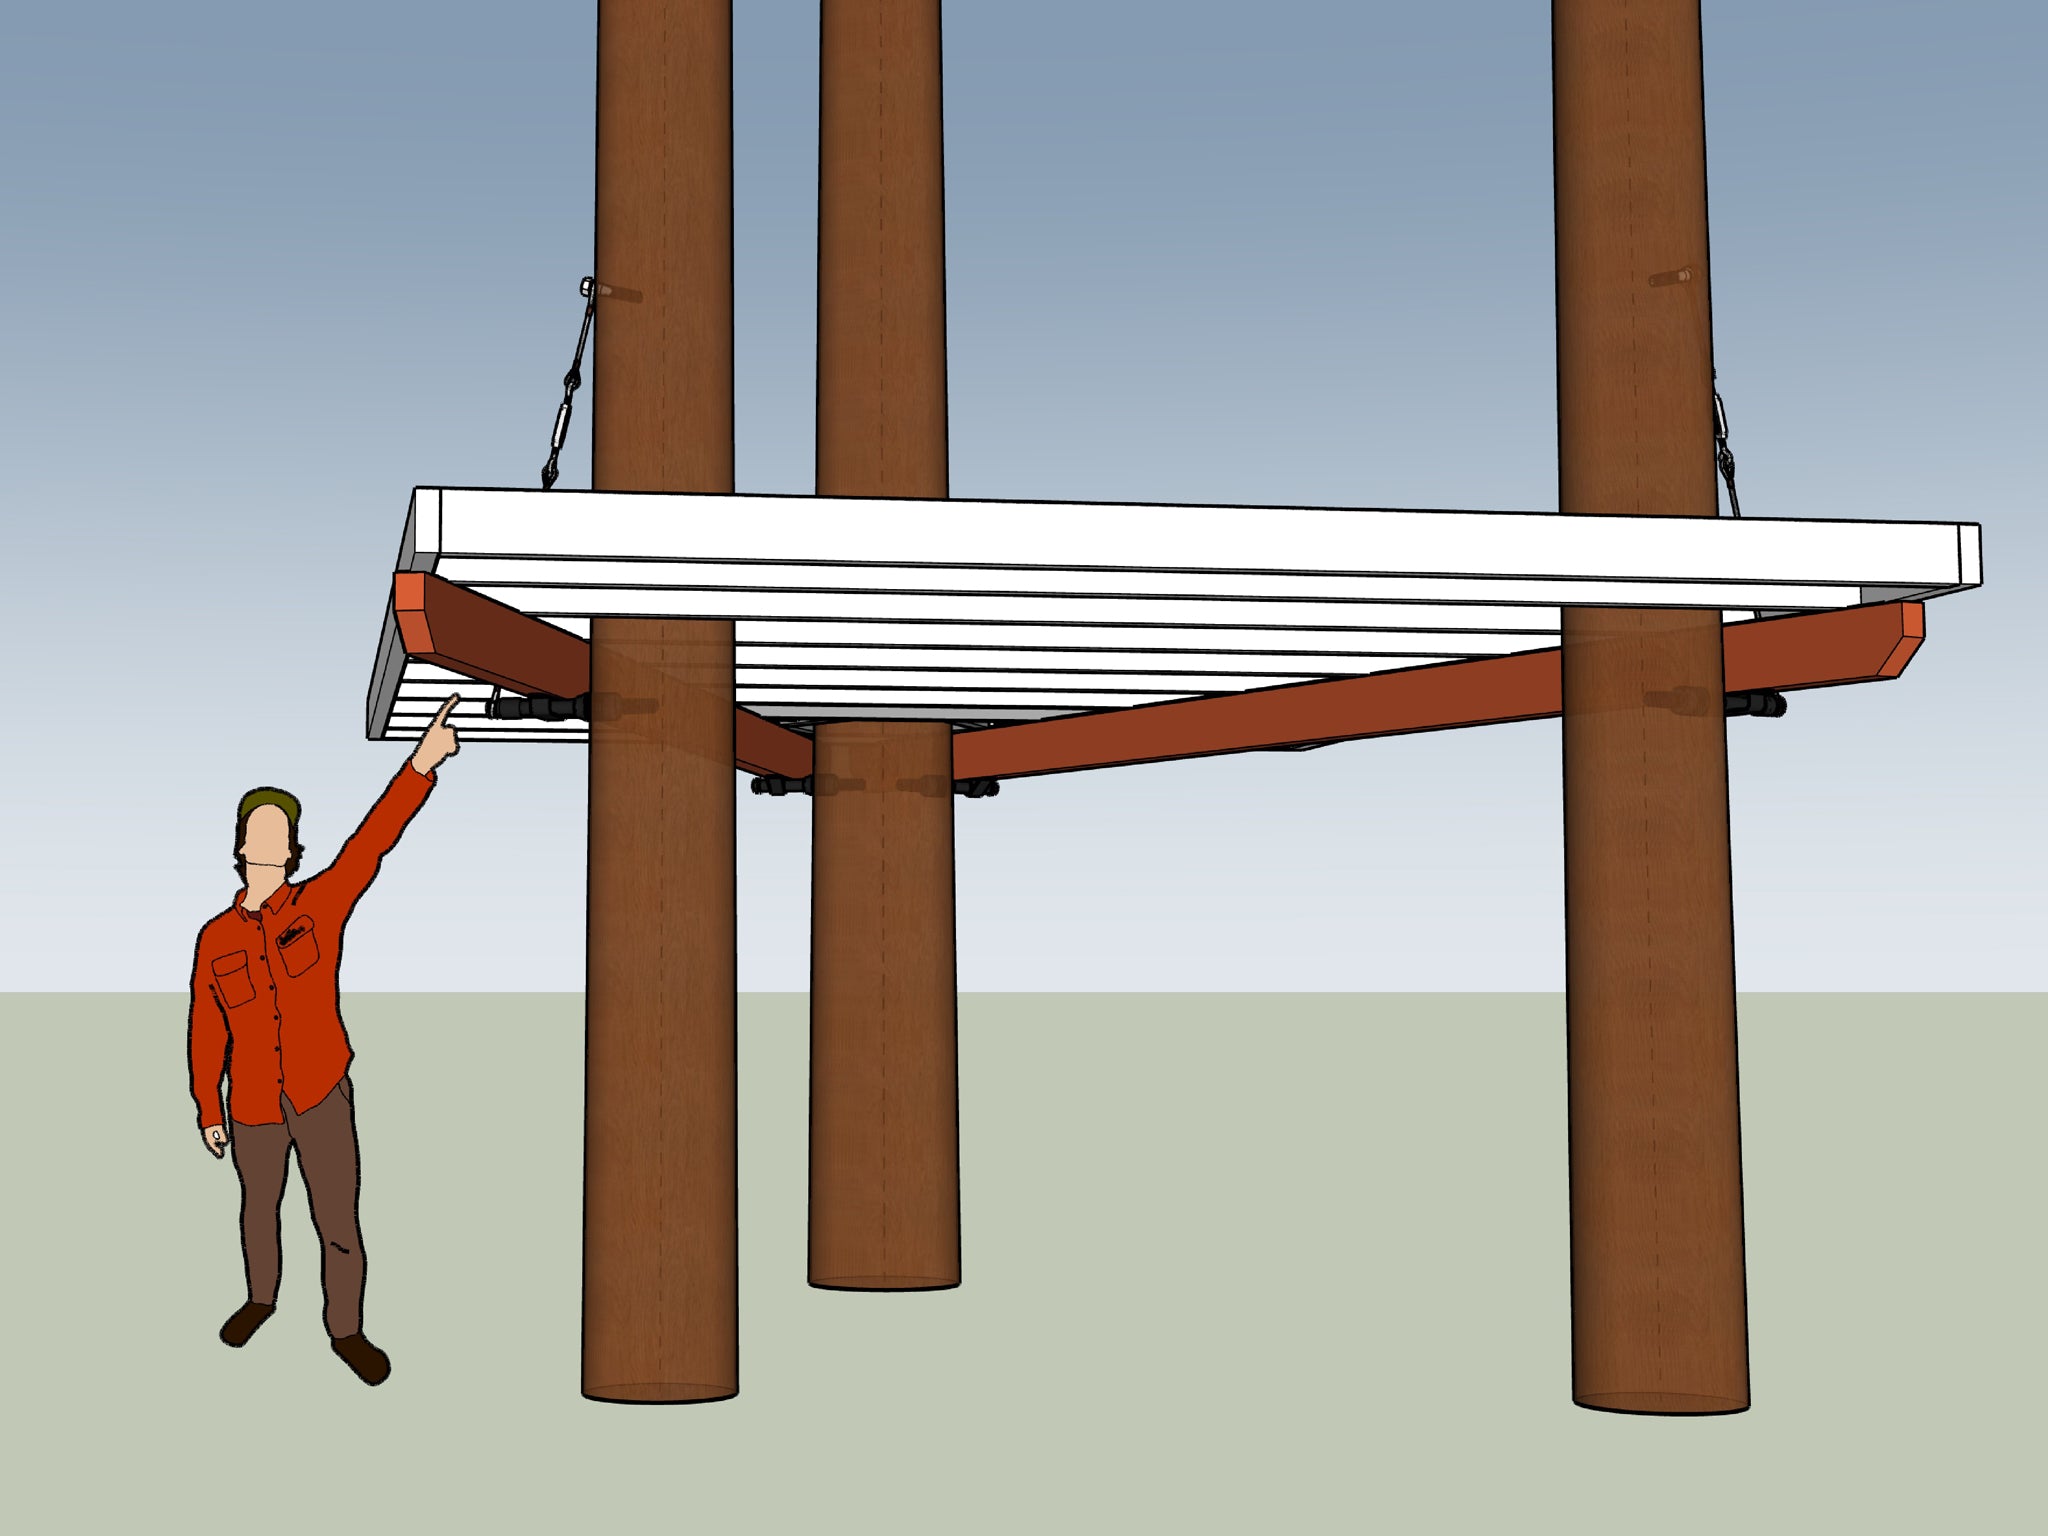
Maximum Load Capacity for Your Treehouse with 3D Support Structure
With this kit, you can make even your biggest treehouse dreams come true – perfect for heavy luxury structures and public projects with high safety standards. It also provides improved stability and safety for softer trees such as spruce, fir or poplar.
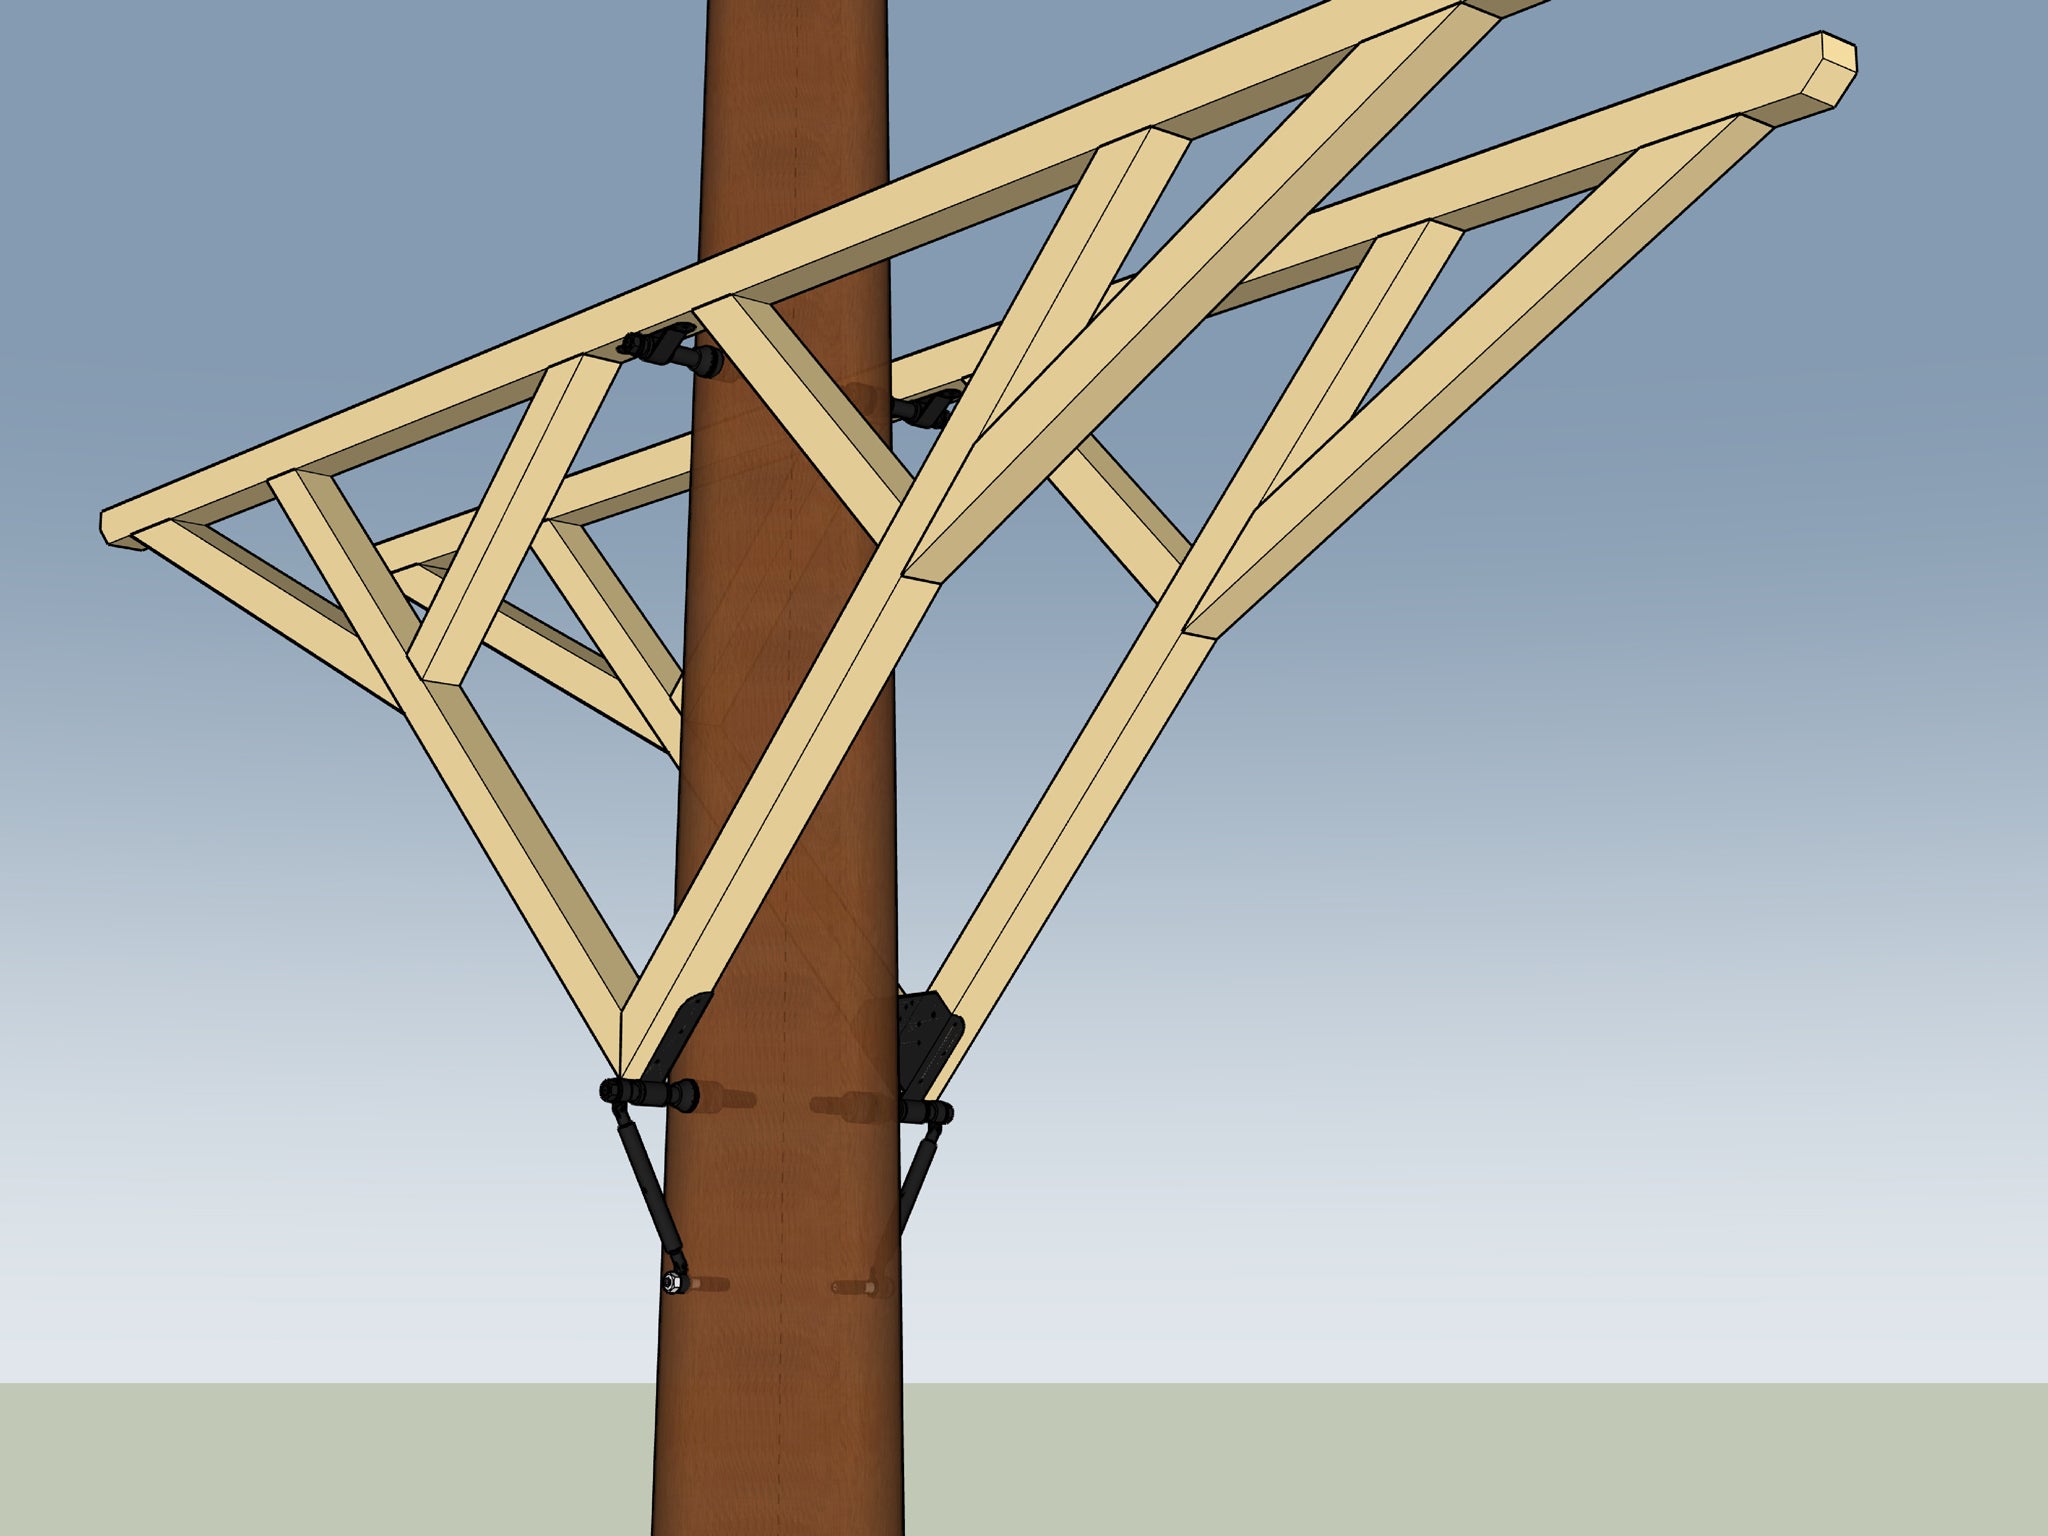
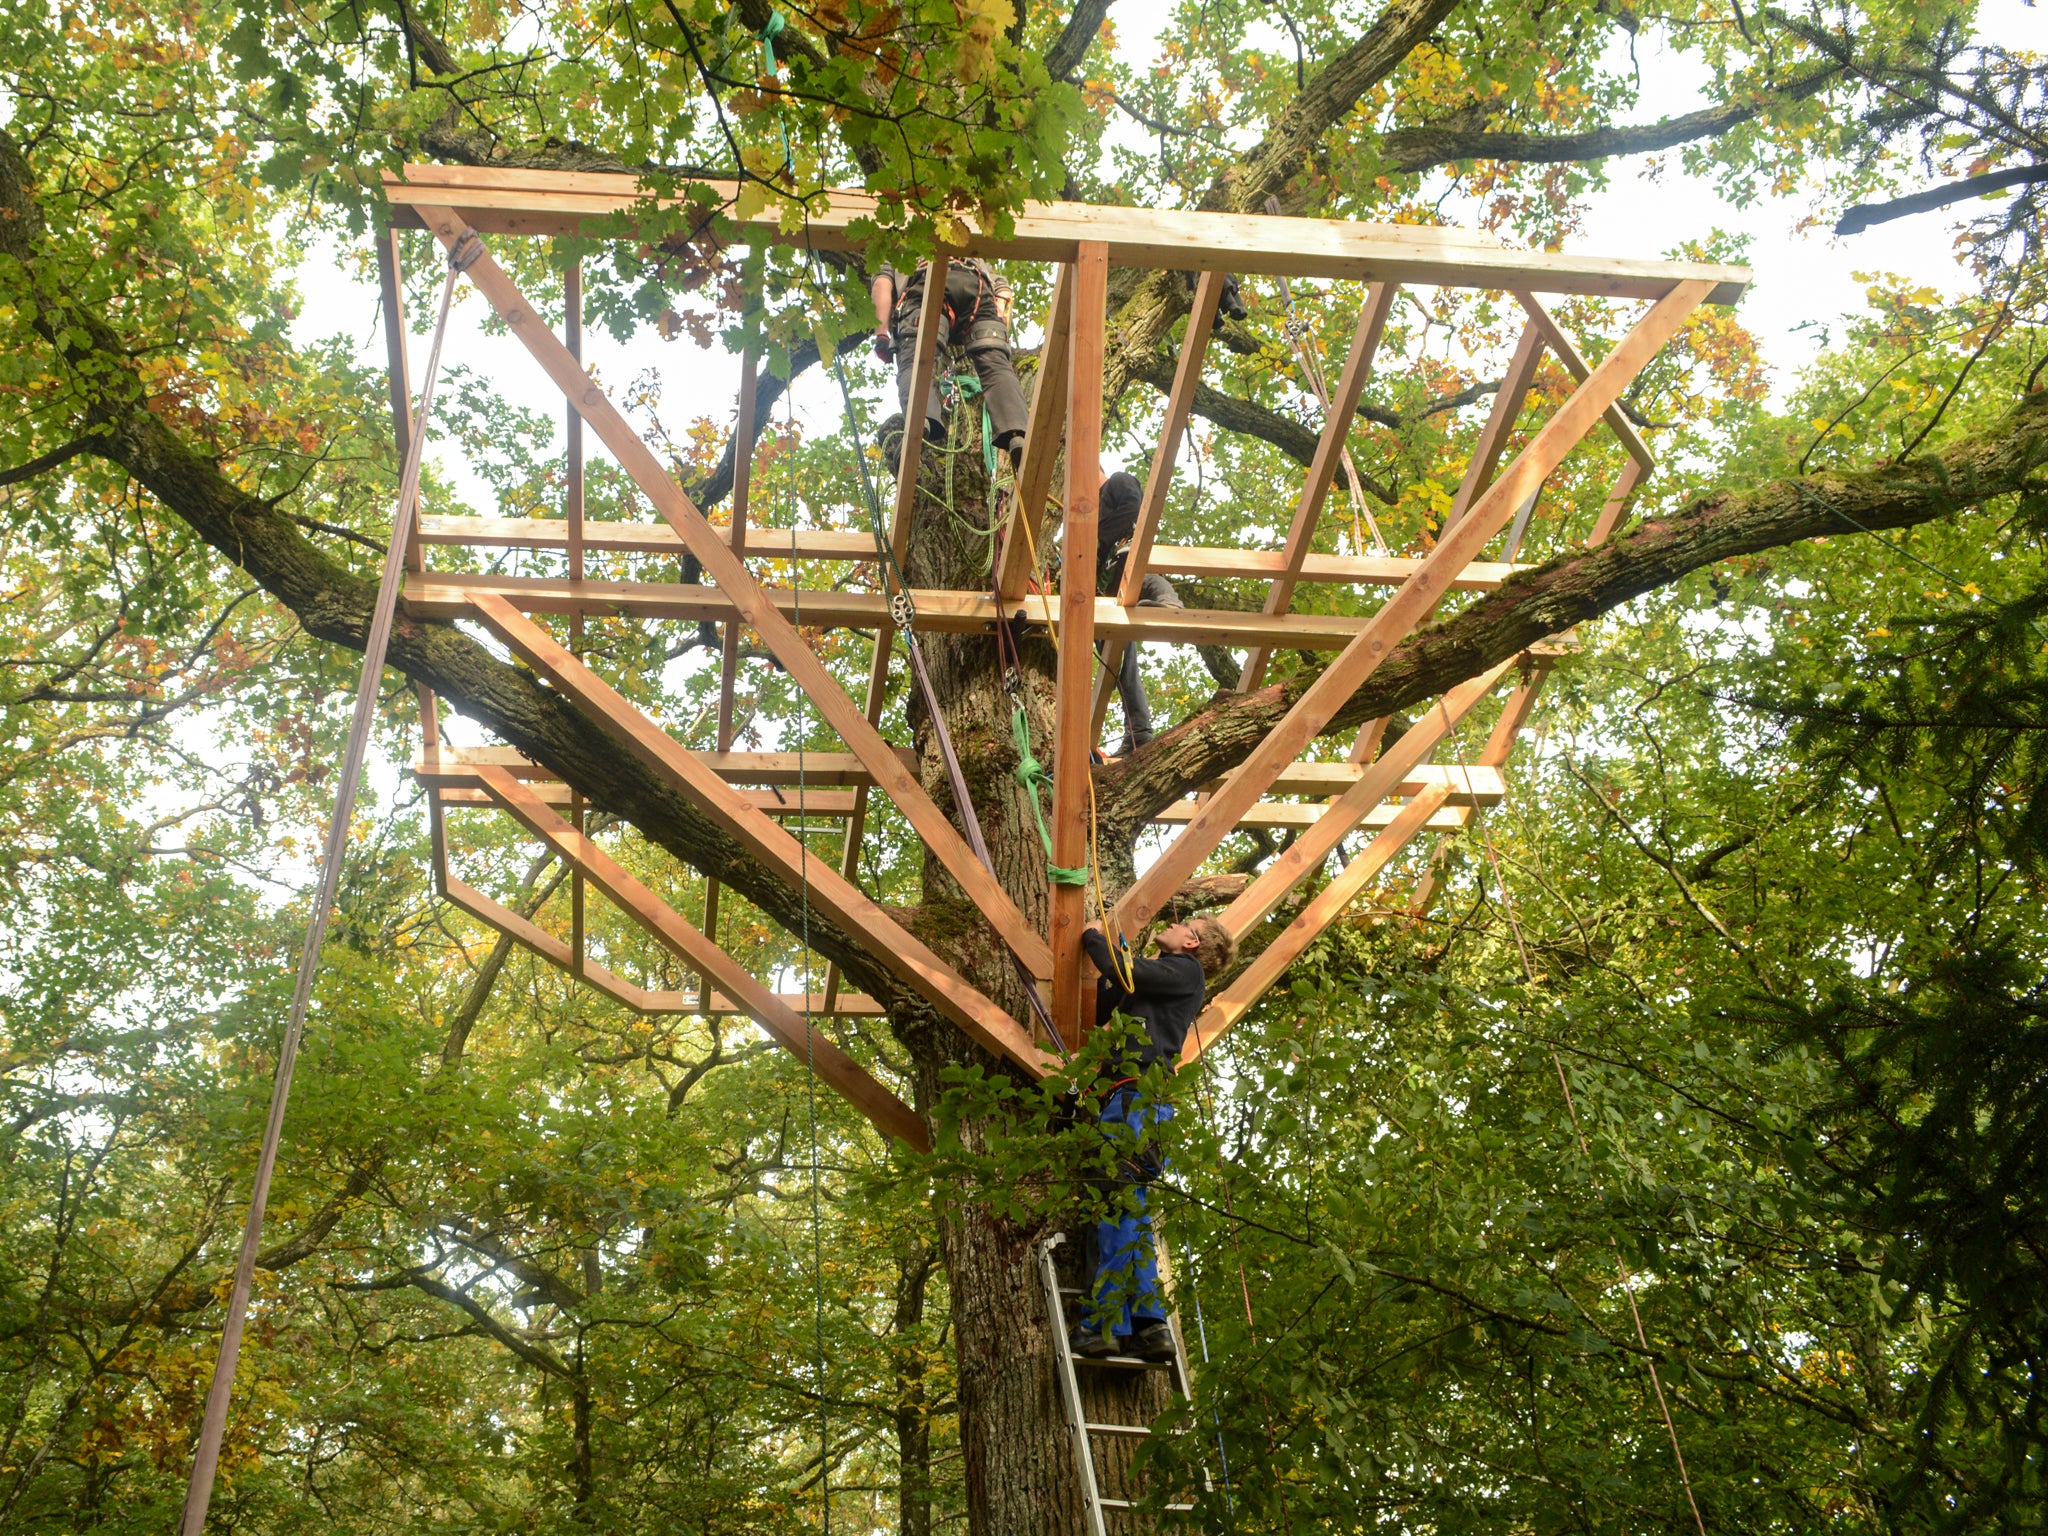
How it works – triangle mounting

Which GTS should be reinforced?
Which of the two GTS screws in the triangle is reinforced with the BackUp system depends on the construction and the load.
The decisive factor is: Where do the forces act – and which GTS screw bears most of the load? This is the one that should be reinforced. As a rule, it is the lower screw at the tip of the triangle that is subjected to the highest load.

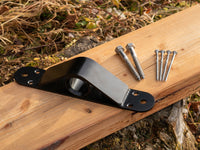
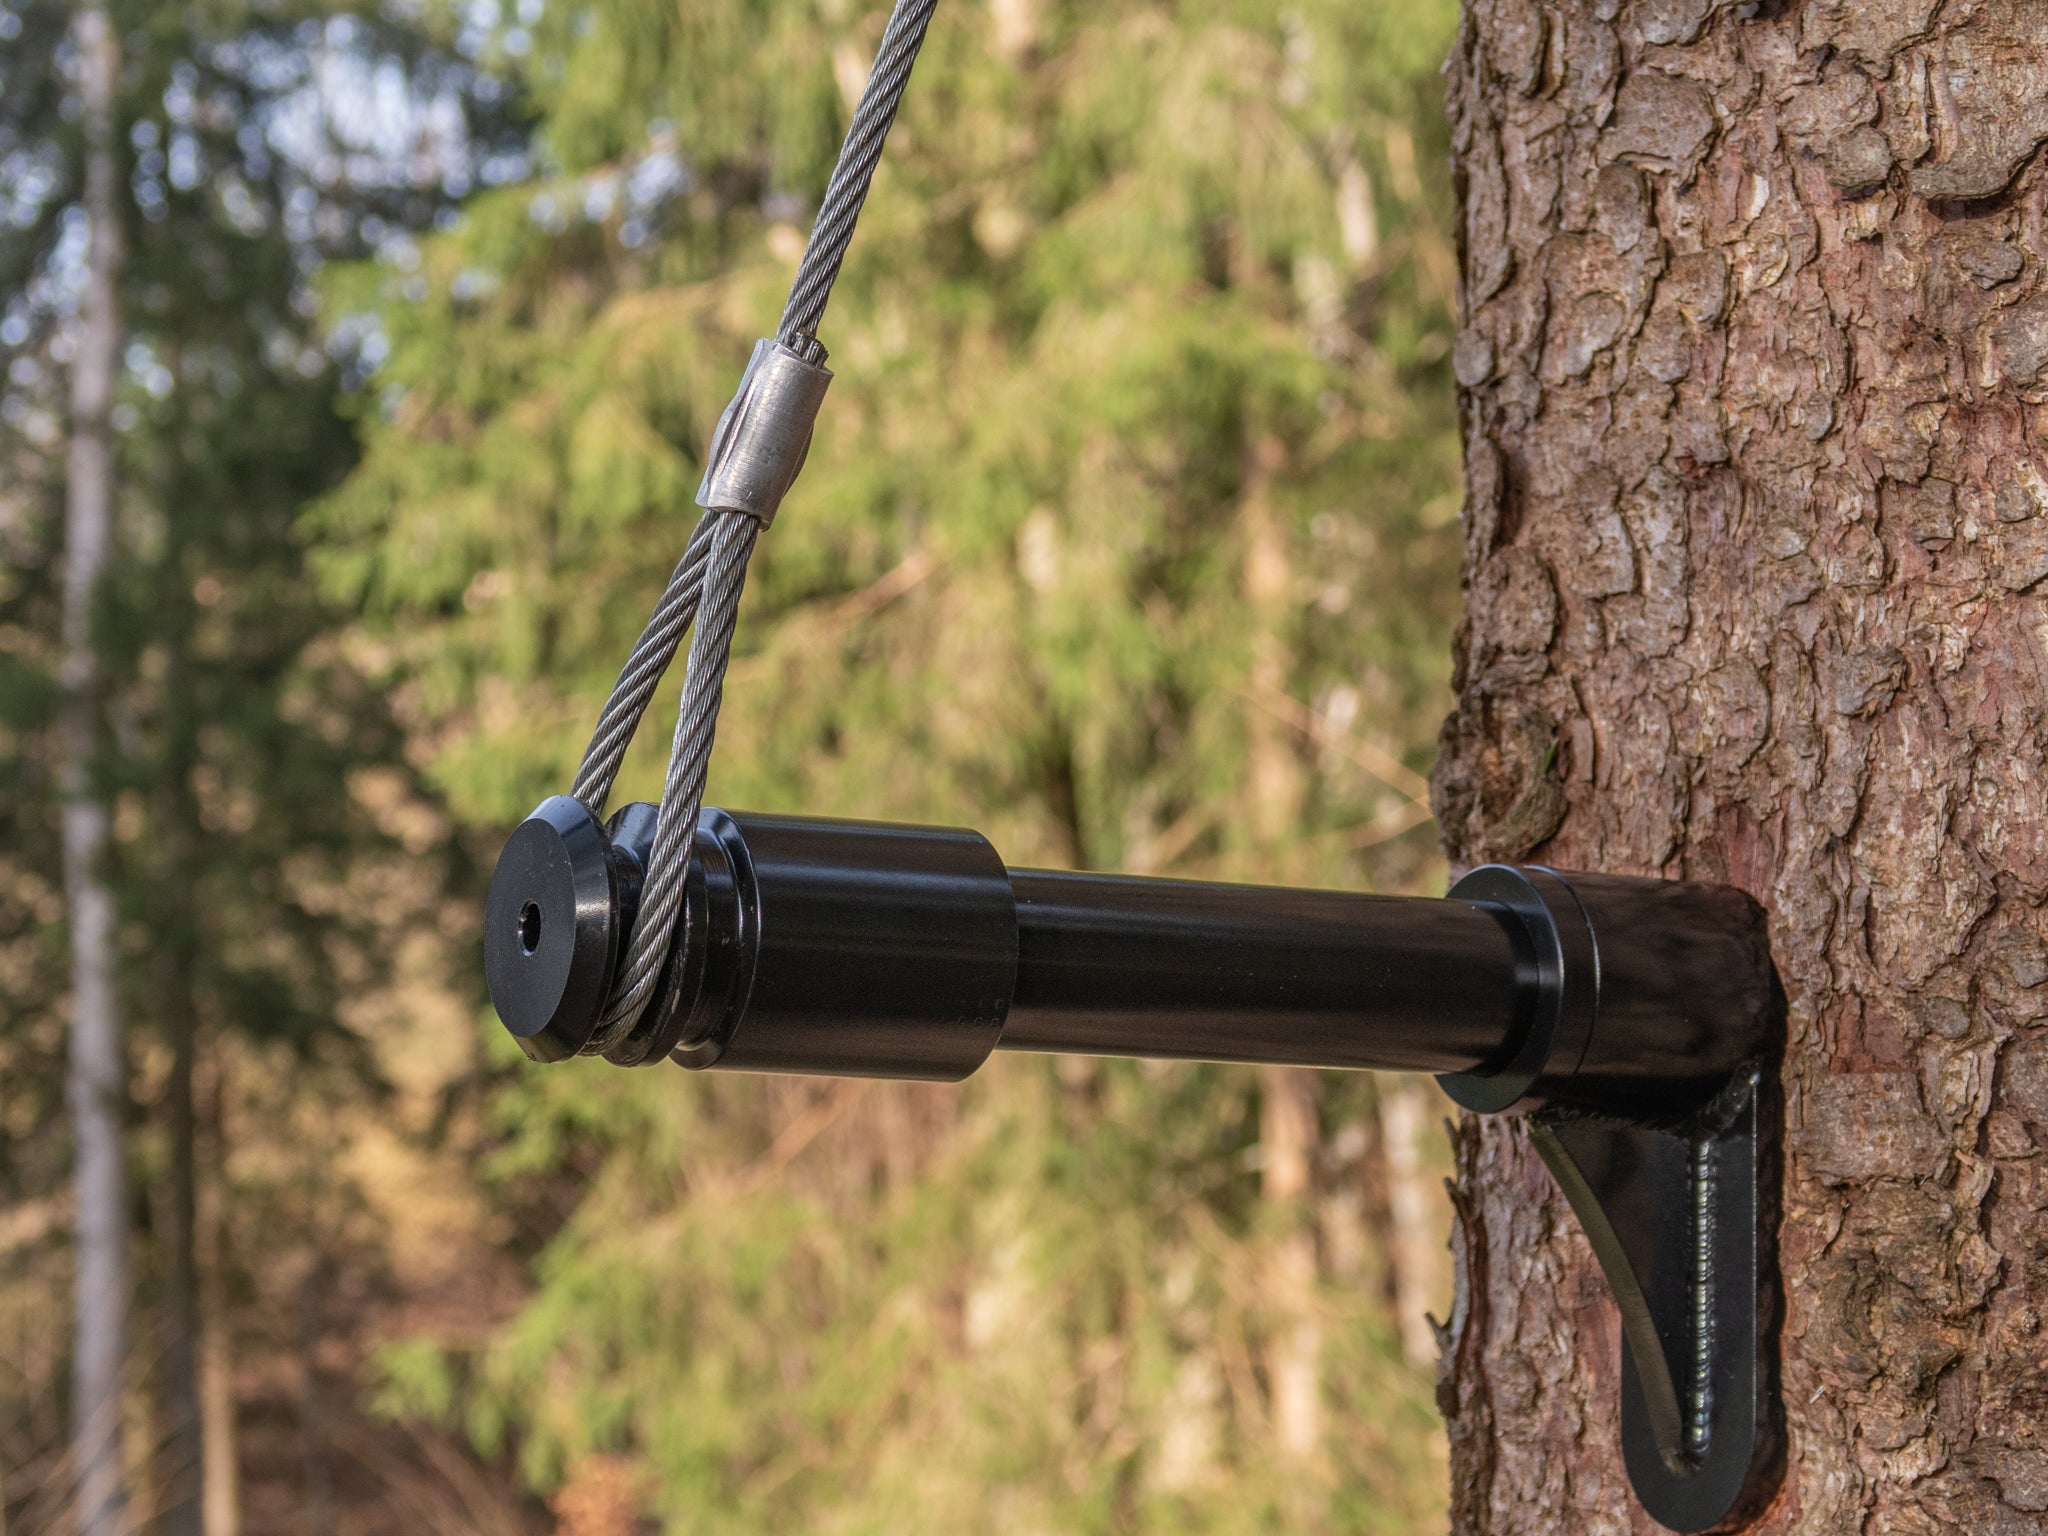
Attach 3D-Tribeam
- Prepare the triangle and brackets on the ground.
- Screw the upper GTS Screw into the tree.
- Slide on the triangle and align it precisely.
- Mark the lower drill hole and screw in the second GTS Screw.
- Secure the triangle with the Position-Rings.

Trees move!
Not an issue with the 1-Tree Treehouse – with 2 trees, you need to weigh up the pros and cons: Permanently mounted triangles easily compensate for small tree movements of up to approx. 5 cm. For larger movements, the joists (red) on one side should be mounted on sliding bearings (more information here).
Our solutions for large, heavy treehouses
This XXL Tribeam Kit is ideal if you want to play it safe – whether for a heavy luxury treehouse, a public project or soft wood. The GTS+ BackUps can also be retrofitted if you need more load capacity later on.


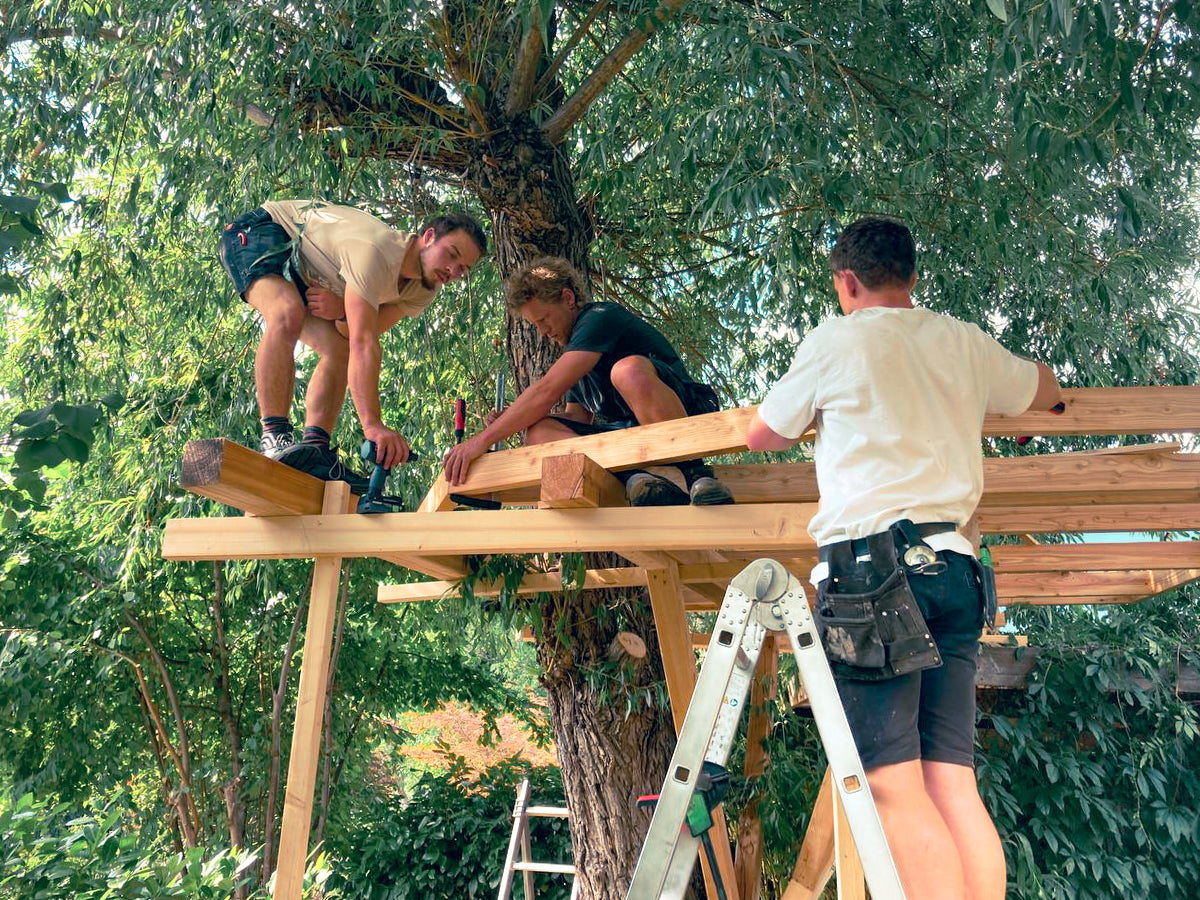
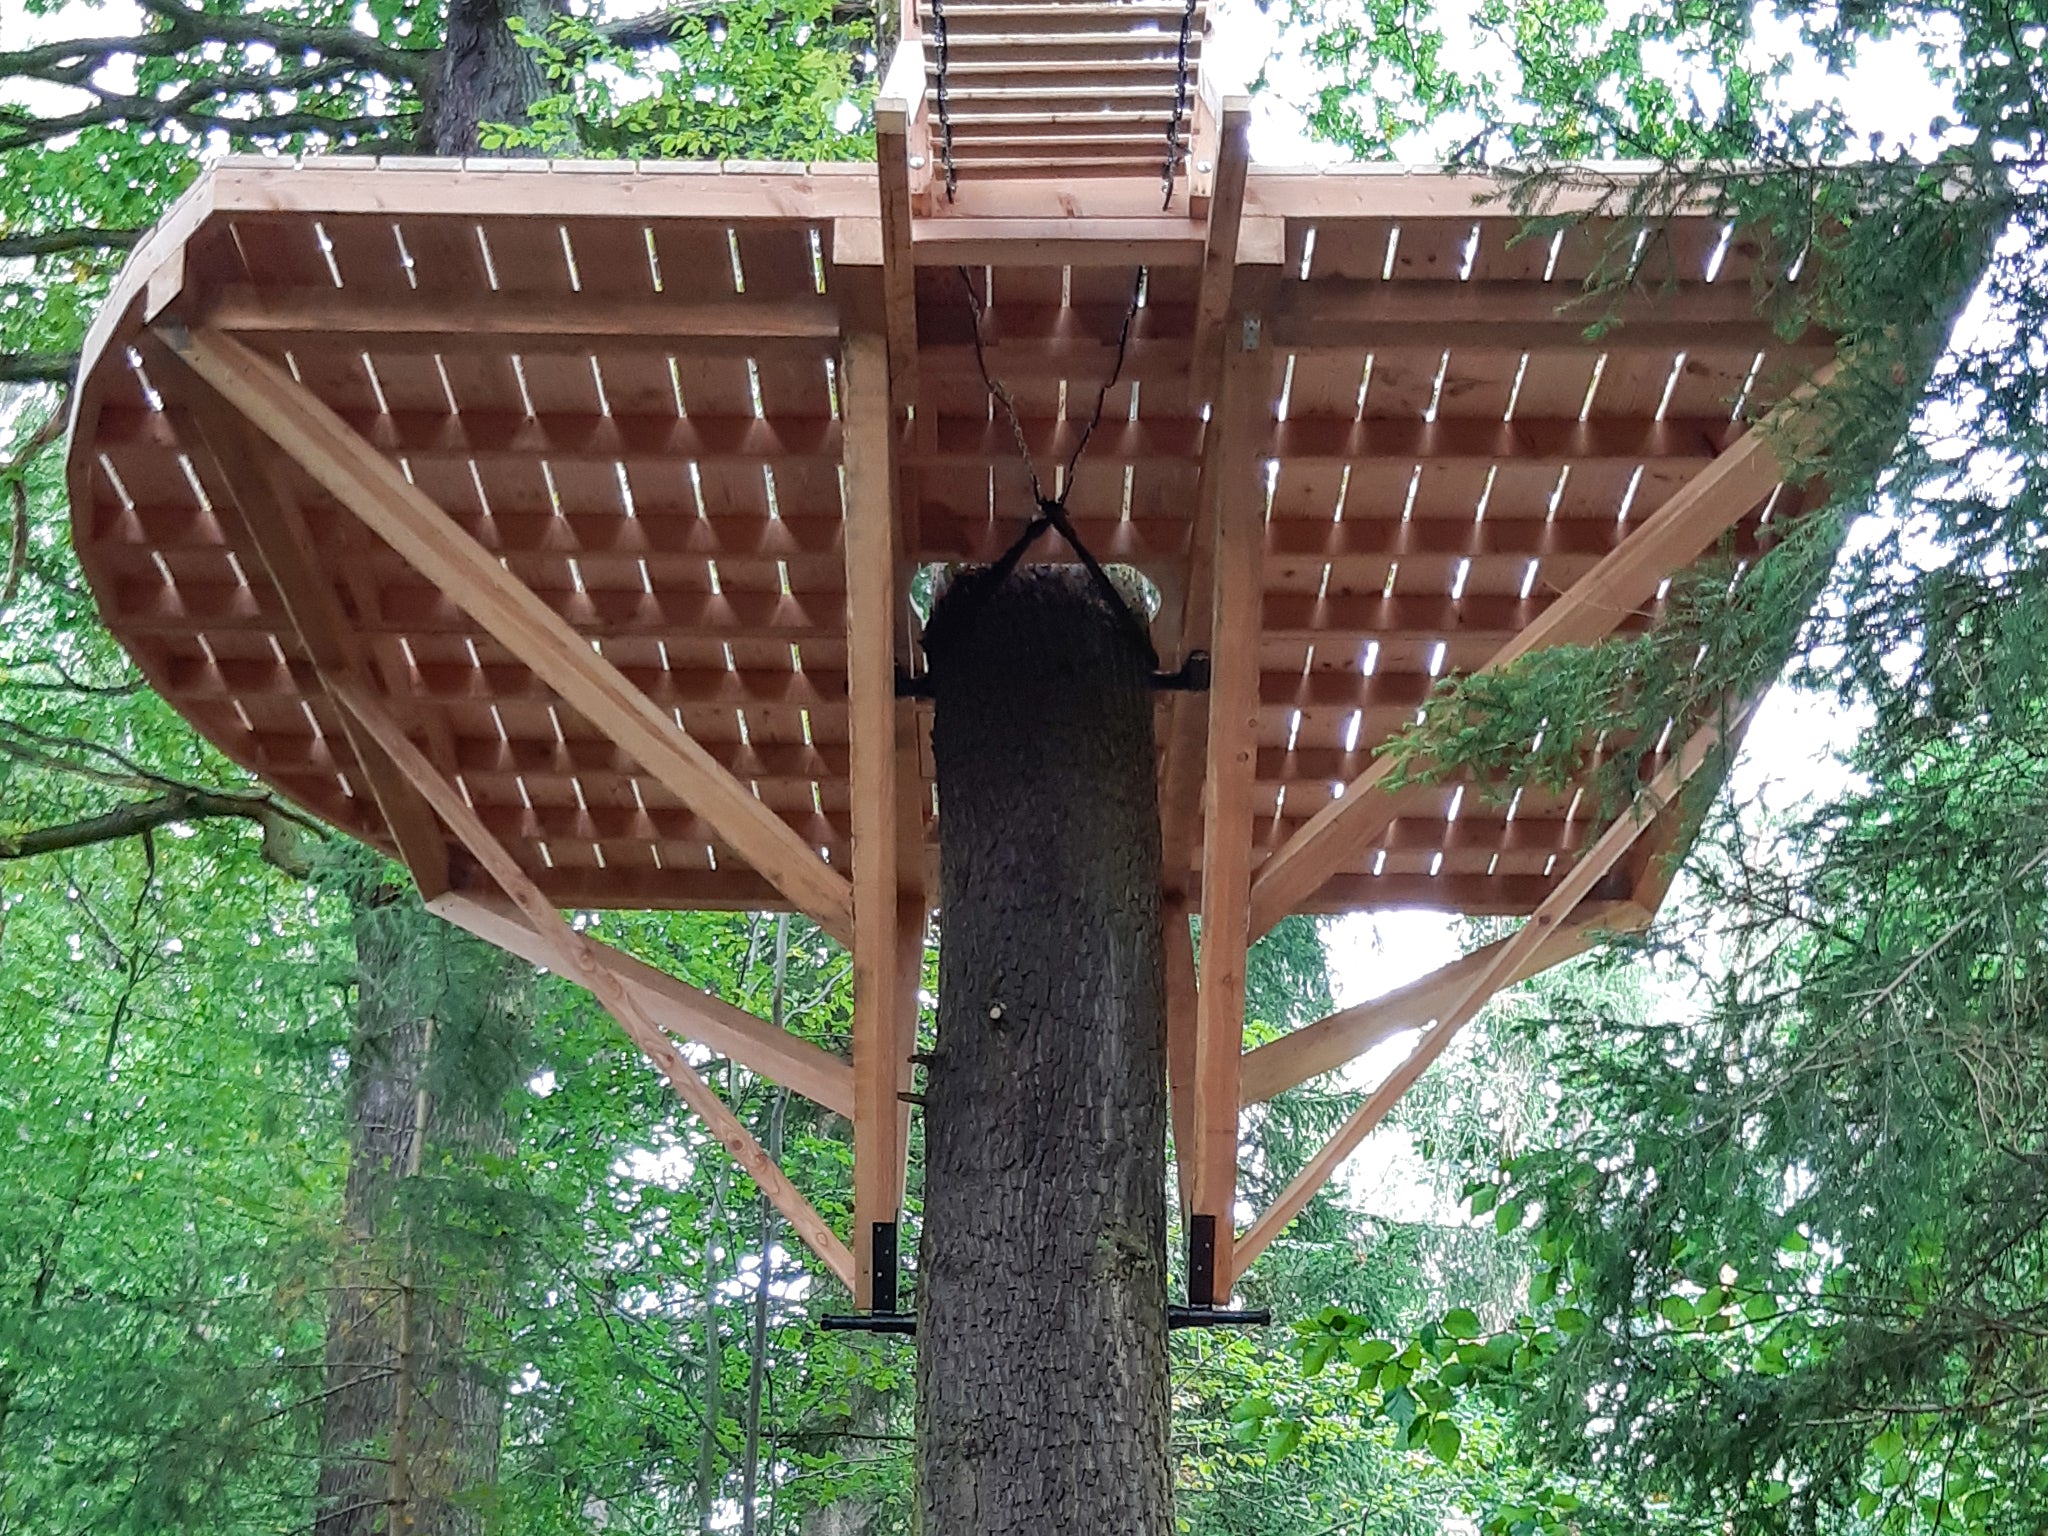
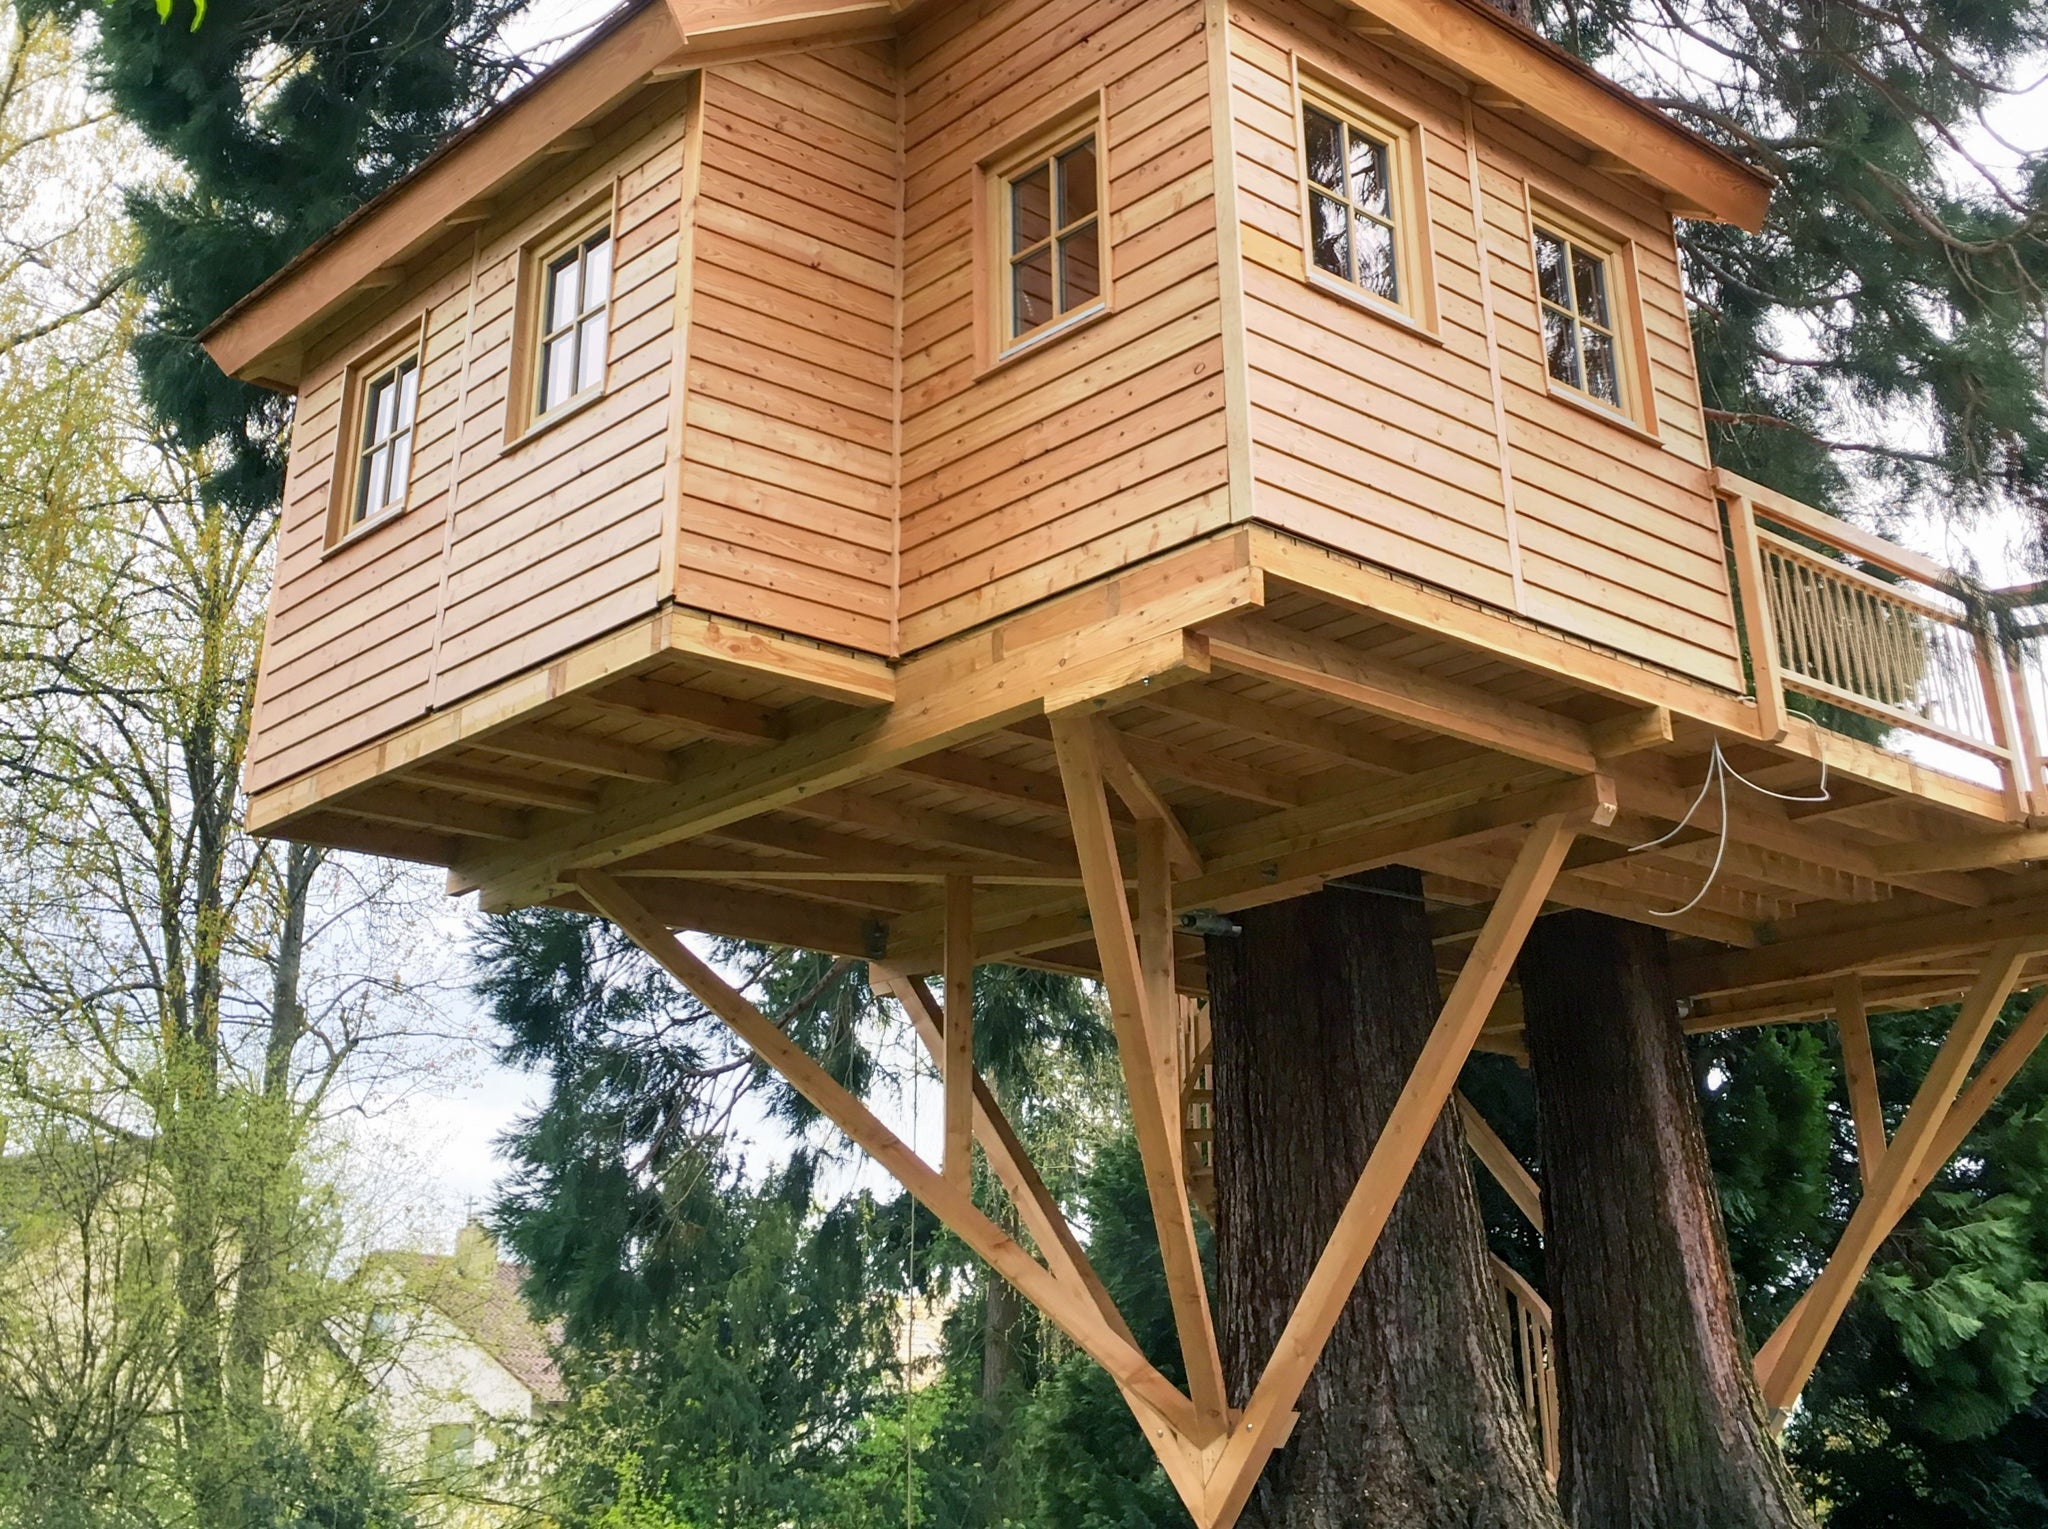
Successful XXL projects
Go big AND feel at home! Some of our professional customers build according to this motto – here you will find real luxury treehouse dreams to marvel at and replicate!


Ask the Treehouse Pro
Need help? I'd be happy to advise you – but first, take a look at the 12 steps to building a treehouse and the FAQs, as many questions are answered there ;)

Crooked tree? Build yourself a test triangle!

Slight inclines of less than 6° are usually not a problem – it is important to keep the lever forces low and to align the main load so that the tree cannot tip over.
DIY tip: For crooked trees, build a test triangle out of wooden slats in advance and hold it in the tree – this will allow you to see immediately whether the triangle will fit your tree bolts later on.
How much does a tree move in the wind?
A tree that is 40 cm (15.7 in) thick at a height of 2 m (6.6 ft) will sway approx. 2 cm in all directions during a storm. The higher you go, the stronger the movement.
Important: Leave at least 20–30 cm clearance at the edge of the roof – also to allow for growth in thickness.
Our tip: Observe your tree during storms – every tree reacts differently!
How thick do my wooden beams need to be?
That depends on the span, the load and the area of application. You can find all the details in our Step 11: Timber guide.
How do I mount the screws at the same height?
A simple tube level is the cheapest (10 - 15 €) and most effective solution:
- Mark the centre of the drill hole for the first GTS Screw.
- Transfer the height to all other trees using the tube level and water level.
- Make sure that the GTS Screws are perfectly aligned, e.g. using a compass.
You can find detailed instructions on our YouTube channel.