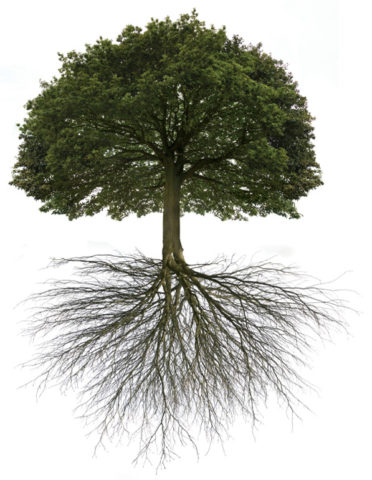
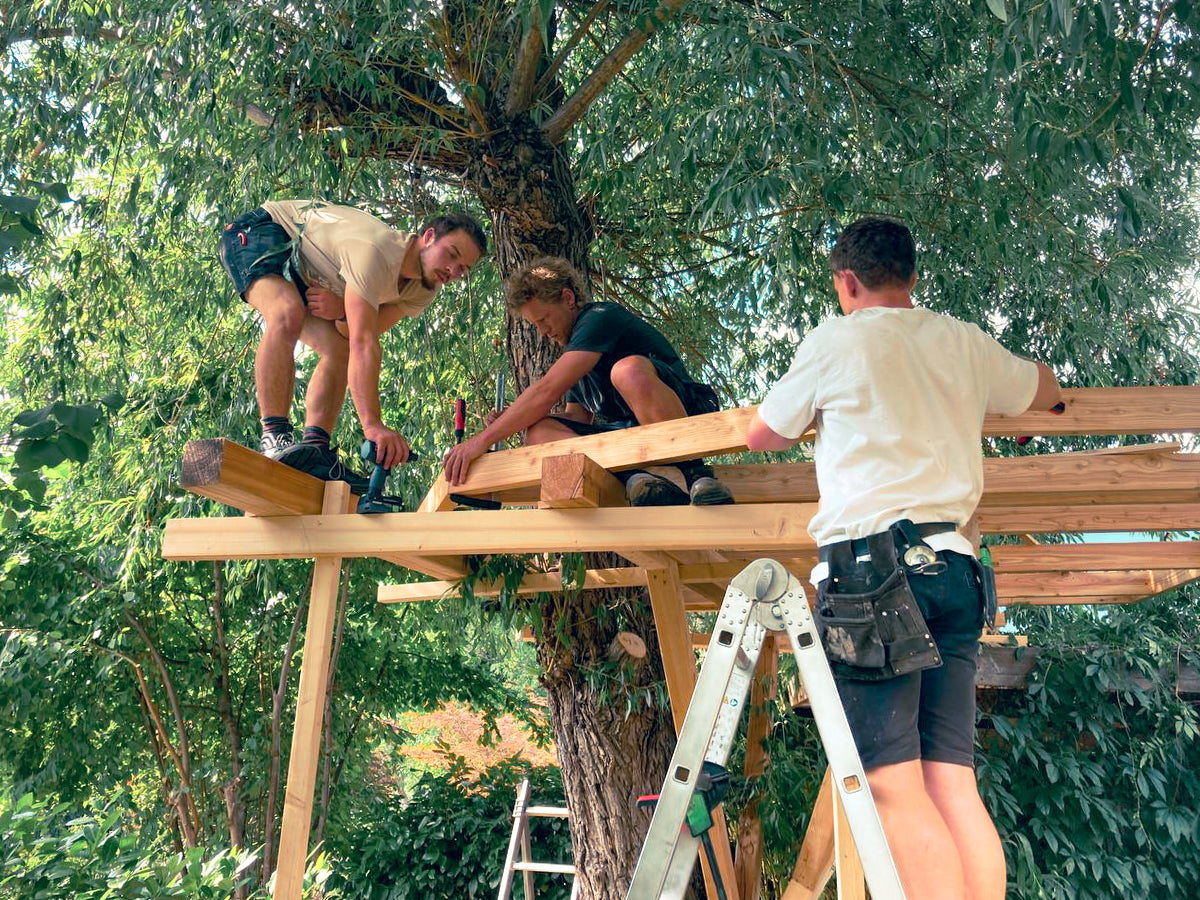
A treehouse will always sway a little; that’s just the nature of being in a tree, especially in windy conditions. However, it can also happen that the Construction starts to sway even though the tree itself is barely moving. This is unpleasant and unsafe, and the individual fastenings are subjected to constant cyclic stress. As a result, they can become loose or, in the worst case, fail.
Finding the cause
a) The construction sways or wobbles when stepped on.
Structurally, this is often not a major issue, but it feels uncomfortable. Usually, the cross-sections of the wooden beams are too small or the platform sections overhang too far.
Solution: Reinforce the wooden beams at the critical points by either increasing the beam height – for example, by gluing wooden strips to the underside and screwing them crosswise – or by supporting critical points with struts or wooden posts.
b) The entire platform sags at the sides, sinks or bends
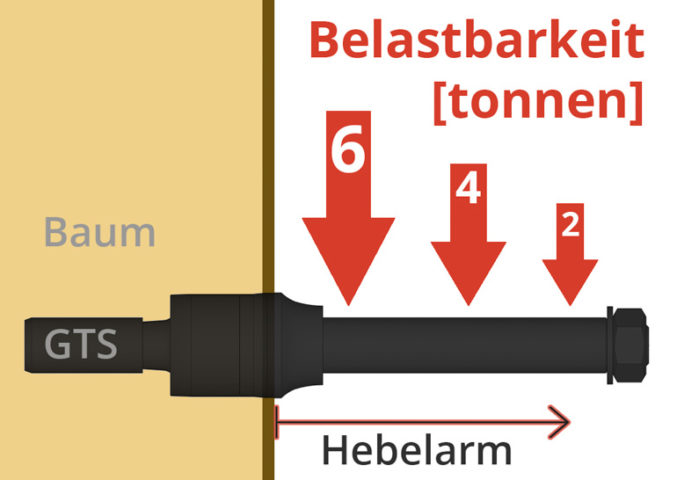
If the entire platform sags at the sides or bends, the lever arm is usually too long or the weight of the platform is poorly distributed.
Solution: Stiffen the construction in specific areas, either with additional struts or wooden supports from below, or with a rope suspension from above using a turnbuckle.
c) Rotational movements, torsion or lateral swaying during storms or when people are moving:
This occurs primarily with constructions in a single tree, even when suspension bridges, swings or similar elements are involved.
Solution: Try to identify the exact cause and first minimise the play in the Construction. Tension the Construction as much as possible, applying as much pre-tension as possible in one direction. You can then specifically install new Struts, primarily as compression elements, or tensioned steel cables, i.e. pure tension elements, to eliminate or counteract movement in the other direction.
Conclusion:
A treehouse will always wobble a little; that’s just part of the experience – otherwise it wouldn’t be a treehouse. However, if it feels unsafe, there are many ways to get the wobbling under control retrospectively. Either with compression struts, tension cables attached to the platform, tree or branch, elements set in concrete for stairs and ladders, a support on the ground, or with additional diagonal braces on floor or wall elements.
If you have any problems, feel free to send me a few photos or videos to info@thetreehouse.shop – I’ll be happy to help ;)


 Die Kernseite oben hat folgende Vorteile: